This post may contain affiliate links. Please see disclosure form more information.
Build your Own Wooden Doggy Gate
Hi Everyone!
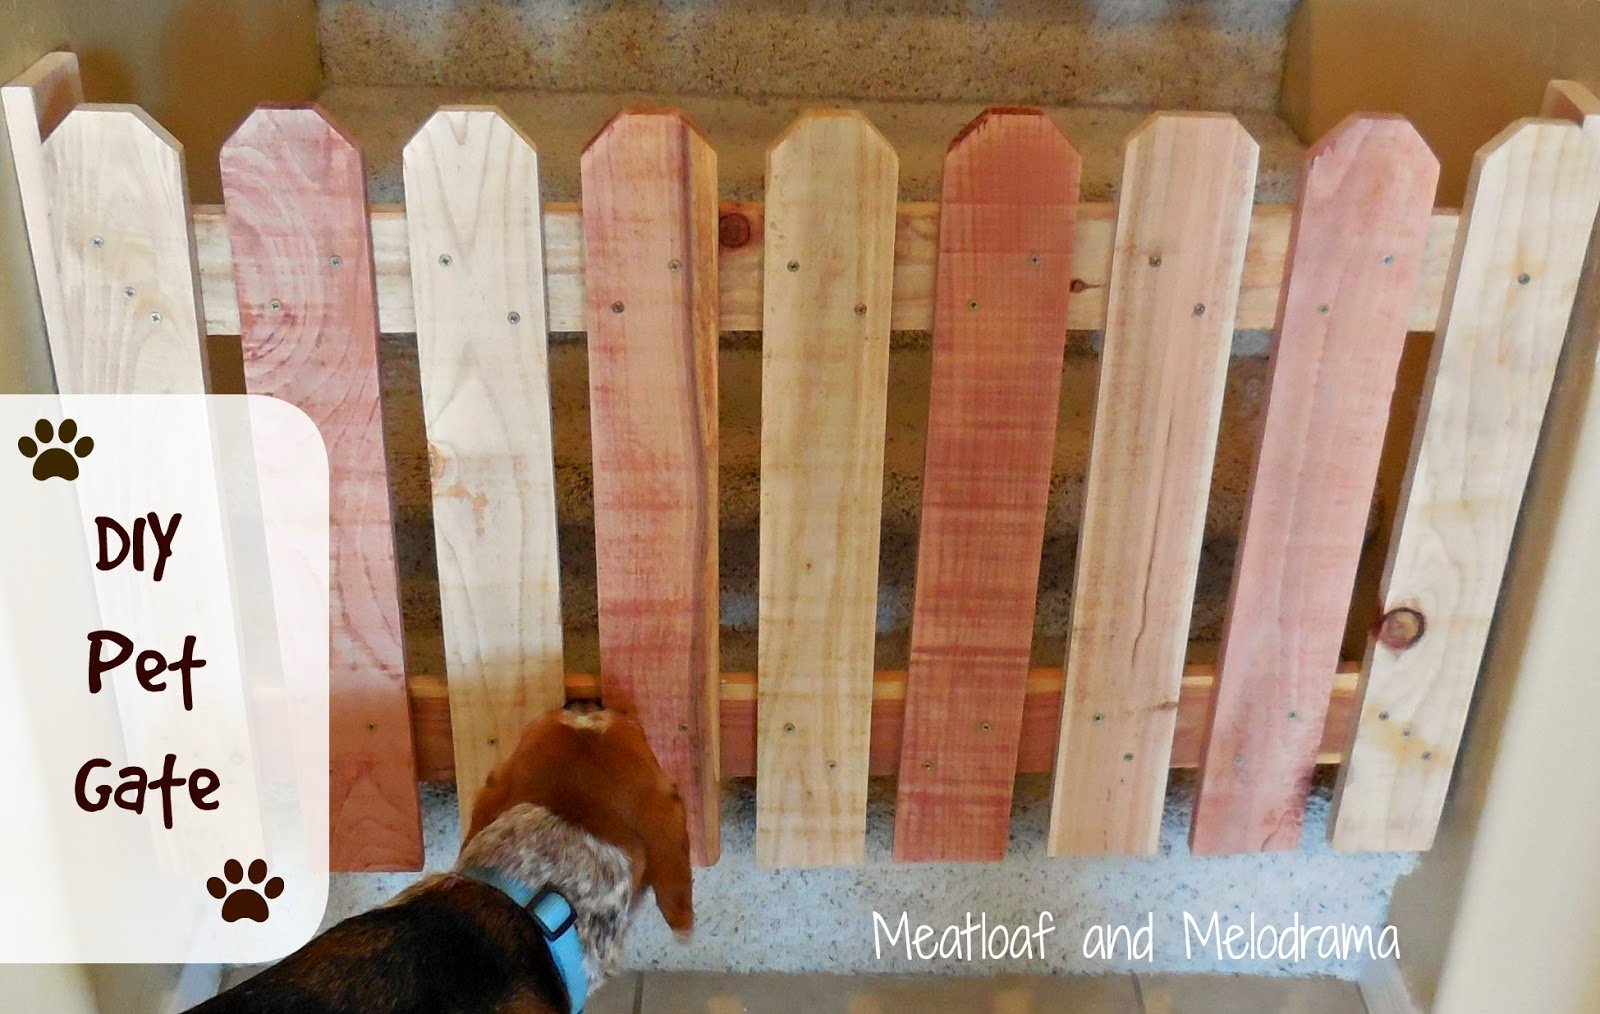
I’m excited to show you this DIY project because I’ve been wanting to do this for such a long time! Last week, I told you that Hubby and I were both working on projects, and I was teasing when I mentioned that his still was still not finished. To be fair, this wooden pet gate was a lot more complicated than my pool towel holder! Anyway, I’m thrilled that this DIY pet gate is finally completed, but I’m not sure the fur boys share my enthusiasm!
We have to keep the dogs downstairs because they still haven’t figured out the difference between food, clothes and toys, and they will chew just about anything — especially those tasty LEGOs, socks and dolls. We had a baby gate at the foot of the stairs, but it was such a pain to climb over, and the teens were always trying to jump over it — don’t even ask why!
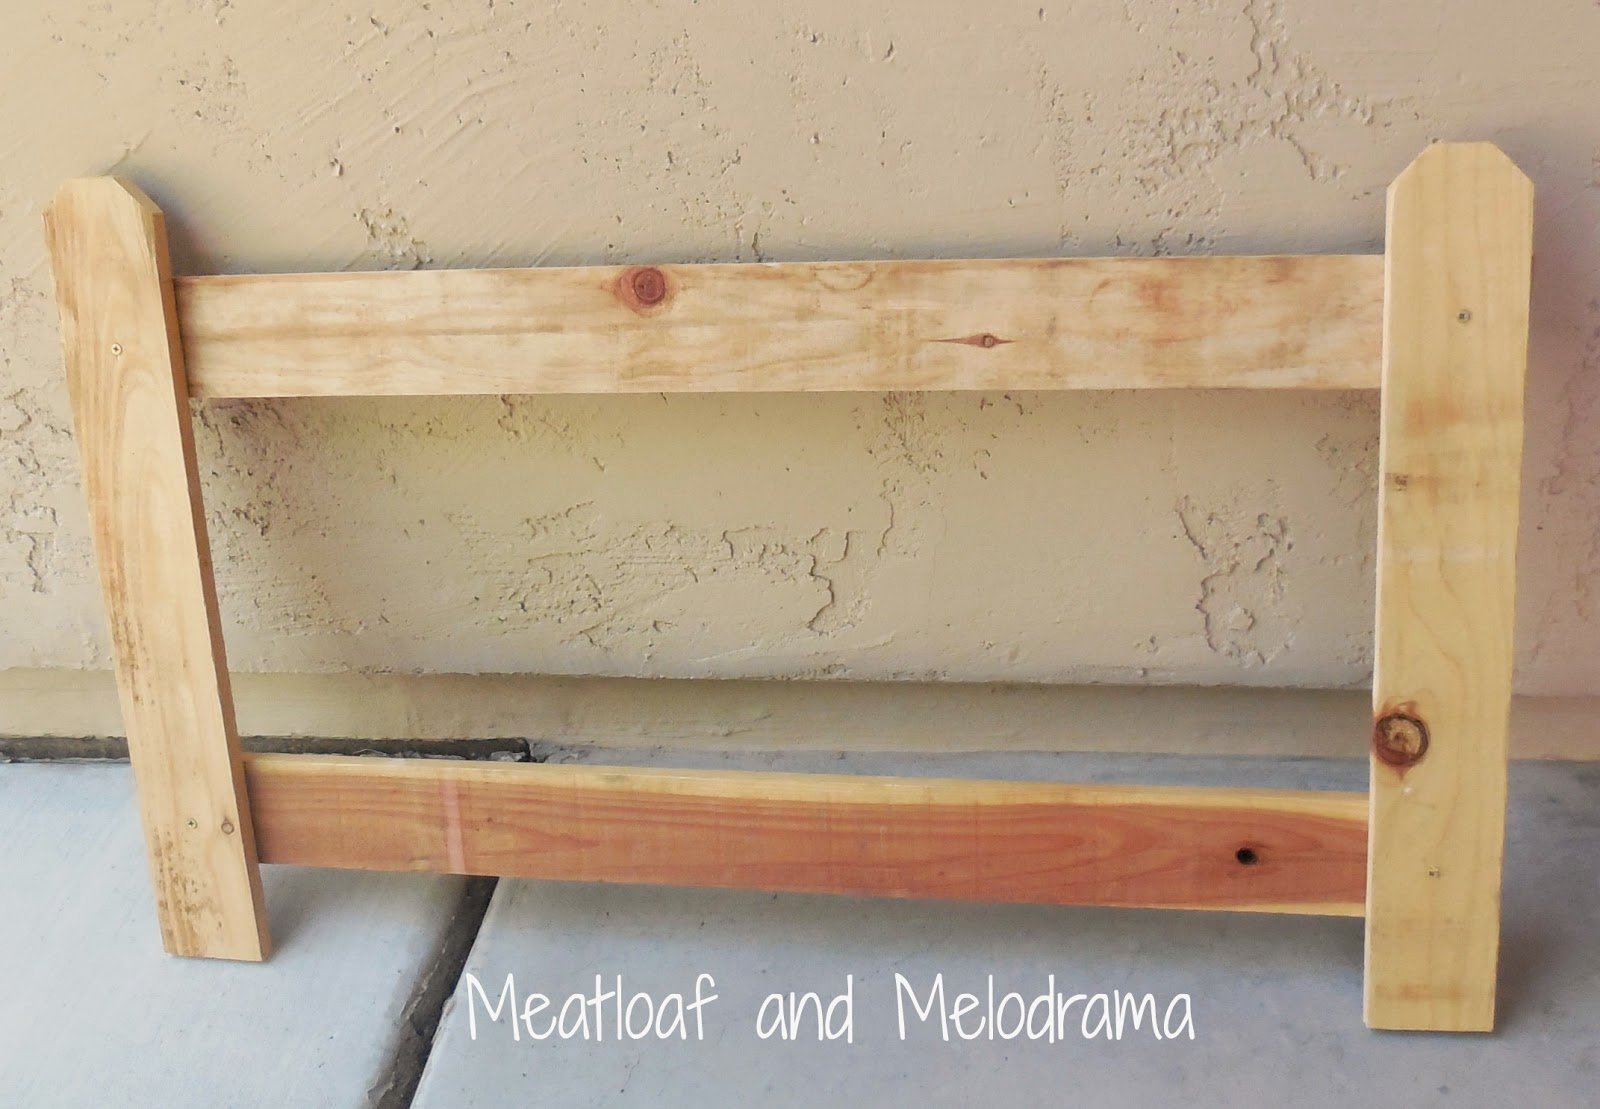
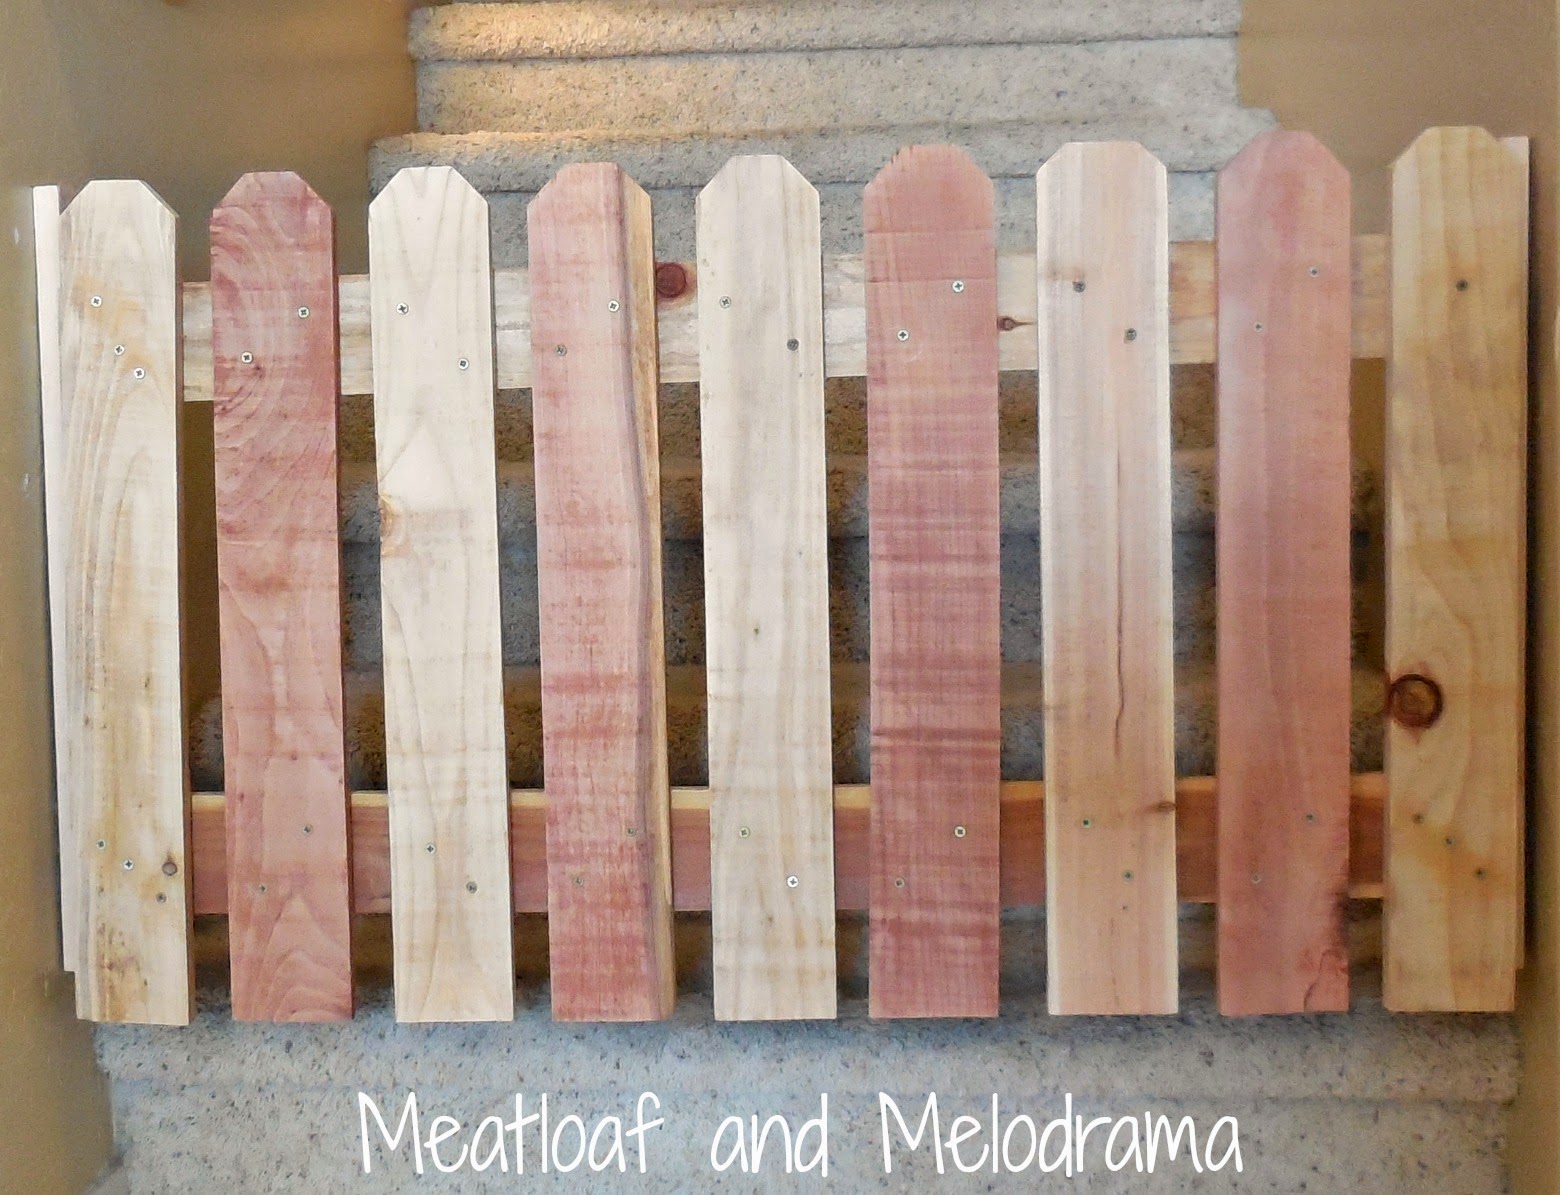
So, after seeing so many DIY doggy gates around the web, this became our priority project. I love the rustic look, so we bought more of the fence posts that we used for the rustic wall art that hangs in the family room, and Hubby went to work. He used the tops of two posts for the sides and the remaining pieces for the top and bottom.
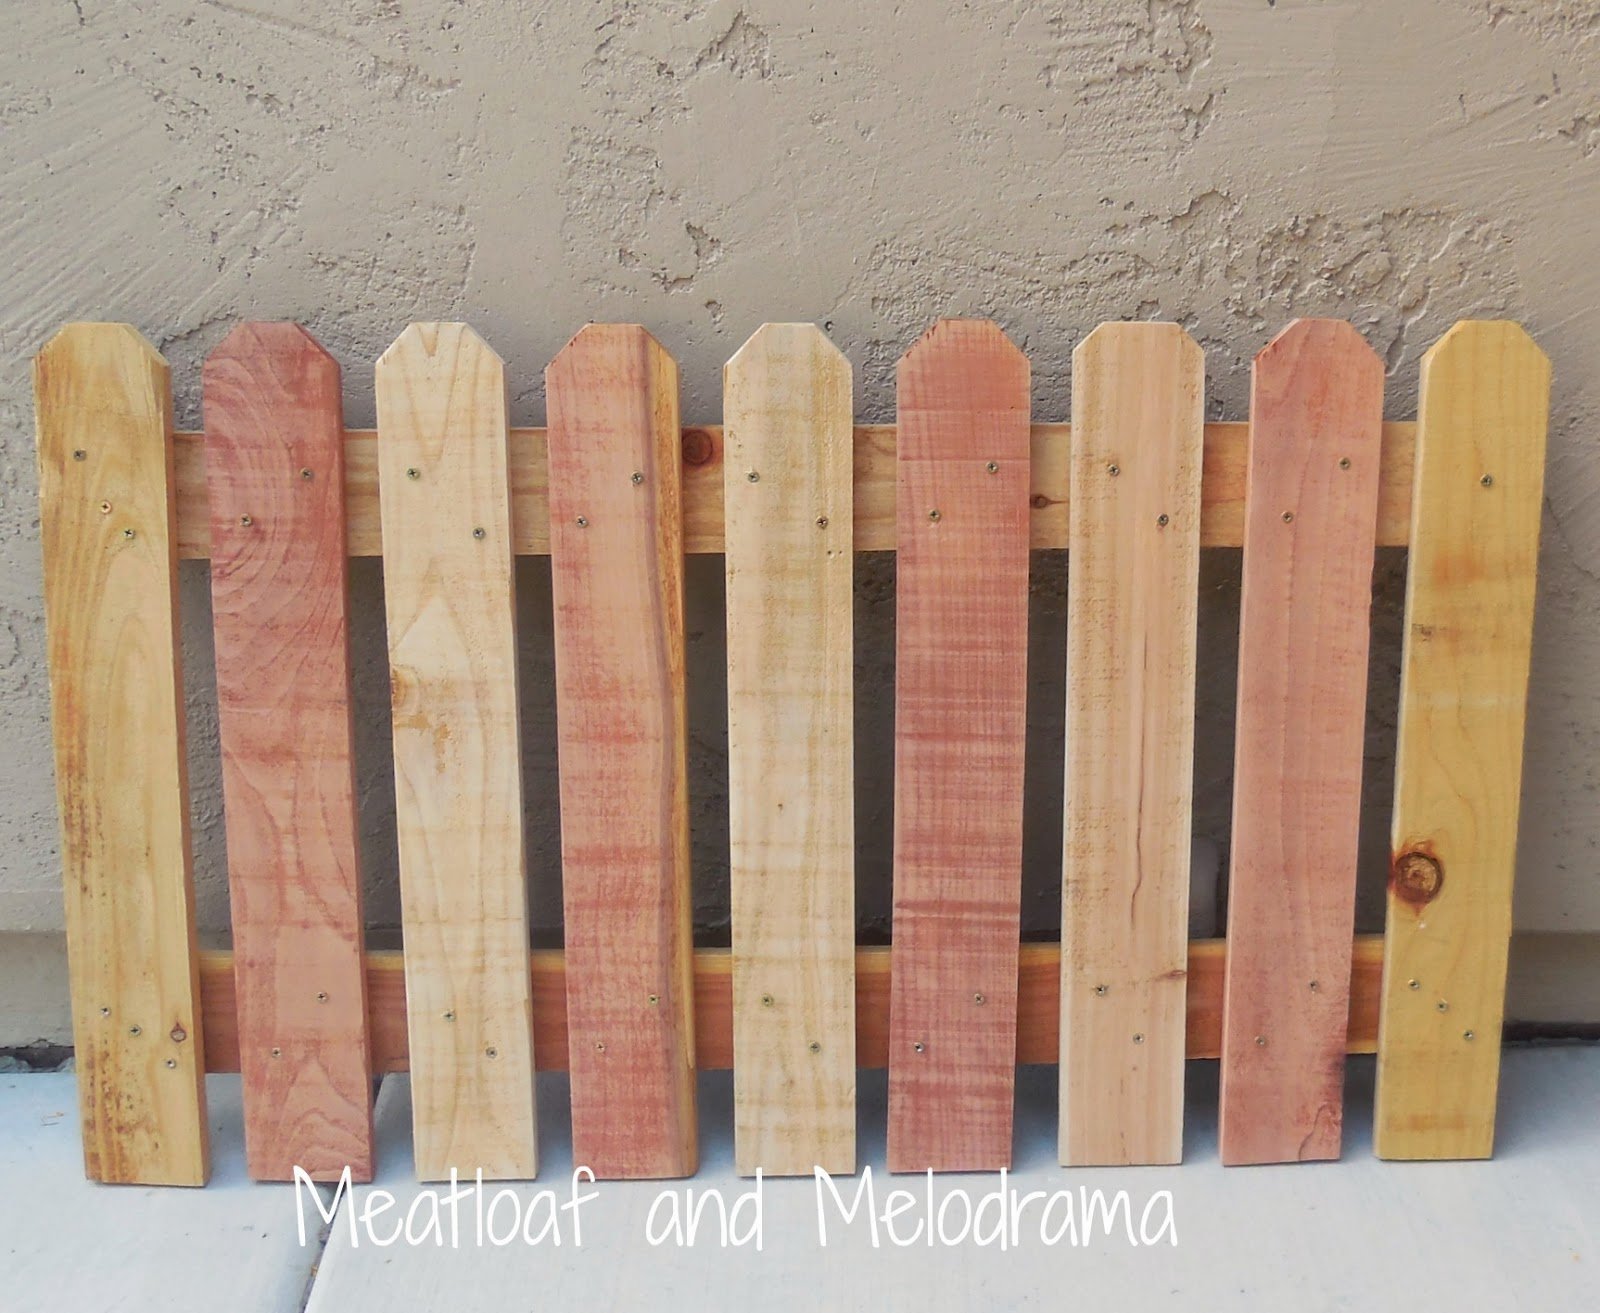
Then, he filled in the rest of the gate with posts in alternating colors. This is almost the same pattern as the wall art, and I love the contrast between the colors.
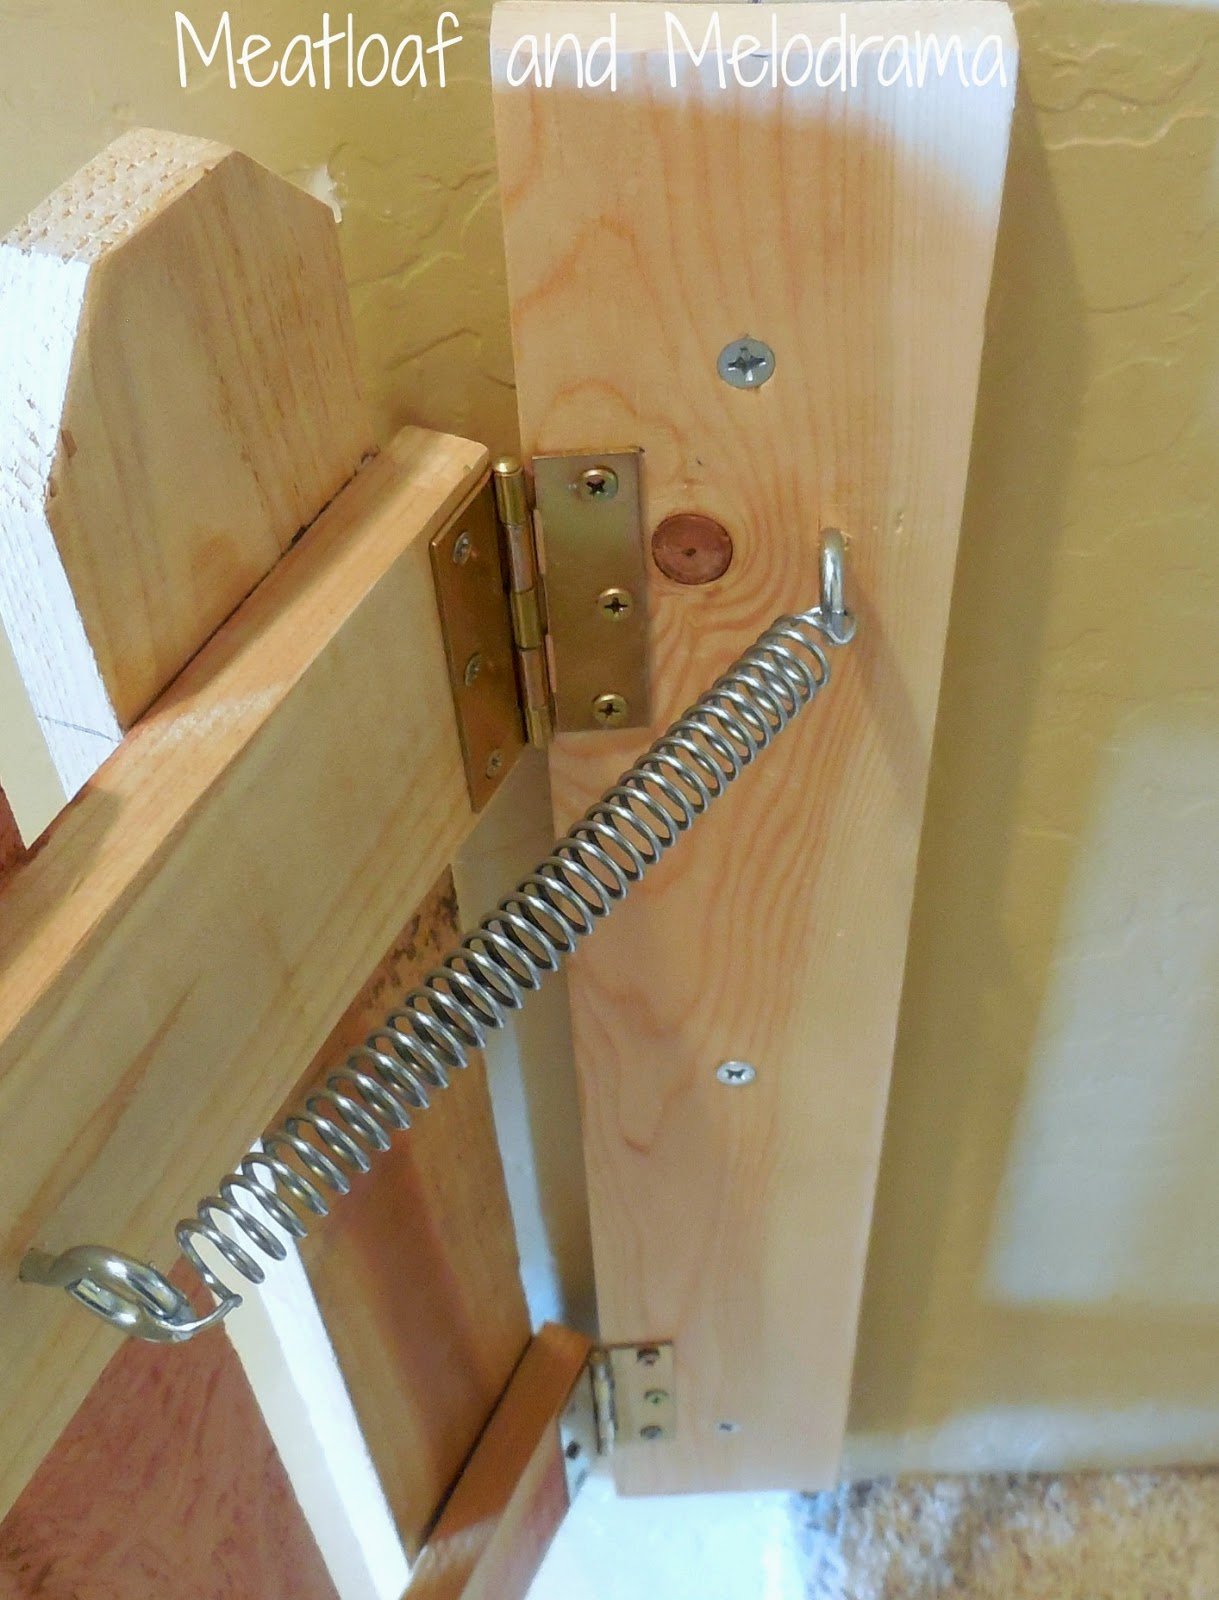
The walls on either side of the stairs are not even — one is longer than the other, so the gate had to go up against the stairs. Hubby used a a long piece of wood on each side of the wall and attached the gate with two hinges. You can see some of the dings in the paint from the old gate — keeping it real here!
Because we only want to keep the fur boys from going up the stairs, there was no need for a latch. Hubby just attached a spring to one of the boards with two eye hooks. We humans only have to open the gate when we want to go up or down the stairs. As long as the fur boys don’t figure out how to pull the gate open, we’re safe!
Because we only want to keep the fur boys from going up the stairs, there was no need for a latch. Hubby just attached a spring to one of the boards with two eye hooks. We humans only have to open the gate when we want to go up or down the stairs. As long as the fur boys don’t figure out how to pull the gate open, we’re safe!
I wanted the gate to stay natural, so we didn’t paint it. We just sanded it to make it smooth and free of splinters. If we want to go upstairs, we just pull open the right side of the gate, and it shuts automatically. It only takes a small push to open it when you come down the stairs.
We kept the length short so it would be easier to sweep and clean under the gate. And, at this height, the teens can’t go hopping over when they come down the stairs!
So yes, I’m a happy momma right now! You know, it would be great to remove the carpeting and redo the stairs, but I’m always worried about one of the kids falling and getting hurt on the bare wood. I’m probably the only one who thinks that way, so maybe one day I’ll get brave!
Thanks for taking a look at our newest DIY project. If you have your own project to show off, let me know so I can pop over for a visit!
Dee 🙂




Love the spring idea. I was looking for away to make the gate easy access to my handicap wife. This is perfect
Thanks so much! It’s so much easier this way.