This post may contain affiliate links. Please see disclosure form more information.
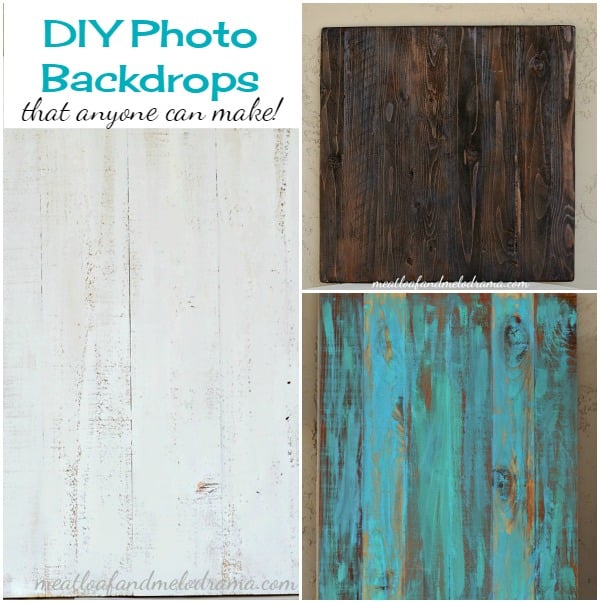
DIY photo backdrops are inexpensive and super easy to make. If you can handle a bottle of glue and a paintbrush, you can easily make your own backgrounds for your food or craft photos.
When I first started blogging, I used to photograph food on the dining room table right before we ate, and with the light on too — yikes!
I’ll be the first to admit that I’m far from being an expert food blogger, but I have learned a few thing along the way, and now I always try to photograph food using natural light.
Sometimes, I go outside, but usually, I can get the light I need by the window. And this means that I need a portable backdrop or actually, several backdrops.
Wood makes an amazing background for photographing food and crafts, especially if it’s old, chippy and rustic. Marble counters look great too, and the white can really make your food pop.
Since I don’t have a marble counter or a bunch of old wood, I’ve learned to make my own photo backdrops that resemble these surfaces. It’s actually super easy, and you don’t need special tools or a lot of money. In other words, anyone can make these photo backdrops!
How to Make DIY Photo Backdrops for Food and Craft Blogs
Supplies Needed
- Wooden fence boards or wood boards (any size)
- Sand paper
- Paint or wood stain
- Wood glue or Tacky Glue
- Floor Tiles
- Beadboard
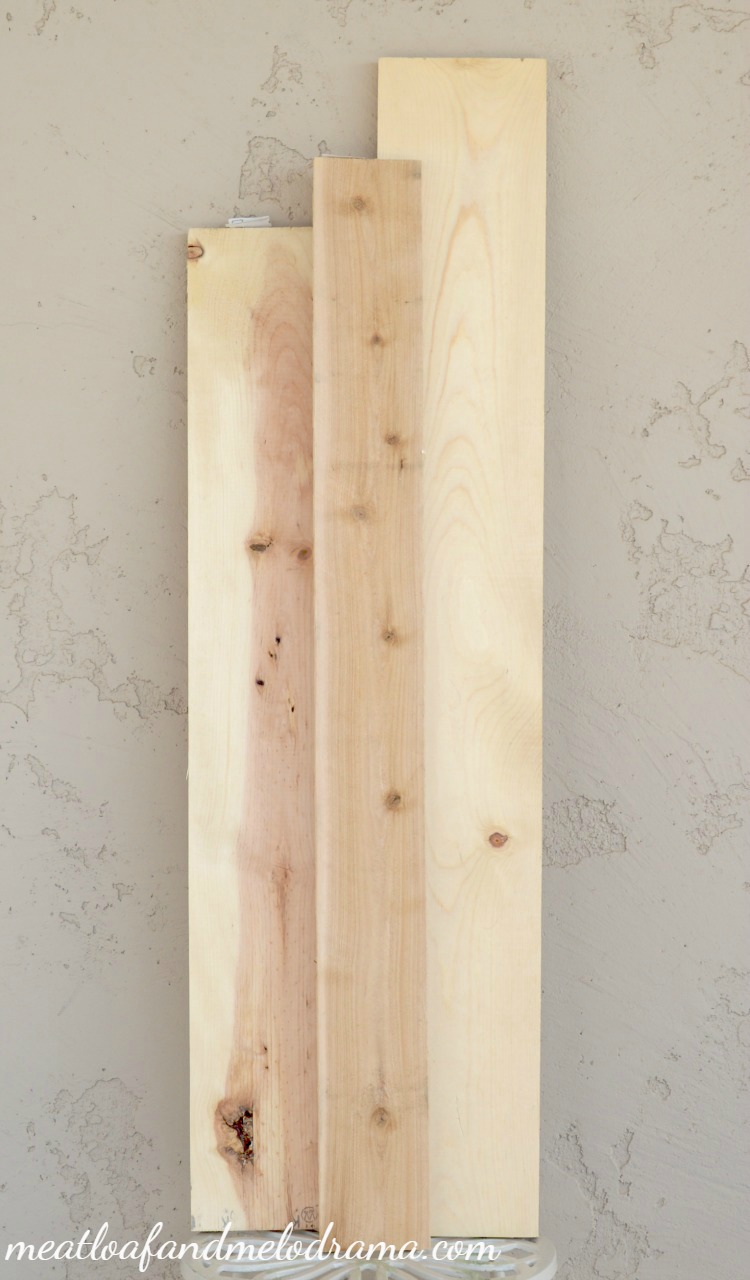
And that’s it — seriously. Even though the Hubs is pretty handy, we usually buy the wood at Home Depot and have them cut it to size. I use rough 1 x 3 fence posts for some boards and smoother 1 x 6 boards for others.
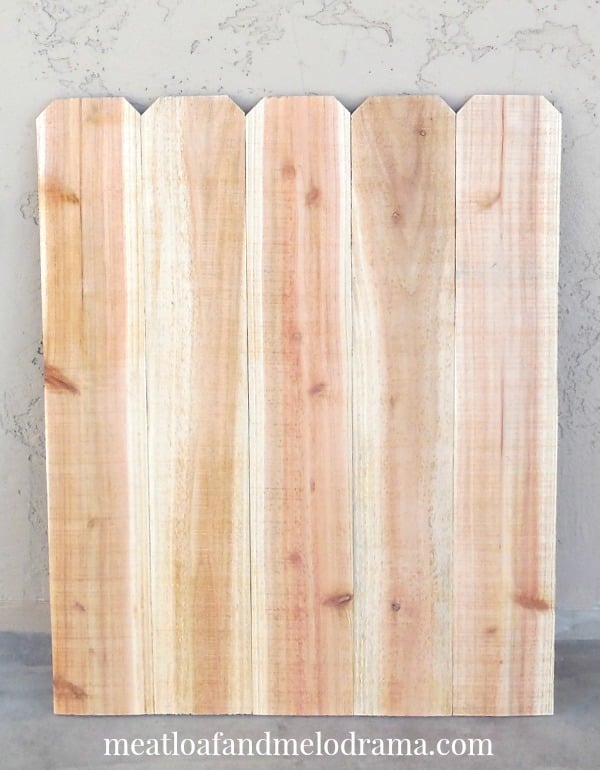
And Tacky Glue works like charm. We just put the glue on sides the boards and press them tightly together, and then we let them dry.
When the glue dries, we sand the boards and then paint or stain them.
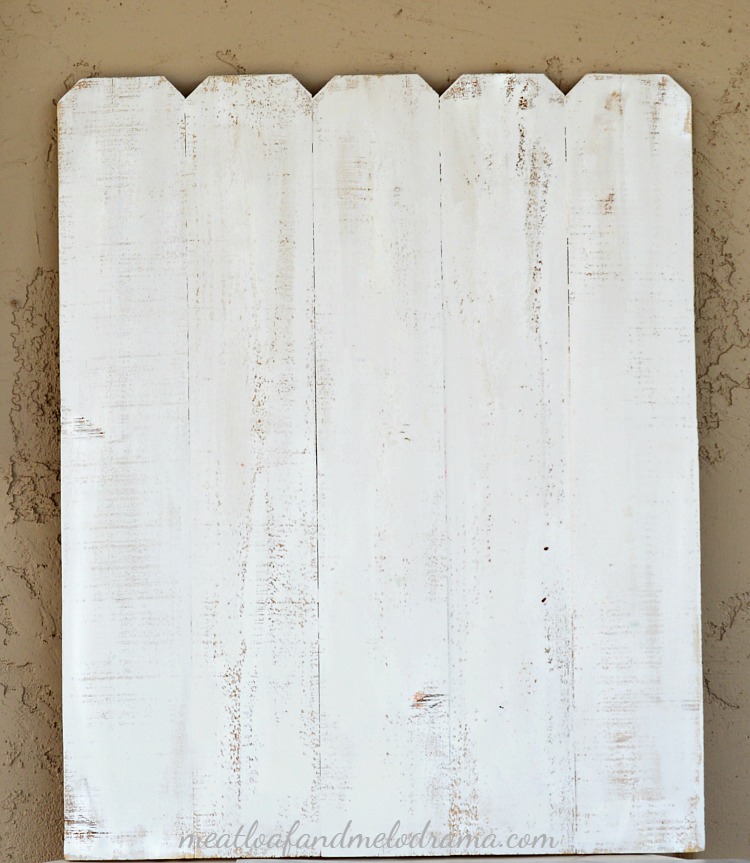
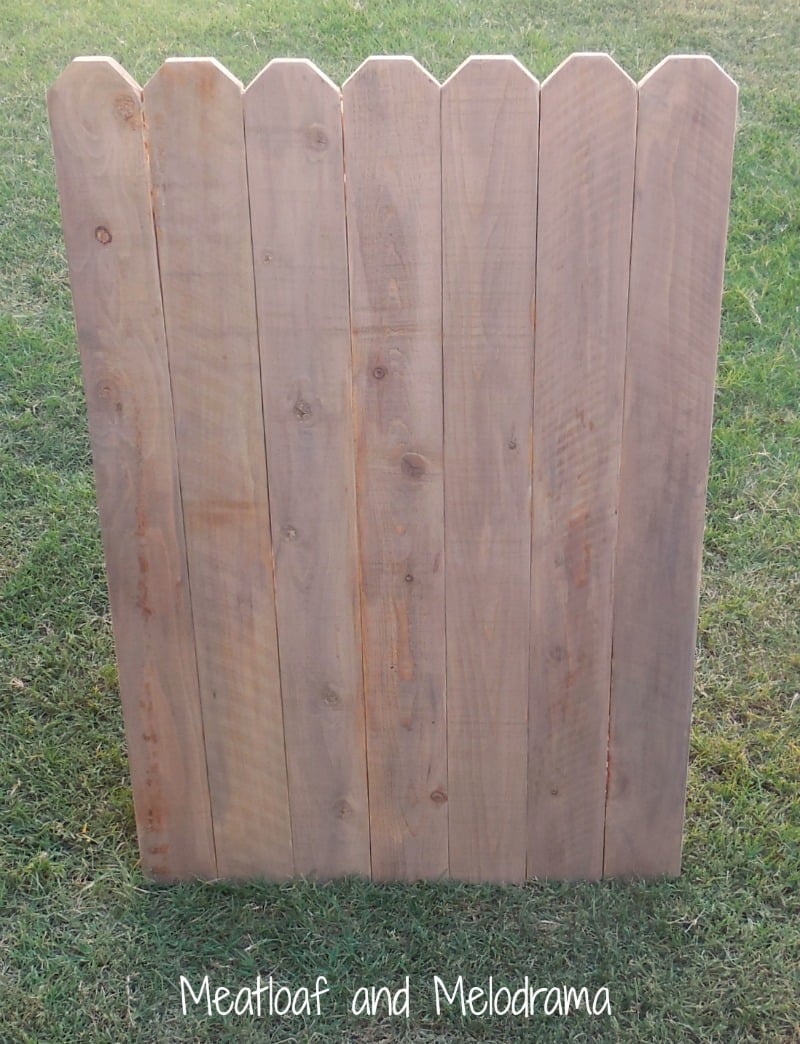
This board is made from rough wooden fence posts. I only sanded it lightly because I wanted a rougher surface.
I originally used this as a backdrop for my mantel at Christmas, and when the holidays were over, I used it as a backdrop for food and crafts. I used white latex paint and a dry brush to get the rough surface.
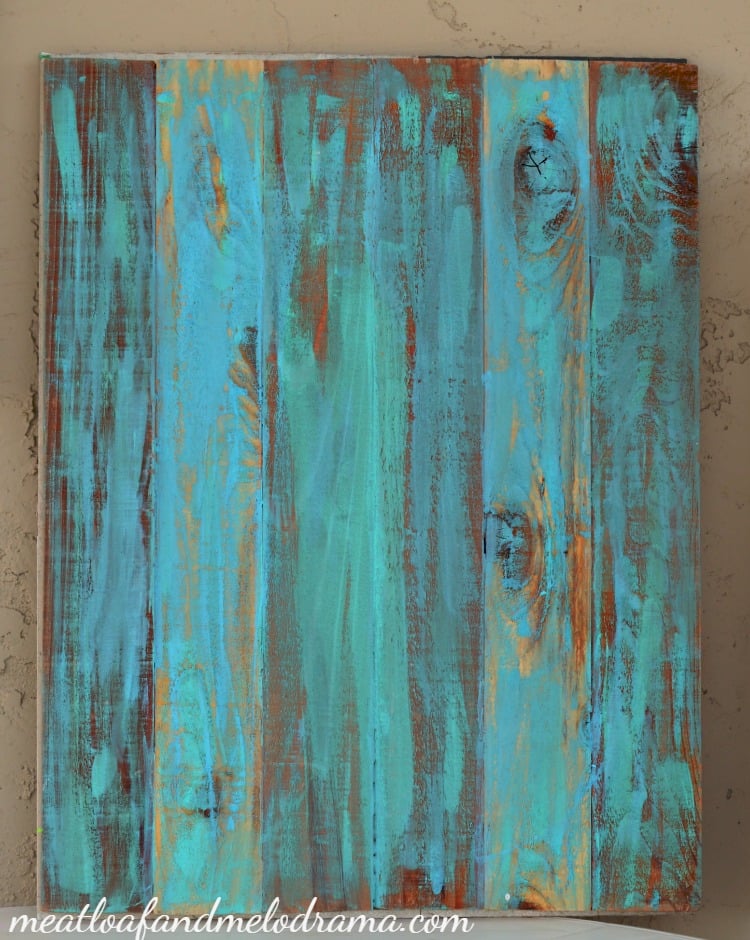
Everyone needs a rough turquoise-colored board, and this one is super rustic. Sometimes, people will stain the board first and then apply aqua or turquoise paint, but I just used a dry brush to slap some of the paint on the board.
I usually use this one in the spring and summer.
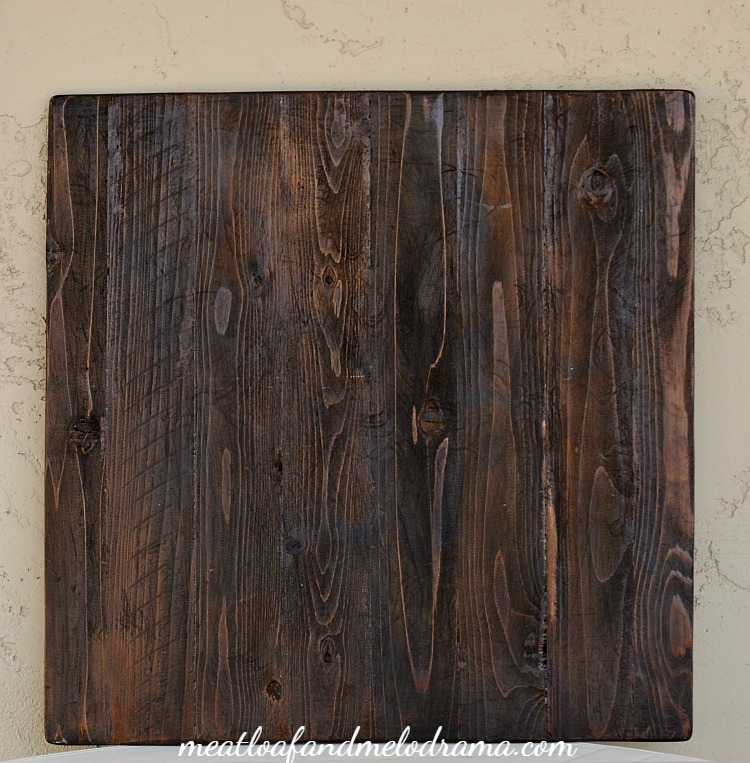
This is another backdrop I originally made for the mantel. I used it for Halloween and fall, and then I used it for food photography after that.
To get the aged wood look, I just watered down some brown and grey paint and used the mixture instead of stain, which is super smelly!
This backdrop is made from smooth 1 x 6 boards that the Hubs stained for me. It’s great for when you want dark, moody food shots.
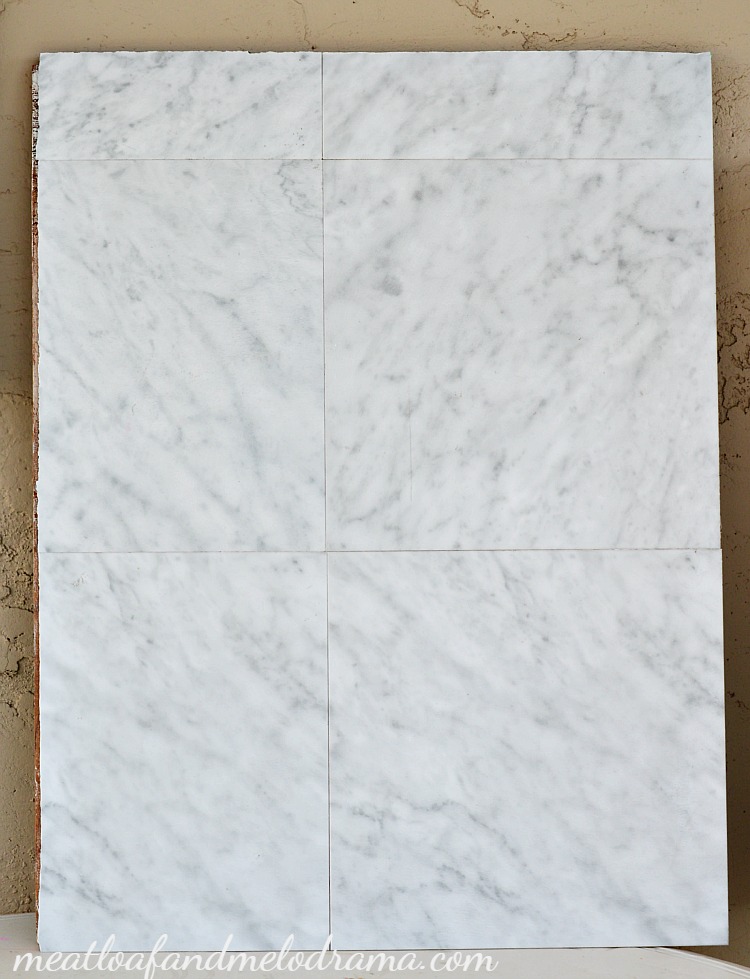
This is my faux marble counter. I bought some vinyl floor tiles and stuck them onto a wood board. I like it because it’s sturdy, but the only drawback is the lines from where the tiles meet. But, they’re easy to edit out!
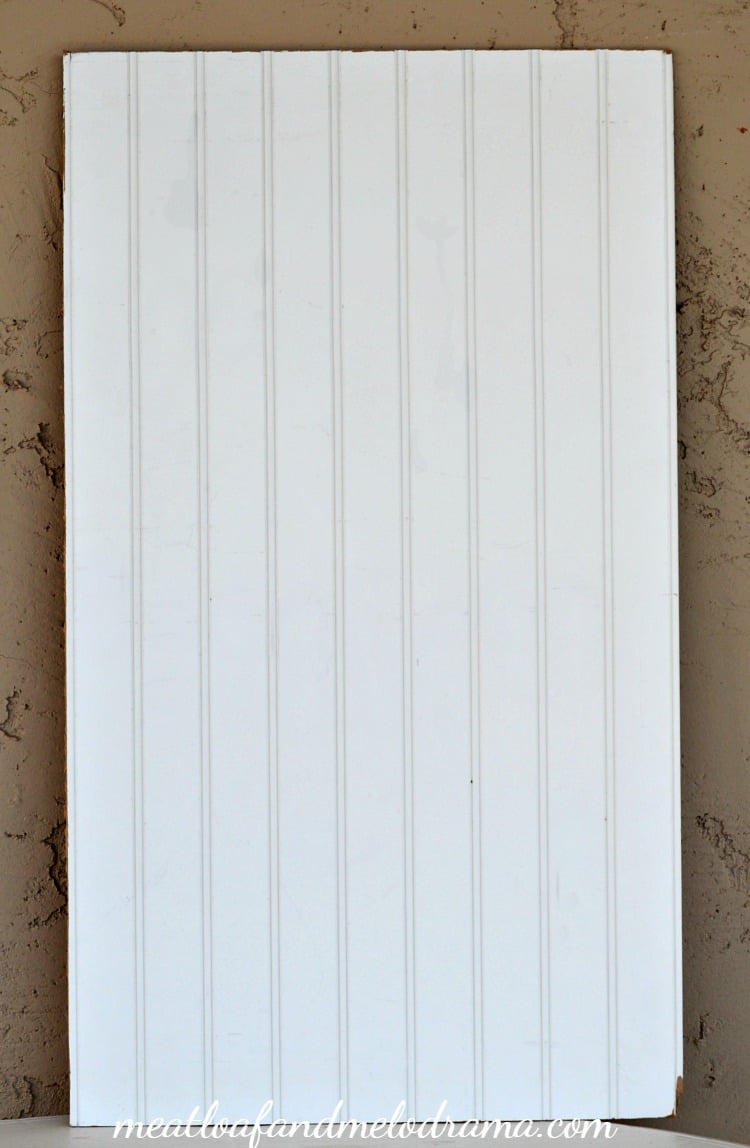
This is the easiest backdrop ever! It’s just a sheet of beadboard that the Hubs trimmed so that it would be easier for me to carry. I use it for a surface and also as a background — it’s nice and bright!
And there you have it. Now you can go make your own DIY photo backdrops without spending a lot of money or buying special tools — easy peasy!

Props are an entirely different story and deserve a post of their own, so maybe someday.
Do you make your own photography backgrounds?
Happy Crafting,

Sharing At


I mostly photograph my projects on a lovely wood coffee table but I am getting a bit tired of always using the same backdrop. Thanks for giving me some extra ideas.
I use a coffee table sometimes, but it’s nice to have other options. 🙂
Great Ideas! I have stuff like butter paper taped on the wall for neutral backdrop! I have visions of making a backdrop box but I don’t know whether it’ll actually materialise !
Anyways, would love to see your posts in the Practical Mondays Link Up:)
Thanks, Swapna! I’ll be sure to swing by as soon as I can. 🙂
Awesome! I love making new backdrops. It makes me excited to get shooting again. This reminds me that I need some new colors 🙂 You know- for the marble- you could use contact paper & that would eliminate your lines. I know a few people that have done that & love it.
I’m on the lookout for that marble contact paper, and I plan to try that — thanks for the tip! 🙂
Awesome tips! Thanks for sharing!
Thanks, Cara. I love making new backdrops! 🙂
Love all these ideas!!! I need to vamp up my blog photos and images for products and tutorials. I love the idea of repurposing them for decor around the house like on the mantel. Found you at the Link Up Palooza tonight 🙂
Thanks, Shyanne. I love repurposing things, especially when it comes to backgrounds and props. 🙂
I love your turquoise and dark boards! Pinning this for future reference. Stopping by from Best of the Weekend. Thanks!
Those are two of my favorites! Thanks so much for stopping by. 🙂
Some great ideas for backdrops, Dee! I typically use a backdrop I like to call, “just clearing the stuff away!” Your really are much nicer!
Warm hugs,
Carol
Thanks, Carol. The kids’s stuff is usually in the way, and I have to move my blog stuff by the window to get enough light, so I needed to come up with a cheap and easy alternative! 🙂
Thanks, great tips! I’m a newbie blogger and in my few months, I’ve quickly learned to go from photographing on my granite counter to creating an elaborate “backdrop”. Who knew it was so much work but worth it! Visiting from Weekend Retreat link party.
I think we all started out that way. And yes, it’s a ton of work, but I agree that it’s worth it! 🙂