This post may contain affiliate links. Please see disclosure form more information.
Hi Friends!
I’ve got a very easy and cheap Valentine’s Day craft to show you today. My younger kids wear uniforms to school, and I like it because it really saves time and energy. But on the other hand, it means that they can’t dress up a little around the holidays. Well this year, the school started adding free dress days on holidays, and I thought it would be cute to make my daughter a special shirt for Valentine’s Day. Since she won’t get that much use out of it, I did not want to spend a lot of money, so I made a Valentine’s Day heart shirt with a bleach pen.
I don’t sew or have a Silhouette machine, so my options are kind of limited when it comes to embellishing clothes — first world problems, I know. And, I didn’t have the patience to add rhinestones — I have to do this for dance costumes, so I avoid it at other times!
Anyway, I first heard about using a bleach pen to create designs on clothing back in October, when the kids told me they didn’t have to wear uniforms for their class Halloween party. Since the kiddos mentioned this the day before Halloween, I needed to make something fast, and this technique sounded easy enough. I made a very simple Halloween shirt for my daughter the night before the party, and it was actually pretty cute. The little man did not want one.
Normally I avoid using bleach, but I thought the pen might come in handy if I ever needed it for stubborn stains, and it was definitely cheap enough! So for Valentine’s Day, I used the same bleach pen to make my daughter a simple heart shirt.
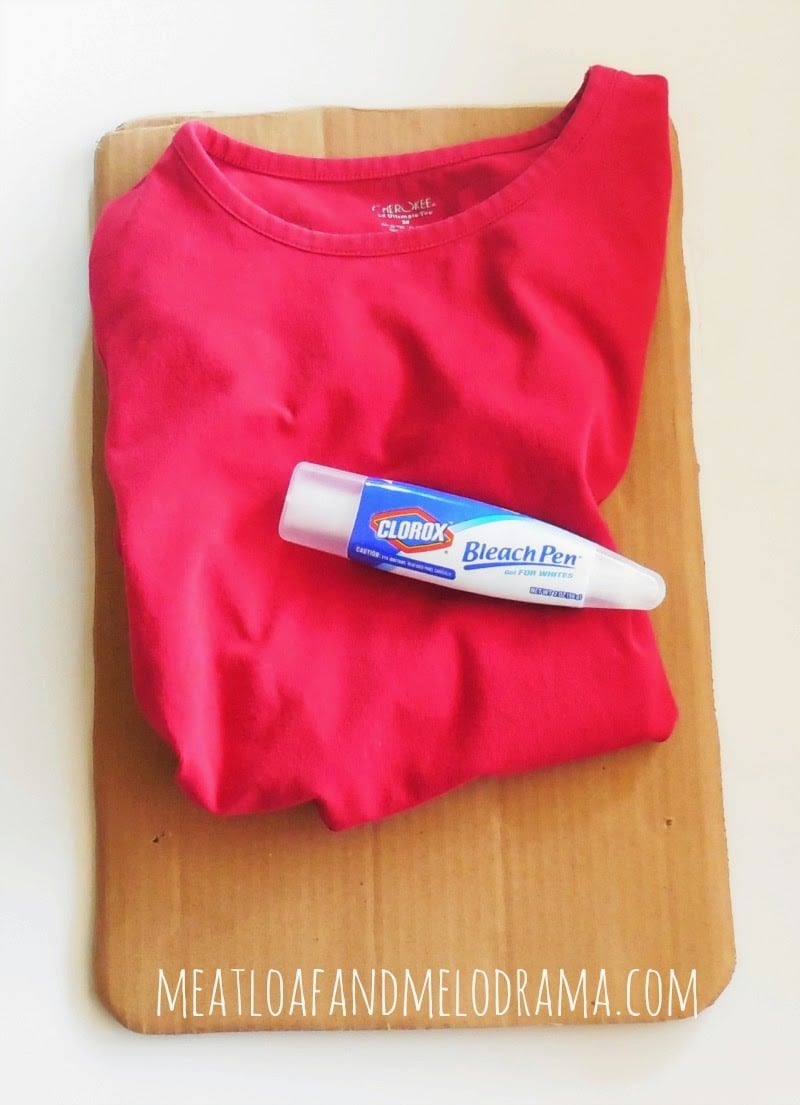
Here’s what you’ll need:
- A clean T-shirt
- 1 bleach pen
- Cardboard
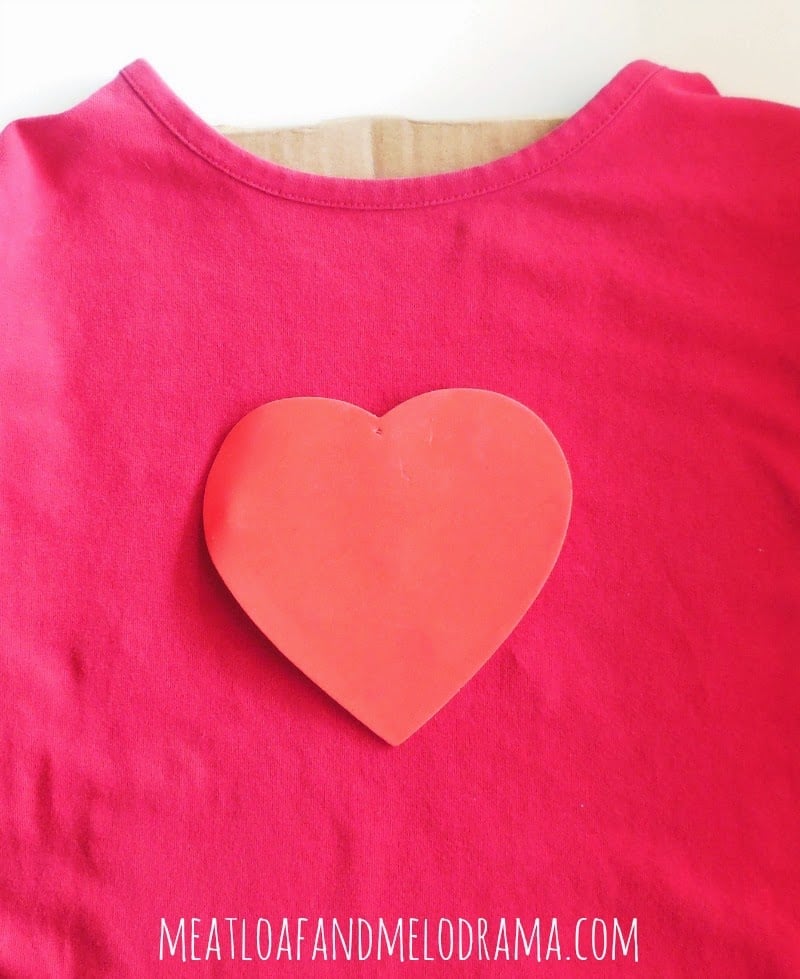
- Stencil or heart cutout for tracing design
- A well-ventilated area for working
- Paper towel or cotton swab for blotting up any mistakes
I used a red shirt that we already had, since my little Diva will probably outgrow it before next year — waaa!
We usually save the cardboard bottoms from water bottle cases, and I put one inside the shirt to prevent the bleach from going all the way through to the back of the shirt.
I used a foam heart as a guide, and I just made small dots with the bleach pen all around the outside of the heart. You do have to be careful with the amount of bleach that comes out of the pen. Otherwise, it may get runny.
Some of the dots were a little larger than others, so I tried to correct this by blotting the extra amounts with a towel and making some random larger dots so that the heart was even. This is how the shirt looked before I cleaned it up.
You just need to leave the bleach on until the color starts to turn. I let the bleach sit for about 30 minutes. When the design is light enough for you, rinse the shirt out in cold water and dry.
My daughter is happy with her new Valentine’s Day shirt. I think I could have made it a little neater, but I wasn’t using a stencil. Still, if she’s happy, so am I! It does look a little whiter in the photo — not sure why. In person, the shirt has a very vintage vibe — way cool!
Just remember to be careful with the bleach, and definitely work in a well-ventilated area. Oh, if you’re using a black shirt, the bleach turns orange, not white. This is perfect for Halloween but not so good for Valentine’s Day.
Have you ever used this method to design a shirt? Let me know! And, thanks so much for peeking in to see my latest project!


Thanks, Laurie. She told me what she was looking for, and I just followed instructions. 🙂
Love it! I've been wanting to try the bleach pen on some shirts. I have no doubt that your daughter loves it. 🙂
Thanks, Deb. It's not perfect, but it turned out ok, and my daughter loves it! 🙂
So cute and what a great idea!