This post may contain affiliate links. Please see disclosure form more information.
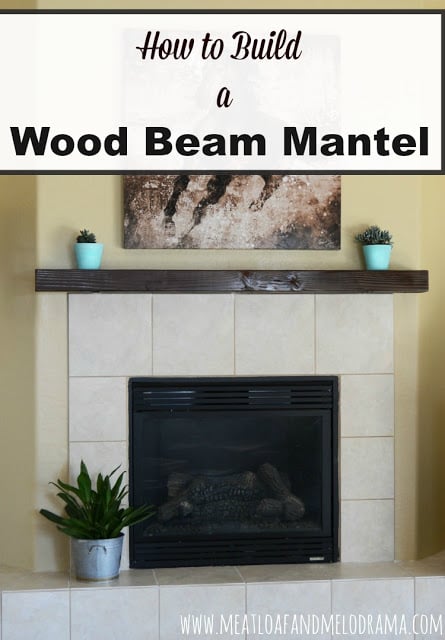
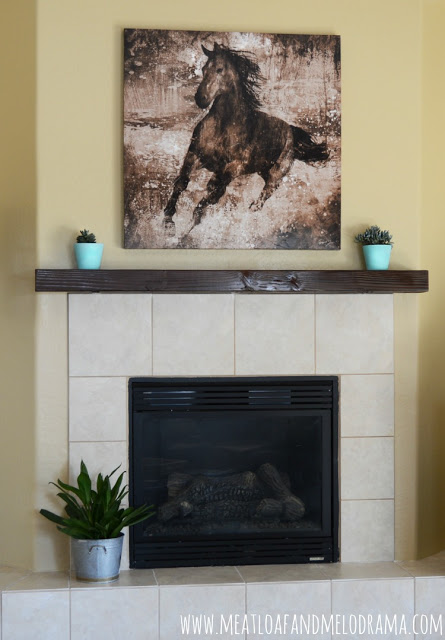
Hey there! I am so excited to show you our latest DIY project because I’ve been wanting to do this for a long time. I may have mentioned that I wanted to change the mantel before, because the one we originally added never seemed to fit. So after thinking about what kind of mantel would look best with the style of the fireplace, we designed and built this rustic DIY wood beam mantel. And I am positively thrilled with the new look!
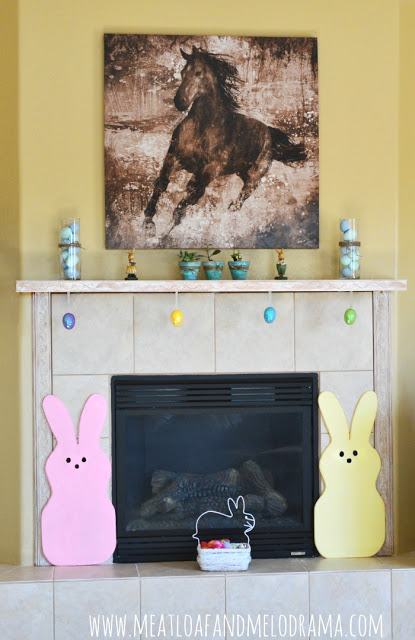
The fireplace did not originally have a mantel, and I knew right away that this needed to change. Otherwise, there would be nothing to decorate, and what fun is that?! Here’s the original mantel we built.
Oh, there’s a ton of pictures here — just letting you know!
The shelf and side moulding were originally a reddish-brown color, and I ended up painting them with a thin wash of white paint so that the colors would blend in with the fireplace. But, I still wasn’t happy with the look.
So after viewing what seemed like a million mantels online and on TV, I told Hubby that I thought a wooden beam would look fantastic — kind of like a barn wood beam. So, after a few trips to the lumber section of Home Depot, we picked out a 4 X 6 wood post to use for the mantel shelf.
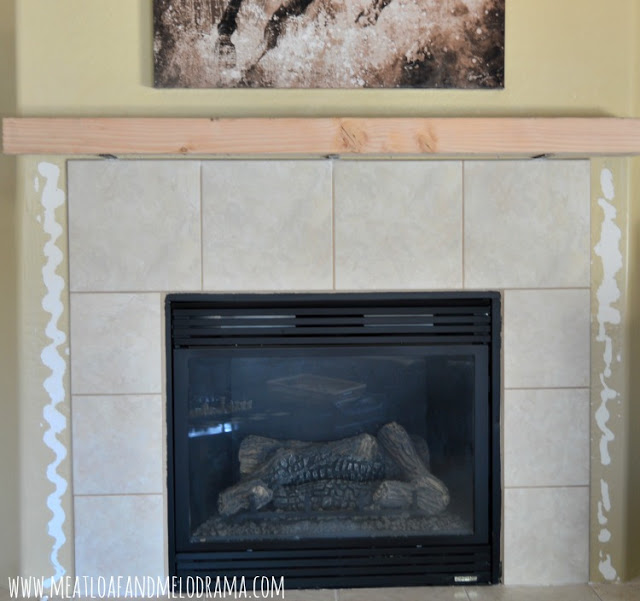
Hubby cut it to fit the fireplace, and then we removed the moulding from the side and patched and painted around the tiles.
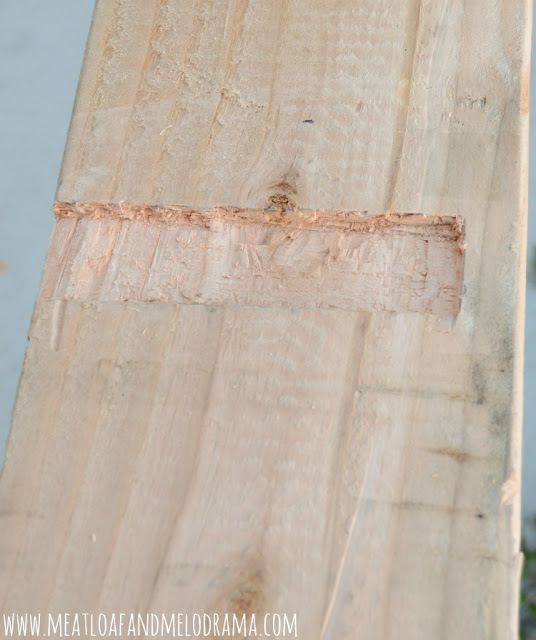
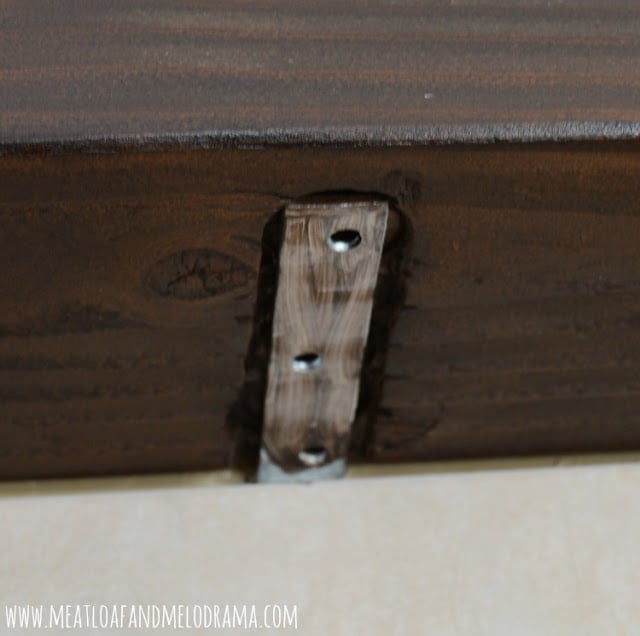
The original mantel shelf rested on three steel brackets, but the wood beam was too thick to fit right. So, the Hubs carved out spaces for the brackets.
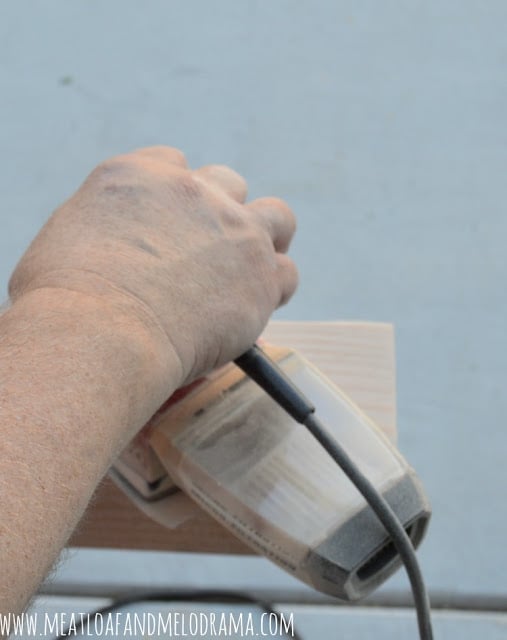
And then, he sanded the beam with his handy dandy sander so that it was nice and
smooth.
I knew I wanted the beam to be dark, so we used a Minwax stain in Dark Walnut to give it a deep, rich color. Actually, we tried a lighter pine shade at first, and I didn’t like it at all, but I think that’s where the red undertones are coming from. The stain smelled pretty bad, so the mantel sat outside for a day or two until the smell wore off.
Then, we brought the shelf inside and the mantel was complete! You can see how it fits on top of the steel brackets.
This is probably one of the easiest DIY projects we’ve ever done, but you can see that it doesn’t take a whole lot of work to build a wood beam mantel. The longest part of the project was staining the wood.
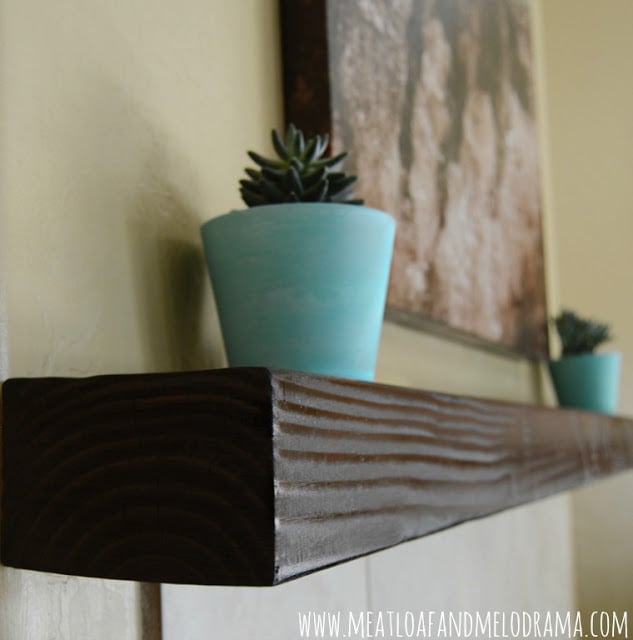
I wanted to keep the decorations simple for now, so I added two potted succulents on top of the mantel. I found the pots at the Dollar Store and painted them a summery turquoise shade.
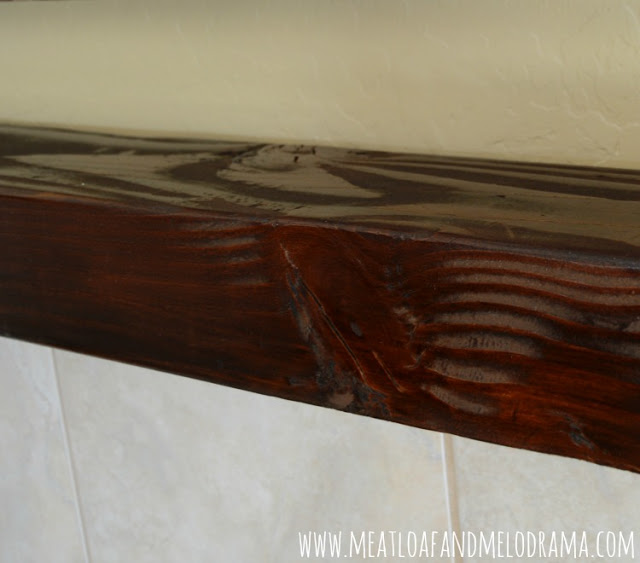
The wood is pine, and it’s filled with knots and grooves, but this just makes it more rustic, which I love!
I think the color goes perfectly with the brown tones in the horse picture. In fact, the picture was sort of my inspiration for the new mantel. We often see horses around here, so the look is perfect for this house.
I picked up the old galvanized bucket at the thrift store this past weekend, and I thought it would make a nice rustic planter. I’ll have to hunt for more of them!
I love this DIY wood beam mantel so much more than the original, and I think it fits the Spanish style of the house perfectly. I also think my husband is thrilled to know that we’ve crossed one more project off our list!
Thanks so much for taking the time to visit and read the entire post. Have a super day!
You May also Like
