This post may contain affiliate links. Please see disclosure form more information.
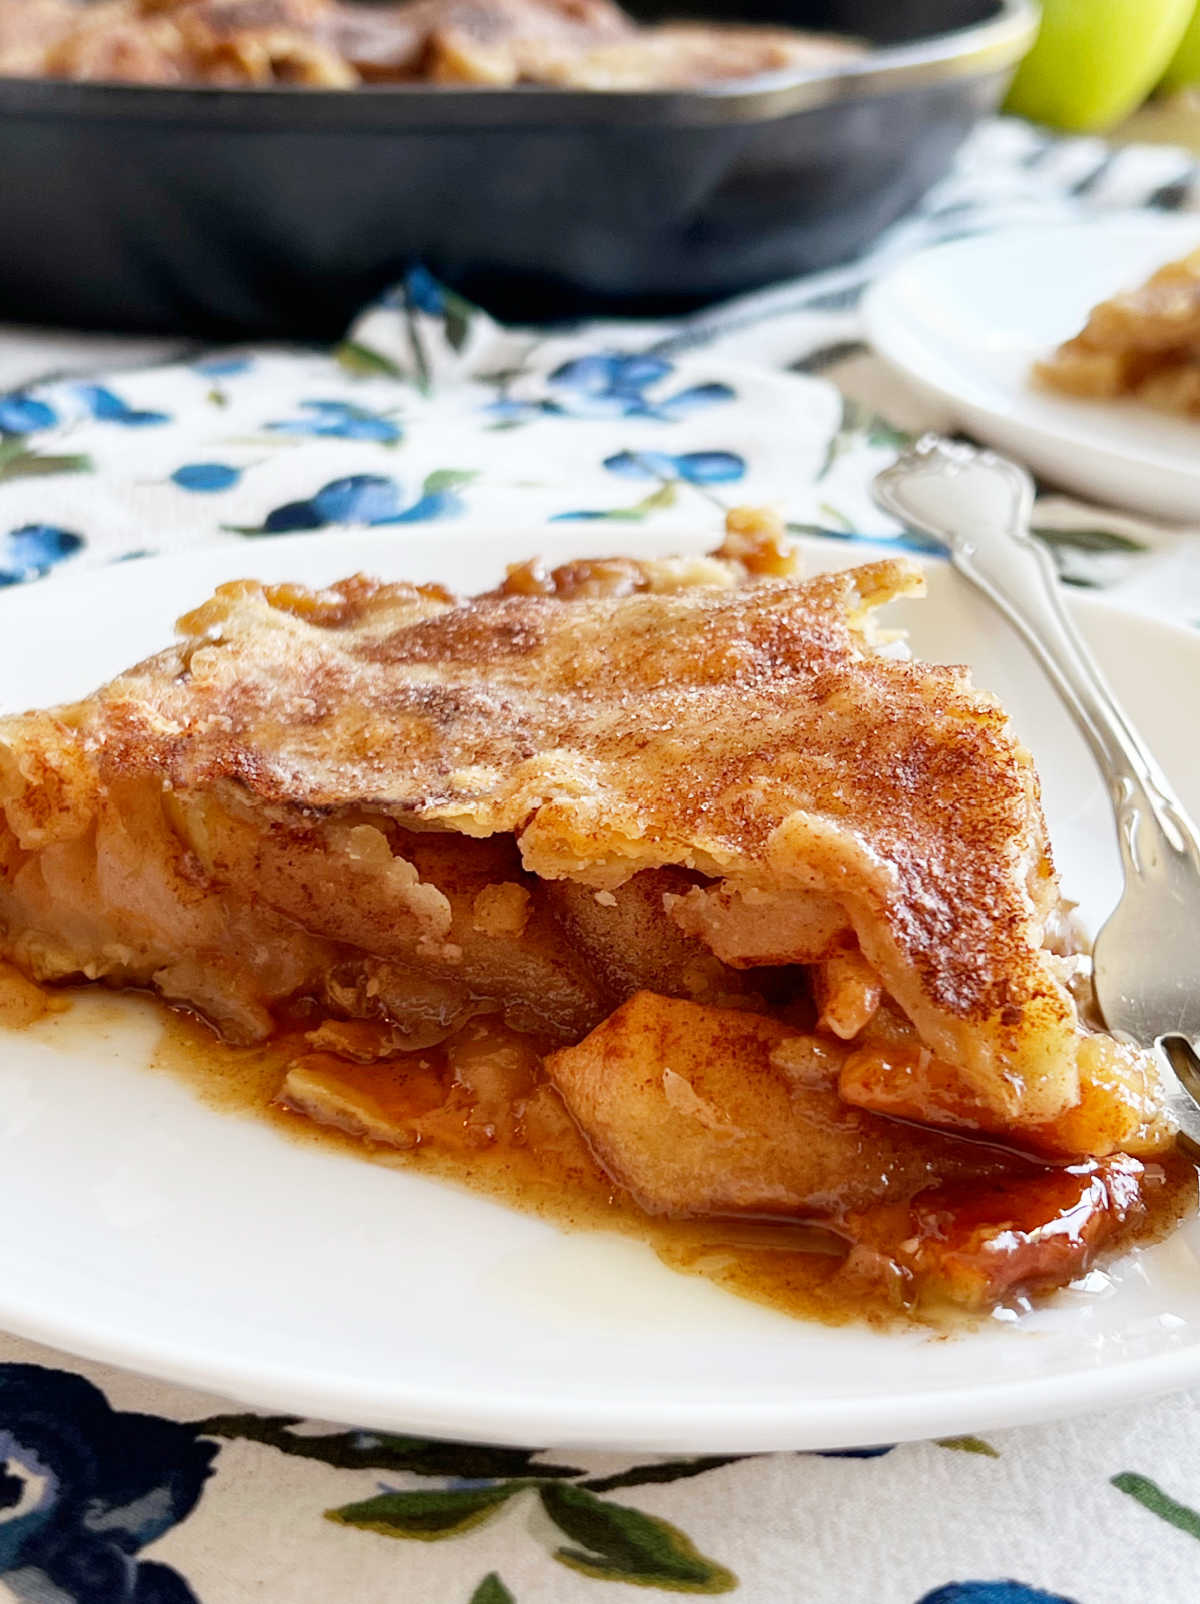
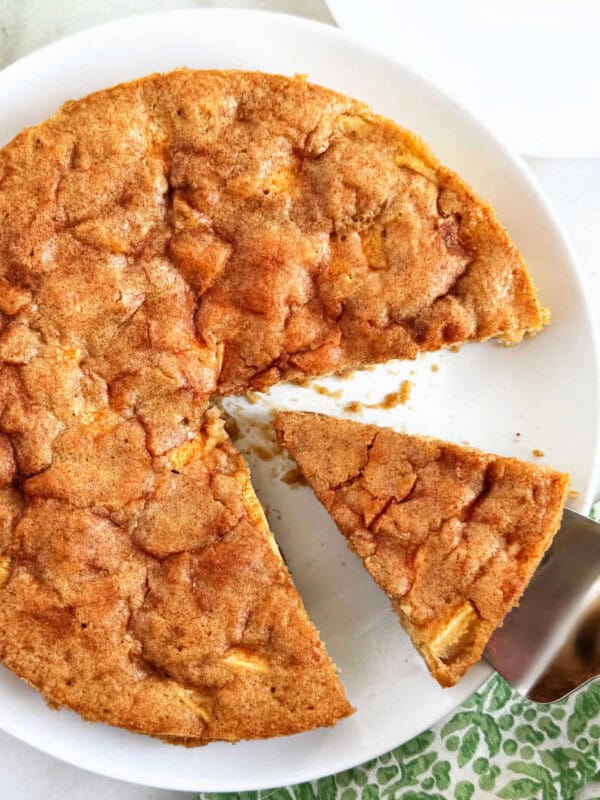
This easy skillet apple pie recipe uses fresh apples and refrigerated pie dough for a semi-homemade dessert perfect for fall.
Why you’ll love apple pie made in a cast iron skillet

This delicious dessert is an easy way to enjoy the taste of freshly baked apple pie without the fuss of making a homemade crust. The cast iron skillet helps the pie cook evenly and stay warm longer, so you can enjoy a warm slice of pie for dessert!
Table of Contents
Easy Apple Pie Ingredients
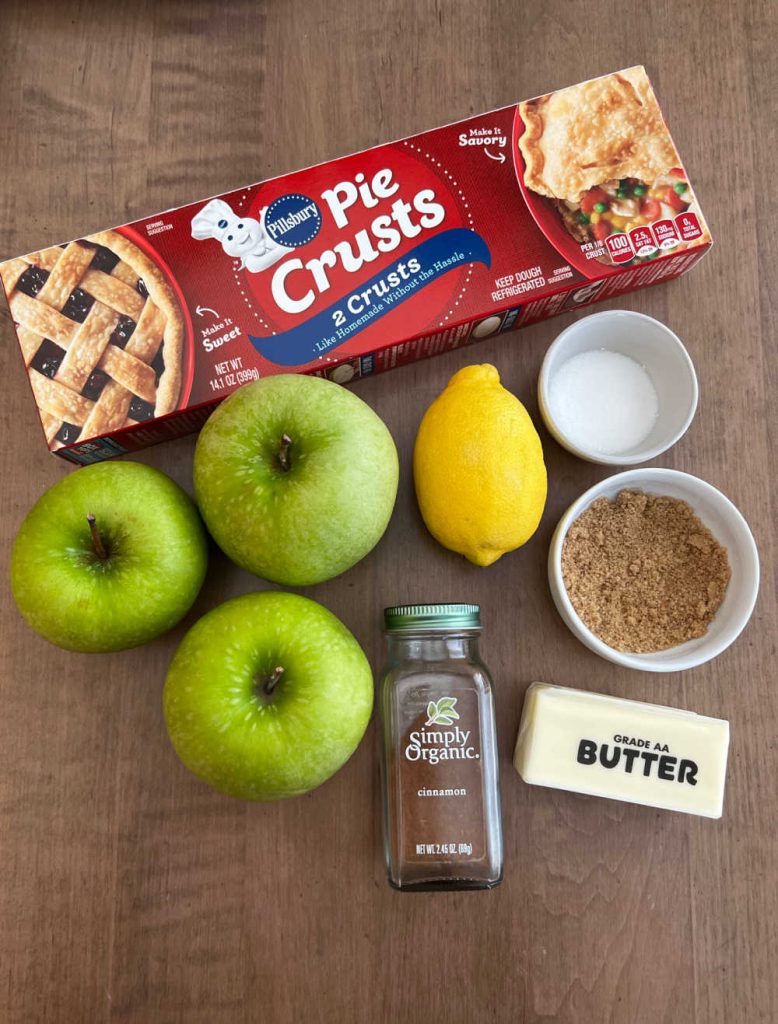
Here’s what you need for this easy dessert. Full amounts are in the printable recipe card below.
- Apples — I use Granny Smith apples for baking. You can use any firm apple, though. Pink lady apples, gala apples and golden delicious apples or honey crisp apples will all work.
- Refrigerated pie crust — I use Pillsbury pie crusts, but any brand with 2 crusts will work. You can use a homemade pie crust if you have a favorite recipe.
- Butter — either salted butter or unsalted butter
- Brown sugar — either light brown sugar or dark brown sugar
- White sugar — granulated sugar
- Lemon juice — to keep apples from turning brown
- Cinnamon — for that classic fall flavor
You will also need a cast iron skillet for best results or any deep oven-safe skillet that can go from the stove-top to the oven.
How to Make Skillet Apple Pie
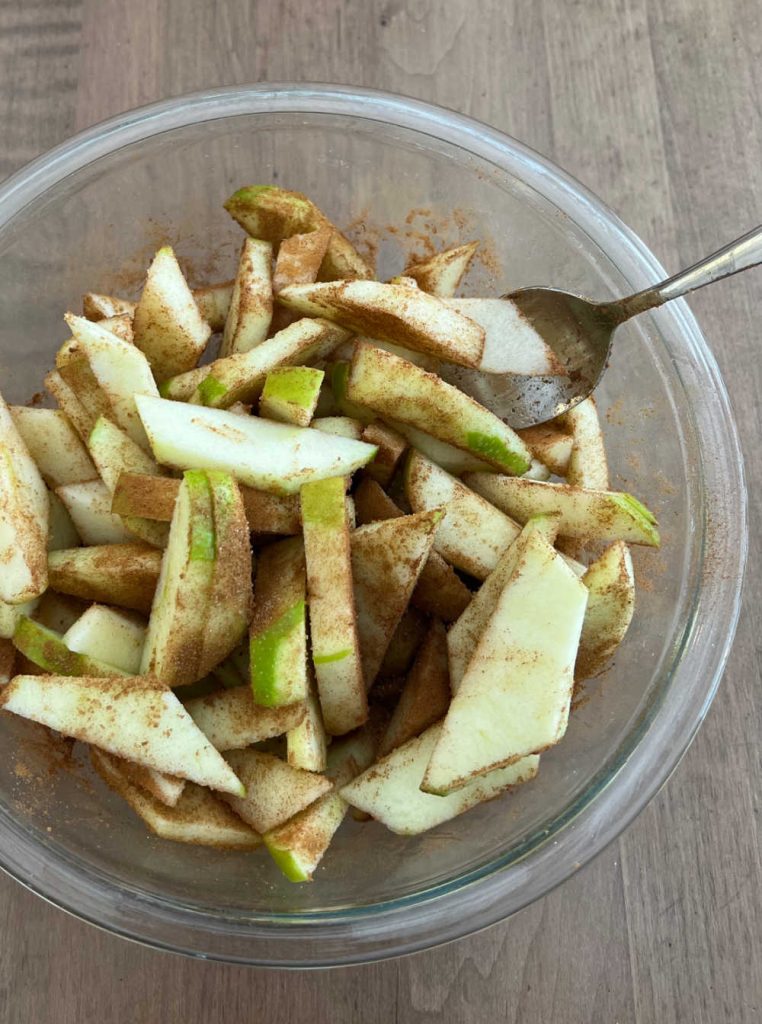
First, preheat the oven and prepare the apples. Cut the apples into 1/2 inch slices. Then, place apples in a large bowl, and toss with lemon juice. Toss with cinnamon and sugar, and set aside.
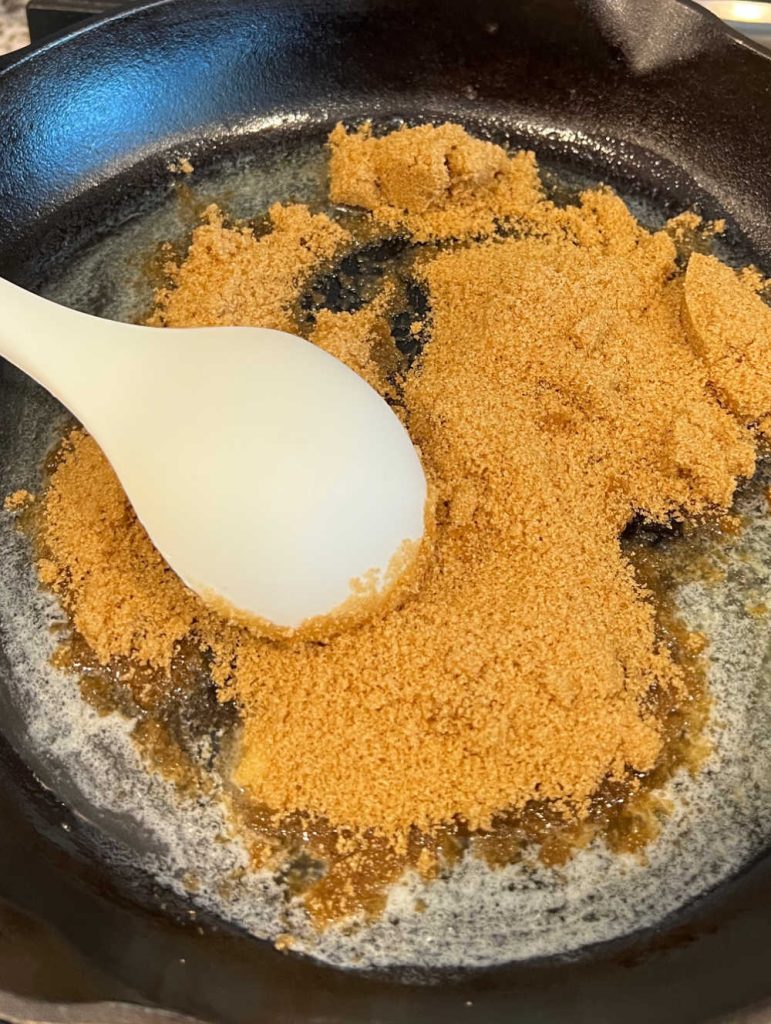
Next, melt butter in the skillet on medium heat until melted. Remove from heat. Reserve a tablespoon of the melted butter to brush on the top crust. from heat. Then, spread the caramel layer evenly on the bottom of the skillet.
Place the bottom crust on top of the brown sugar mixture. Then, spoon the apple mixture on top of the pie crust. It looks like a lot of apples! Don’t worry about the pie being too full, though. The apples will cook down as the pie bakes.
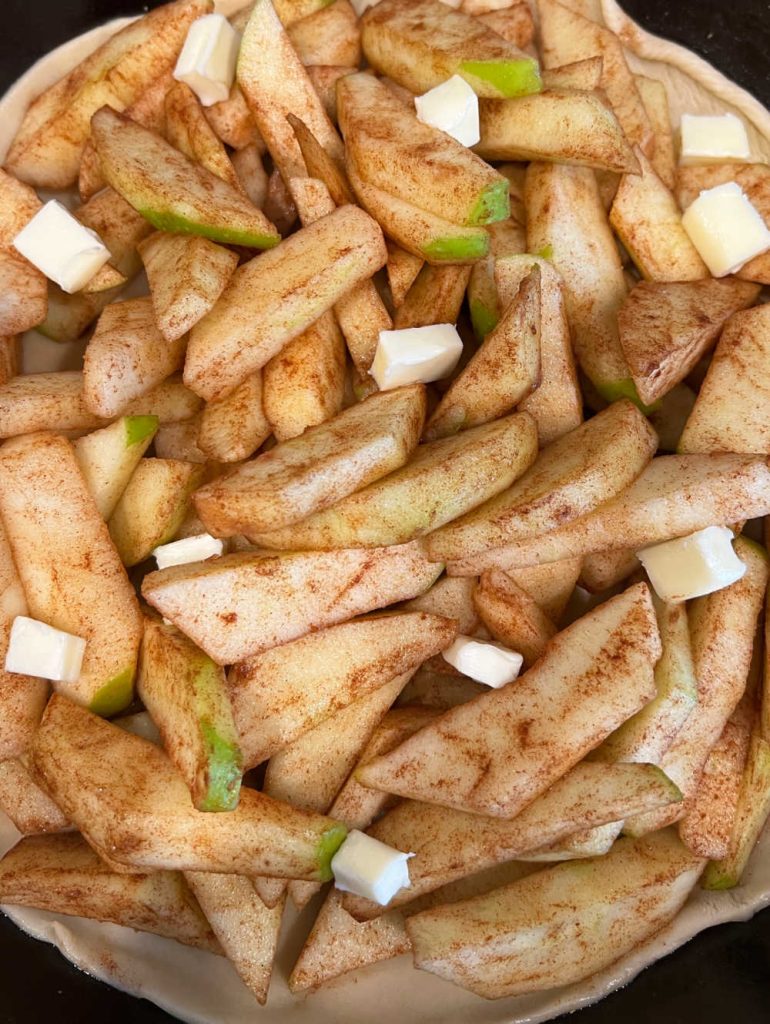
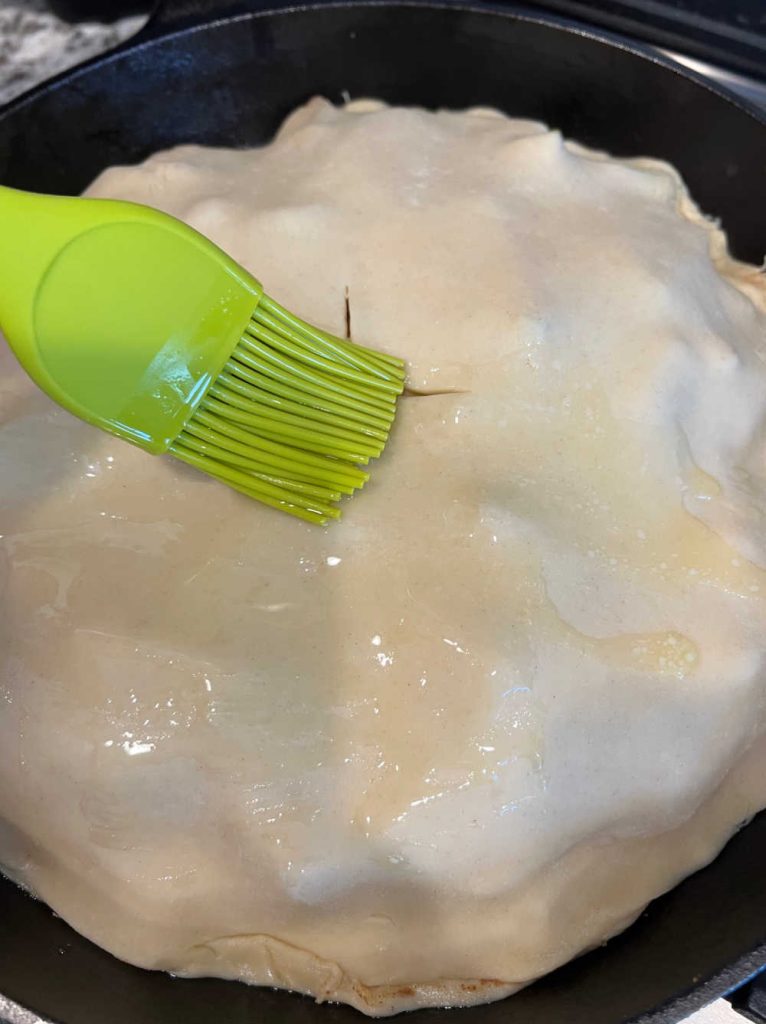
Dot the apples with a little butter. Then, place the second pie crust over the apples. Now normally in a classic apple pie recipe, you would pinch the two crusts together, but it’s kind of hard to do in the skillet. Just pinch the crusts as much as you can. If they don’t really seal, don’t worry. Make 4 slits in the middle of the pie crust using a sharp knife to allow steam to escape. Finally, brush the reserved melted butter over the crust, and sprinkle with a tablespoon cinnamon sugar.
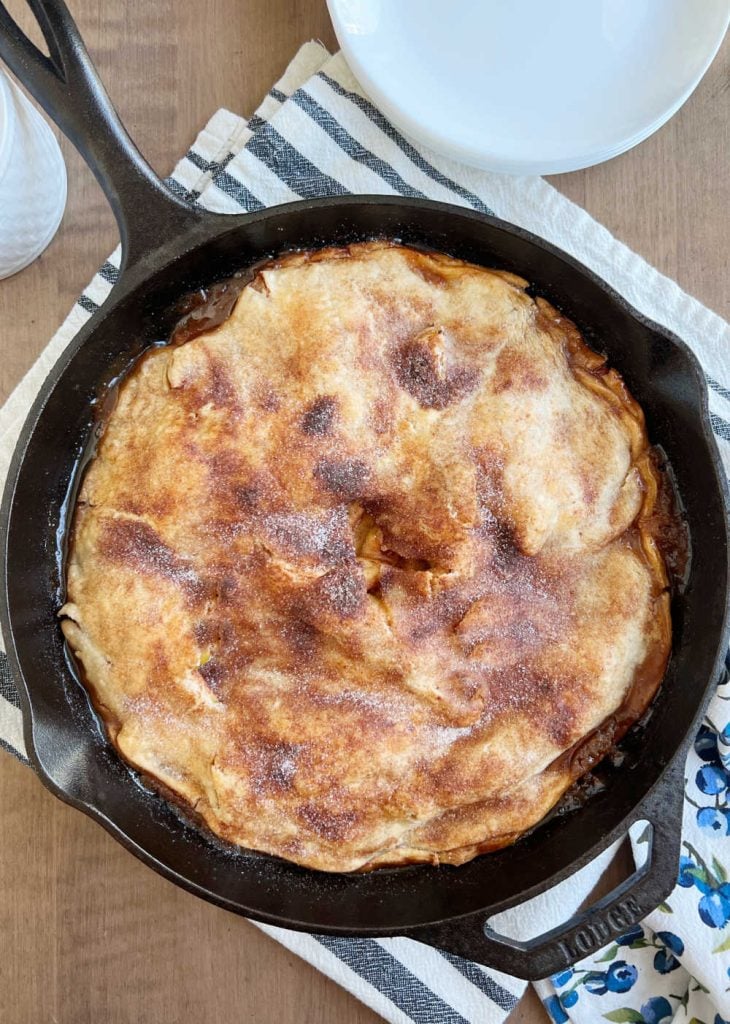
Place the skillet in the preheated oven, and bake. When done, the top crust should be golden brown, and apples should be fork tender. You can tent the top with foil if the crust starts to get too brown.
Serving Suggestions
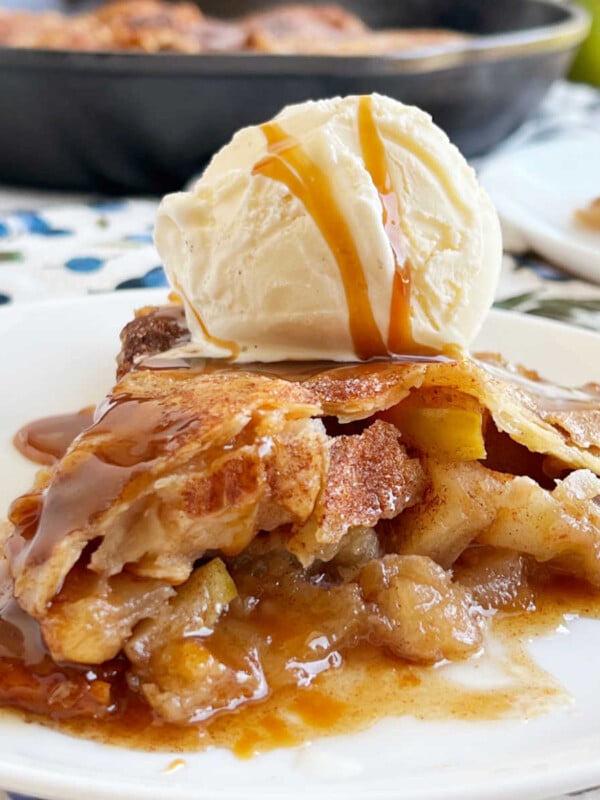
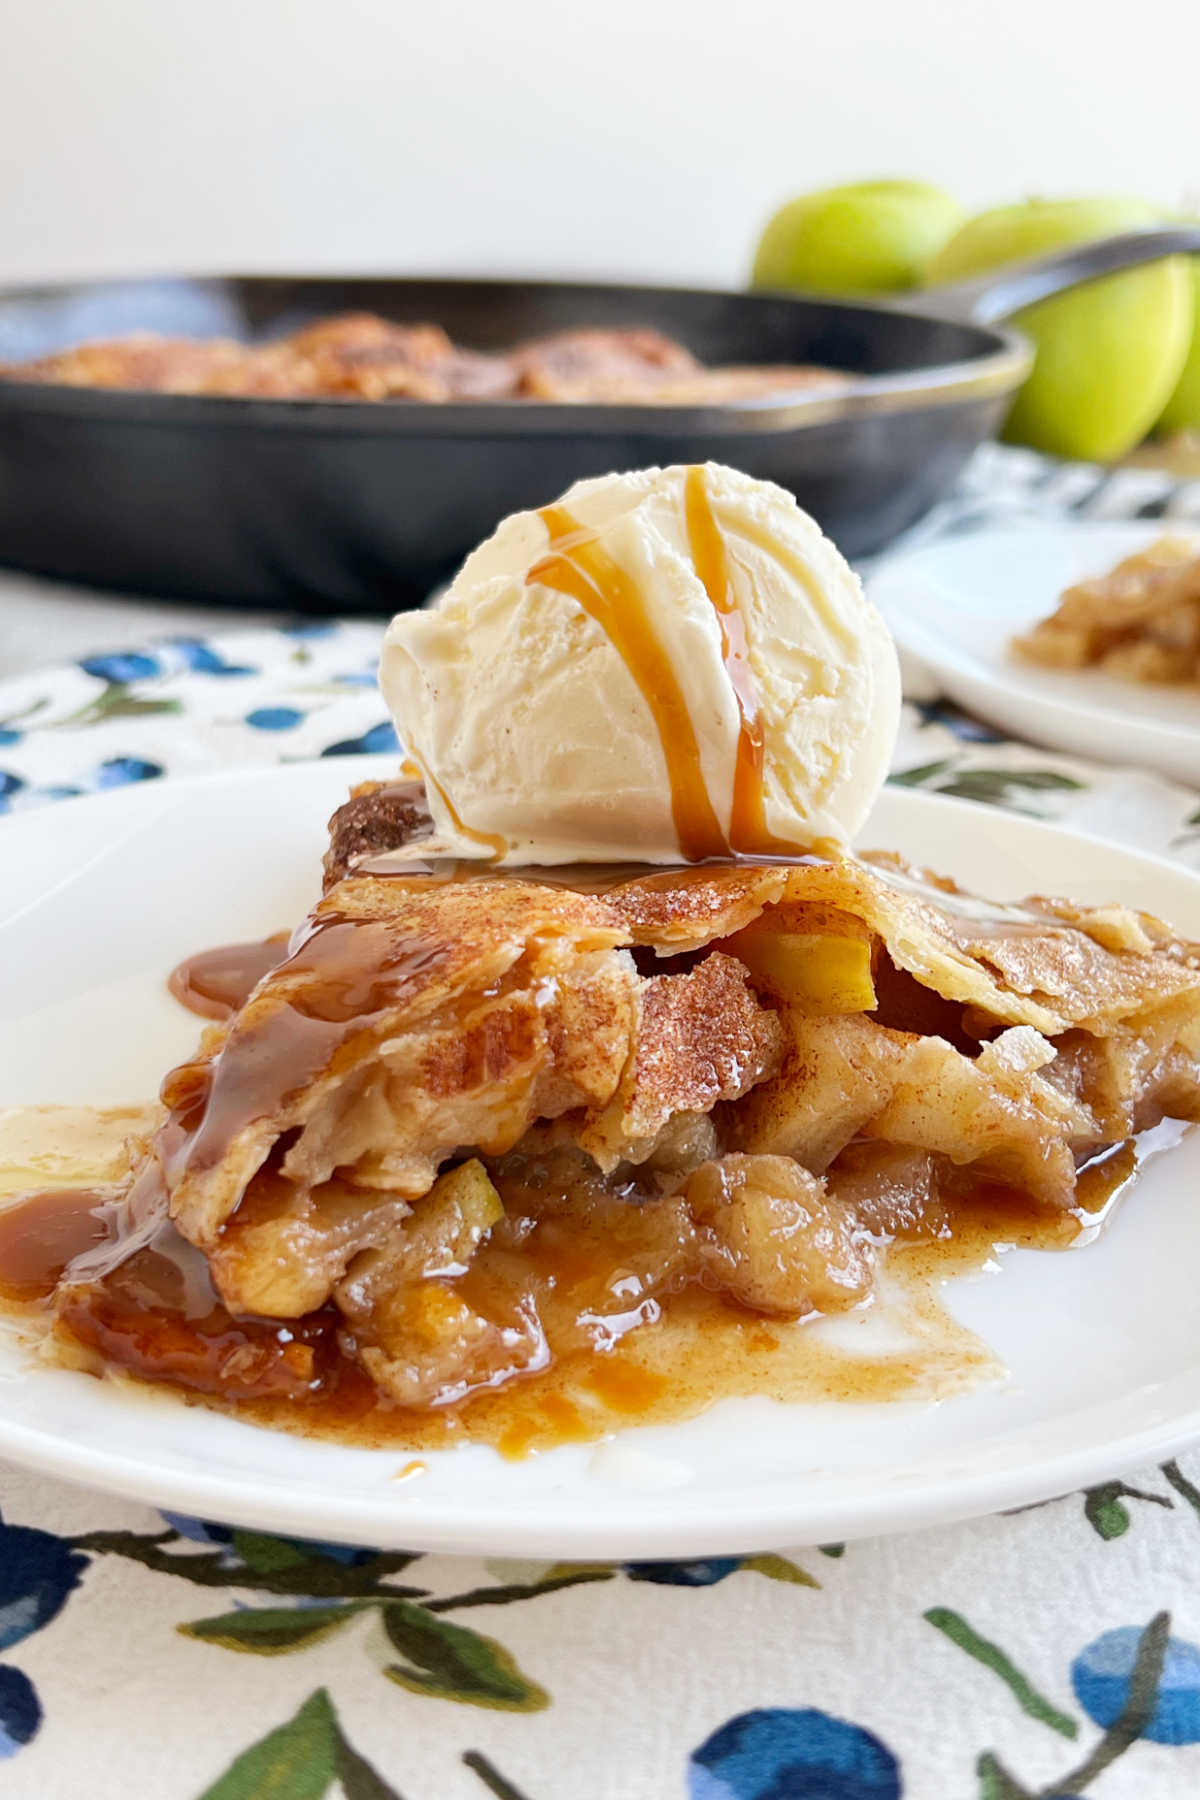
Let the pie cool down a little before serving. There is a lot of liquid bubbling around in the skillet, but it will turn to a thick caramel sauce as it cools.
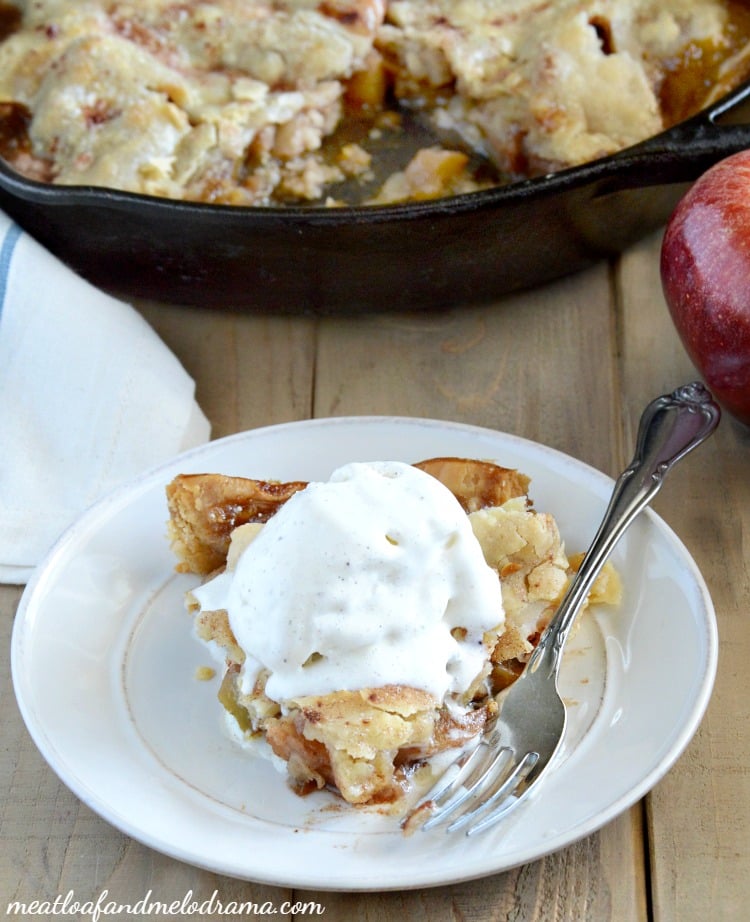
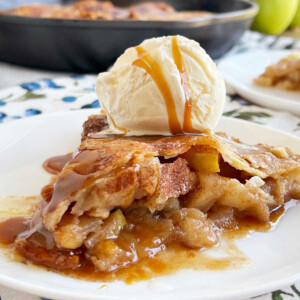
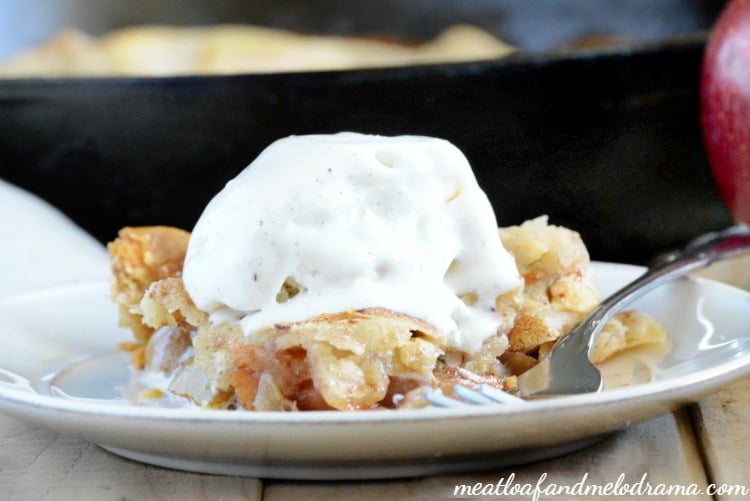
As wonderful as this easy skillet apple pie is, it’s even better with a big old scoop of vanilla ice cream or butter pecan ice cream on top!
it’s best when served warm. Spoon the sauce from the skillet over the pie slices when serving. The ice cream just melts over the crust and into the apple filling, and all is well with the world. For just a moment, anyway.
Helpful Tips
Use a 10-inch cast iron skillet or a 12 inch skillet for best results. If you use a larger skillet, note that the pie crust does not go all the way to the top of the pan.
Slice the apples into half-inch slices. If you slice them too thin, they will turn to mush.
Sometimes, the pie crust sticks when you are unrolling it. If it tears, place it on a lightly floured surface, and gently press the crust back together.
The caramel sauce will be bubbling around in the skillet as it cooks, and the pie looks messy as it bakes. This is normal. It will thicken as it cools.
If you use a smaller skillet, you may want to place a baking sheet under the pan in the oven to catch any drips. I did not have any problems with overflow using a larger skillet.
Variation
For an even easier dessert, use apple pie filling. You’ll only need to bake it for about 25-30 minutes.
More Apple Desserts for Fall
If you like this skillet pie, try my caramel apple dump cake or apple cake or these delicious crescent roll apple dumplings or my apple crisp without oats. Check out more easy desserts and even more delicious fall recipes.
Easy Skillet Apple Pie
Ingredients
For the Filling
- 6 Granny Smith apples washed, peeled, cored and cut into ½-inch slices. About 2 pounds.
- 1 teaspoon lemon juice
- 2 teaspoons granulated sugar
- 1 tablespoon brown sugar
- 2 teaspoons ground cinnamon
- 1 tablespoon butter cut up into pieces
For the Crust
- 1 package refrigerated pie crust 2 crusts total
- ½ cup butter 1 stick
- 1 cup brown sugar
- 1 tablespoon cinnamon sugar
Instructions
- Preheat oven to 400 ℉
- Cut apples into ½ inch slices, and place in mixing bowl with lemon juice, white sugar, brown sugar and cinnamon. Toss and set aside
- Melt butter in a large cast iron skillet over medium heat, and reserve 1 tablespoon of the melted butter for later
- Stir in 1 cup brown sugar and cook until well blended
- Remove from heat and place 1 pie crust on top of the brown sugar mixture
- Add the filling on top of the pie crust, and dot with butter
- Top with second pie crust, and cut 4 slits in the top of the pie crust
- Brush reserved melted butter over the crust and sprinkle cinnamon sugar mixture over the crust
- Place skillet in preheated oven and bake for 40-45 minutes or until apples are fork tender and crust is golden brown
- Allow to cool slightly. Best served warm
Video
Notes
Nutrition
Nutrition information is automatically calculated, so should only be used as an approximation.
For more easy recipes sent by email, sign up for the weekly newsletter or follow me on social media.


Wow! This was the best apple pie I’ve ever made! Everyone loved the crust! I will definitely be making this again for thanksgiving!
Thanks, Ann. I’m glad you liked it!
Love this taste. Apples and cinnamon with some crunchy crust. Could have eaten the whole thing!
Wow! So simple and delicious! Going to make this throughout the fall apple season!