
This post may contain affiliate links. Please see disclosure form more information.
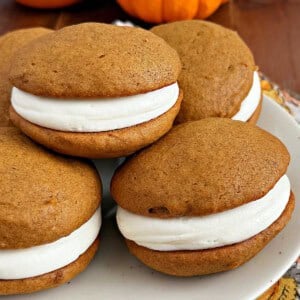
This easy recipe for pumpkin whoopie pies with cream cheese filling is easy to make and perfect for a fun fall dessert or sweet treat anytime.
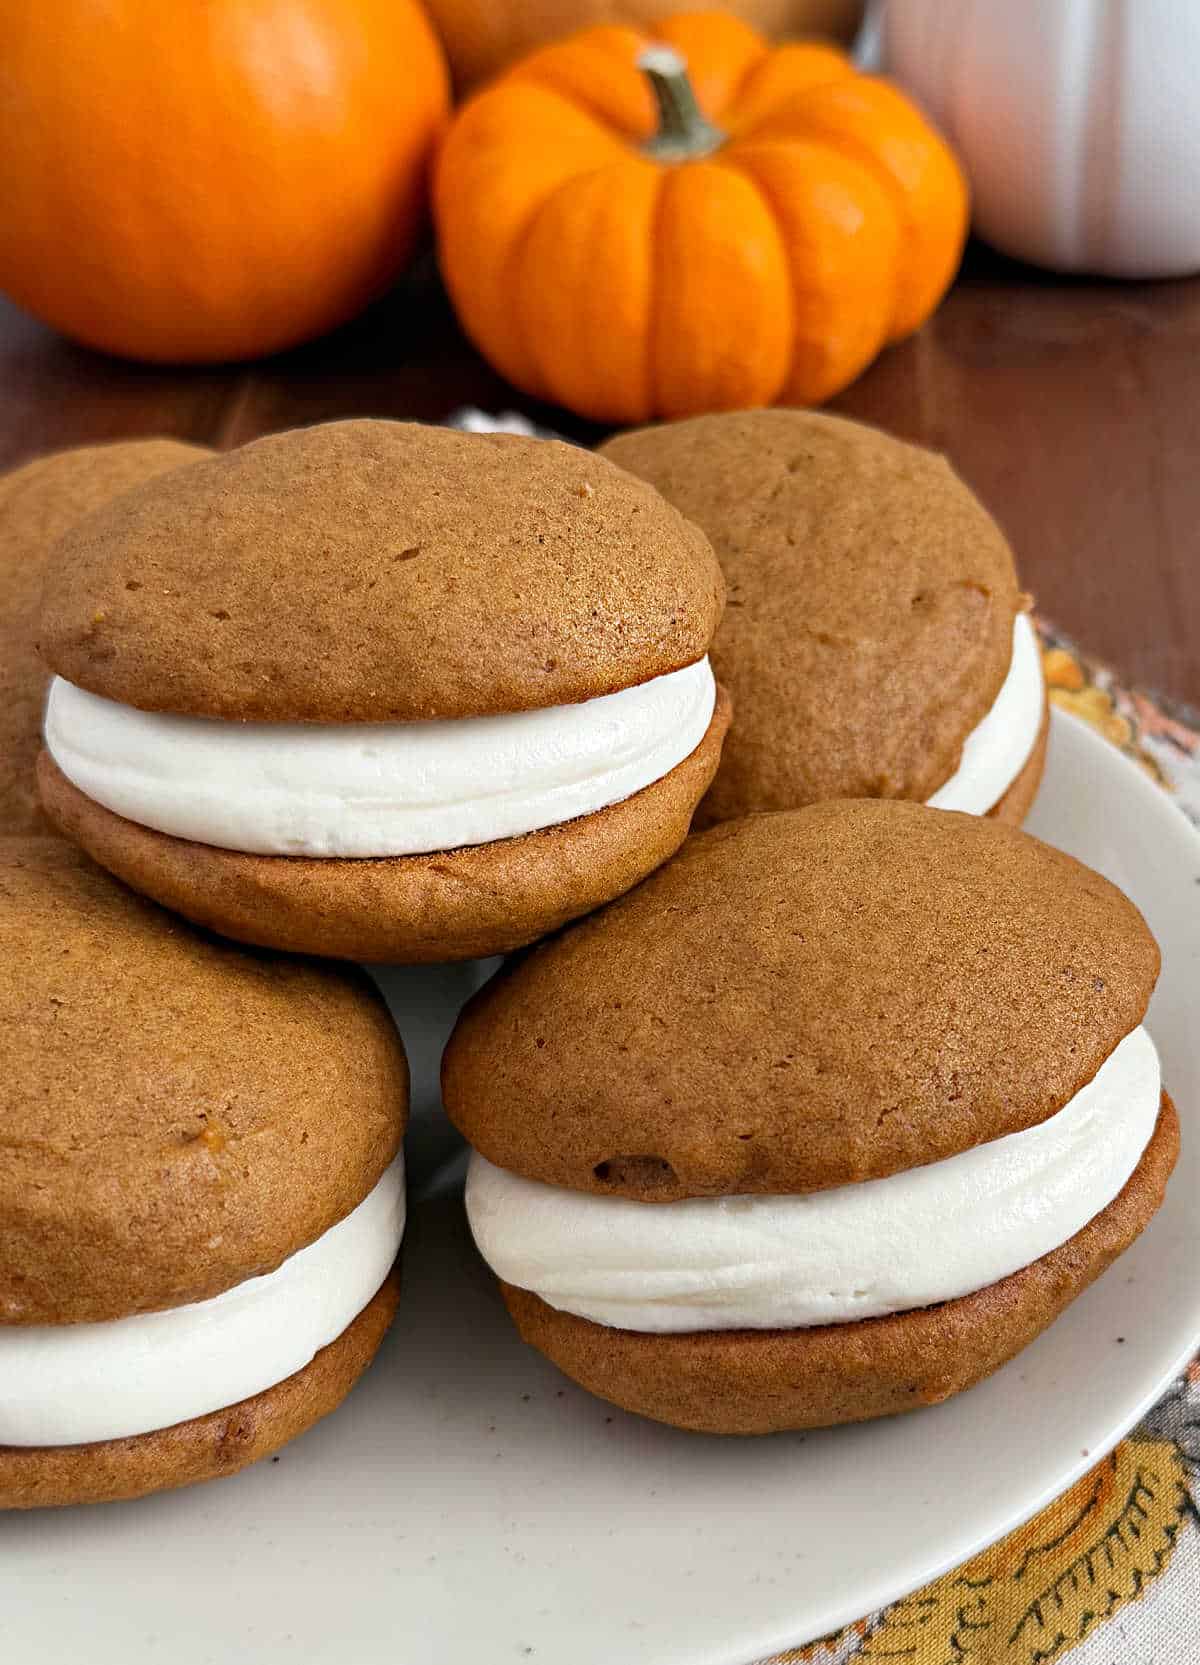
These delicious pumpkin whoopie pies (or Gobs, if you’re from the Pittsburgh area) are going to be your new favorite fall treat! We made this pumpkin whoopie pie recipe last year, and they all pretty much disappeared overnight — my family adores these soft pumpkin cookie sandwiches!
Why you’ll love this family favorite recipe!

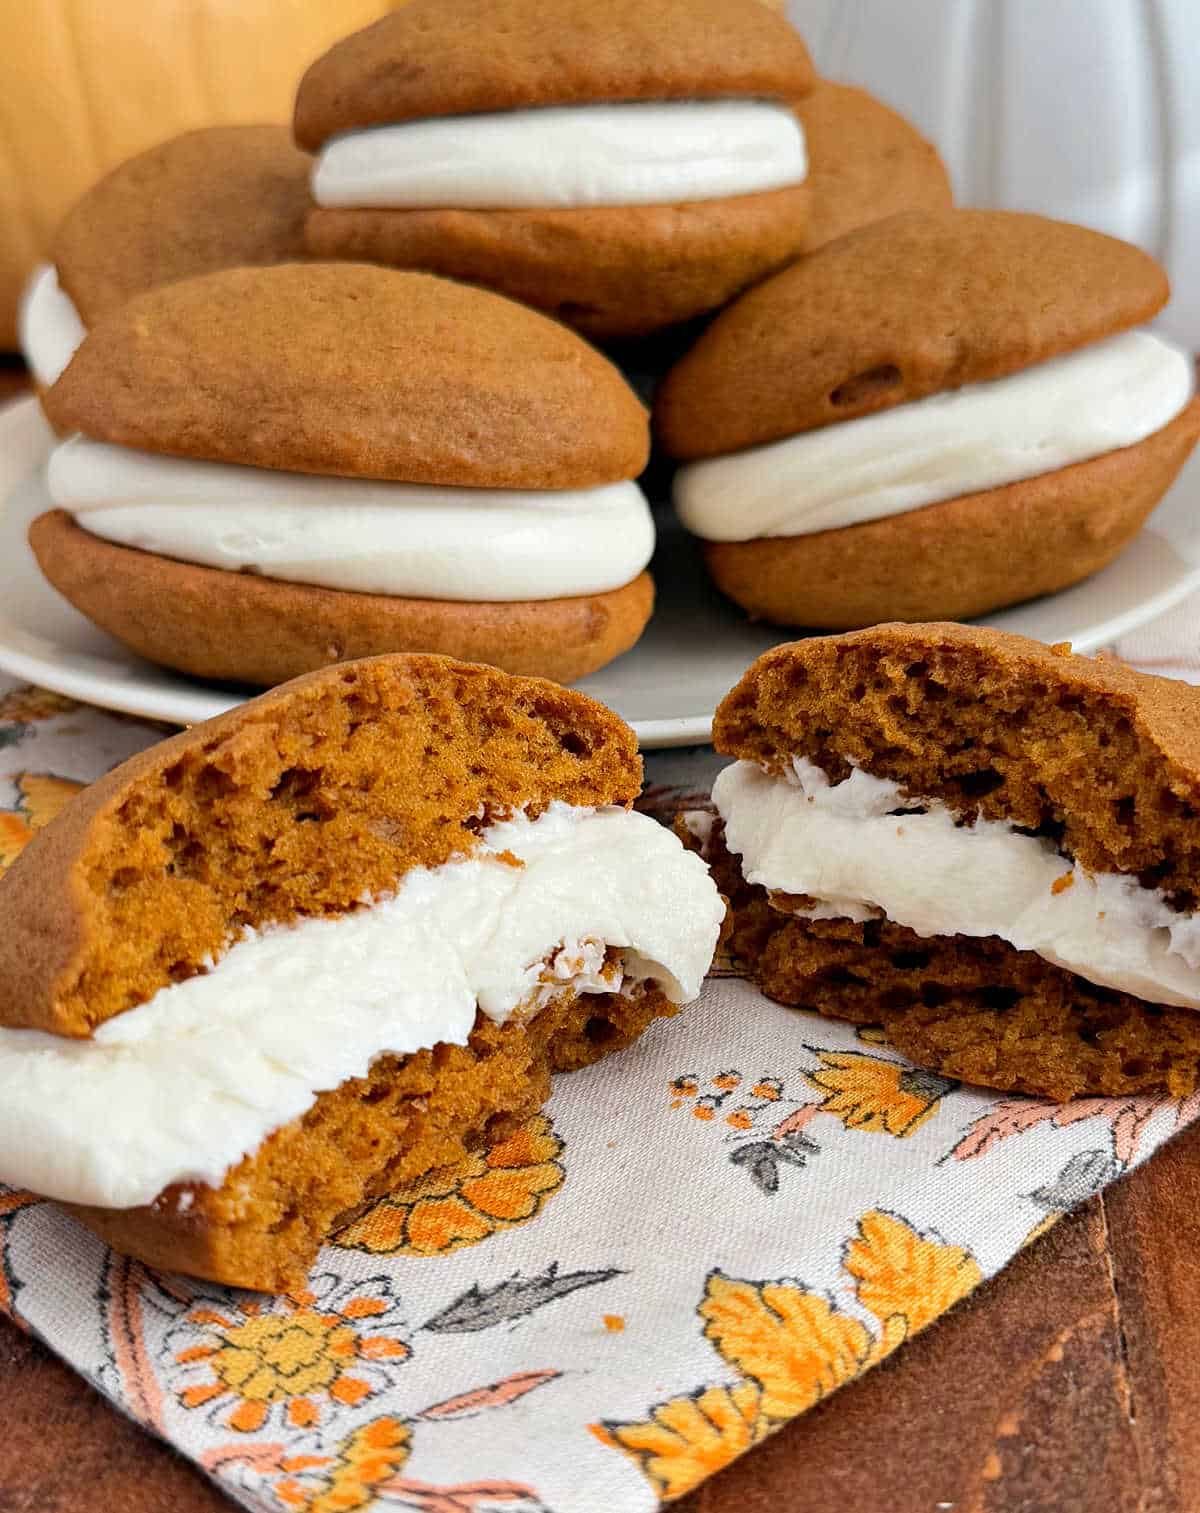
These fall whoopie pies are made with a thick layer of sweet, creamy filling sandwiched between two soft, cakey pumpkin-flavored cookies — what’s not to love about that?!
This is a one-bowl recipe, so you won’t have a lot of dishes to wash.
Best of all, you can enjoy these hand-held desserts anywhere — no plate, fork or knife needed. Plus, transportation is easy!
Love pumpkin desserts? Try these pumpkin bars or pumpkin cheesecake bars or these super easy pumpkin cookies next!
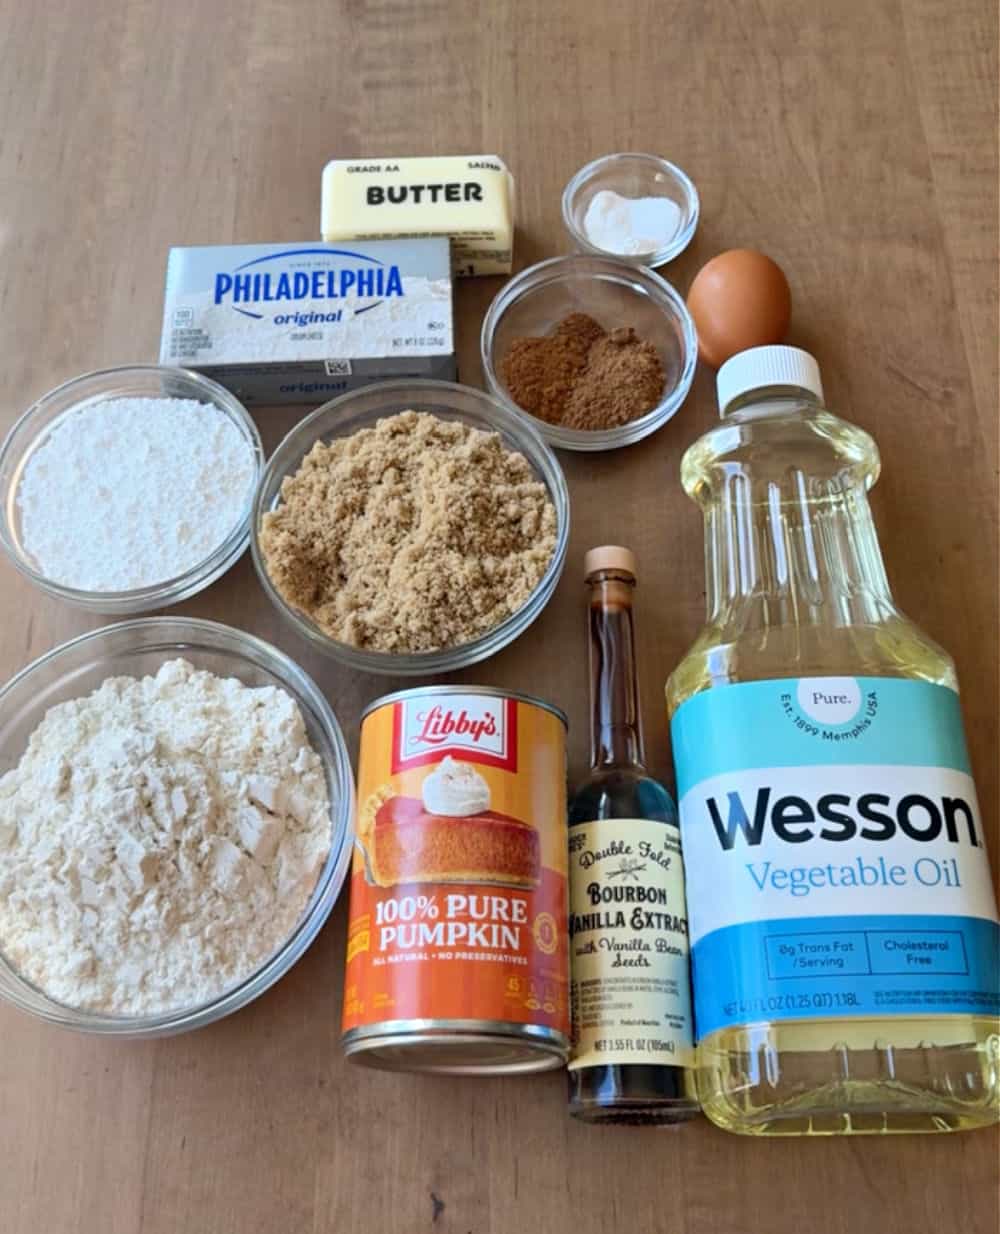
Ingredient Notes
Here’s what you’ll need to make them. Full amounts are in the printable recipe card below.
- All purpose flour
- Canned pumpkin — Look for pure pumpkin, not pumpkin pie filling
- Brown sugar — I use light, but dark will work
- Sea salt — or kosher salt
- Baking soda and powder — for tall, rounded cookies
- Vegetable oil — or any neutral cooking oil to keep the cakes nice and soft
- Egg
- Vanilla — I used a flavored vanilla here, but plain extract will do
- Pumpkin pie spice — plus ground cinnamon and nutmeg for all the fall flavors
- Cream cheese and butter — for the filling. I use salted butter, but you can use unsalted butter
- Powdered sugar — to sweeten the filling
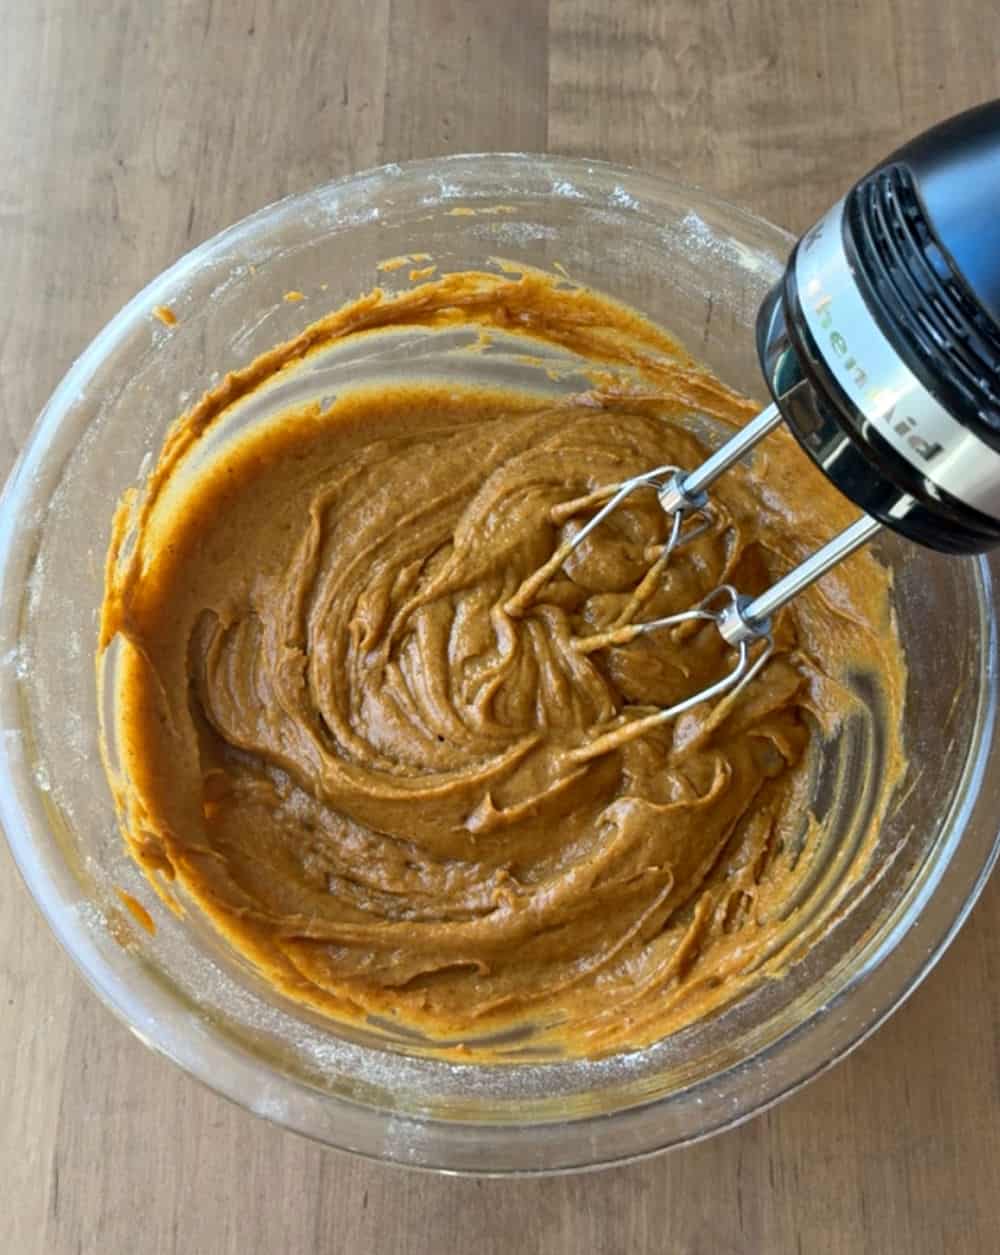
How to Make Pumpkin Whoopie Pies
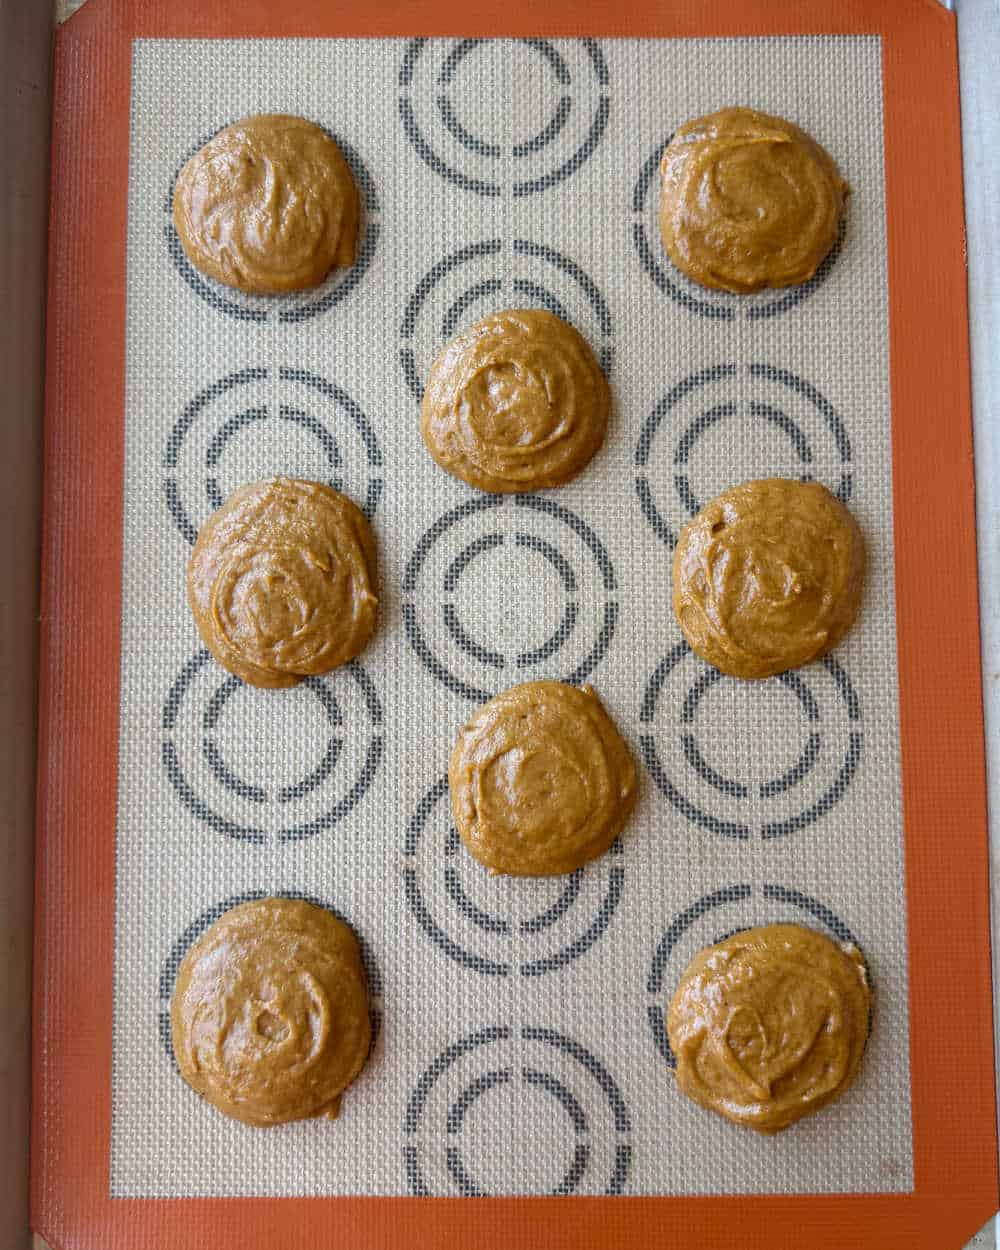
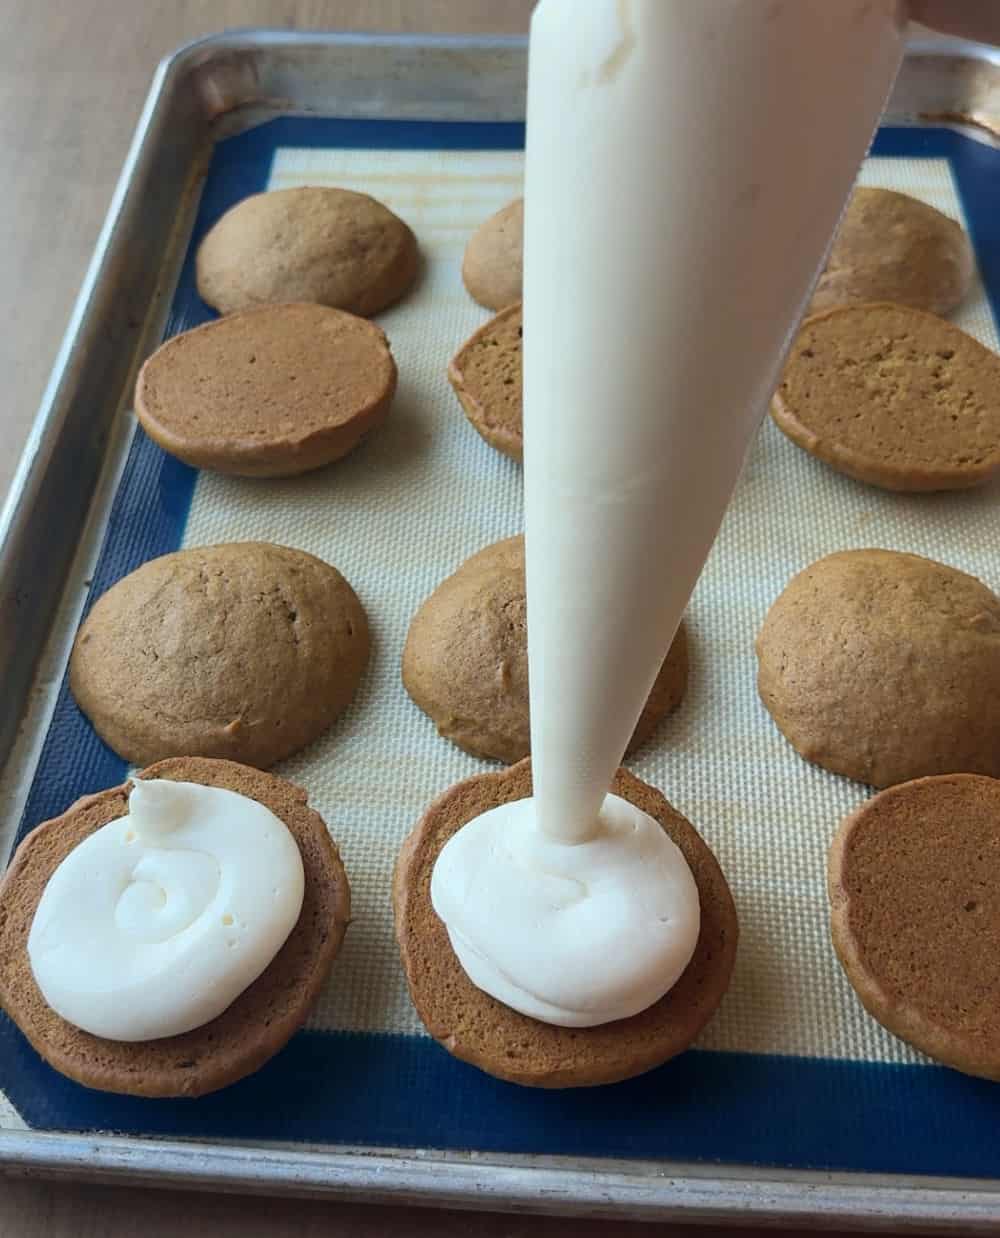
First, combine the wet ingredients with dry ingredients in a large bowl. Drop mounds of batter onto a prepared baking sheet. We like silicone baking mats for these, but you can use parchment paper. Bake, then allow to cool completely. Make the cream cheese frosting, and use a piping bag to pipe the filling onto the cooled cakes. Refrigerate until ready to serve.
Recipe Tips
Use a spoon to evenly spread batter into perfect, smooth circles before baking.
Allow cookies to cool completely before frosting and assembling to keep the frosting from melting.
Storage and Freezing
Store whoopie pies in an airtight container in the refrigerator for up to one week. You can freeze the cakes, but the filling does not freeze and thaw well.
Pumpkin Whoopie Pies
Ingredients
For the Whoopie Pie Cookies
- 1 cup light brown sugar
- ½ cup neutral cooking oil
- ¾ cup pumpkin puree
- 1 teaspoon vanilla extract
- 1 large egg
- 3 teaspoons pumpkin pie spice
- 1 ½ teaspoons ground cinnamon
- ¼ teaspoon nutmeg
- 1 ½ cups all purpose flour
- ½ teaspoon baking soda
- ½ teaspoon baking powder
- ½ teaspoon sea salt
For the Cream Cheese Filling
- 4 oz cream cheese softened to room temperature
- 4 tablesppons butter softened
- ½ teaspoon vanilla extract
- 2¼ cups powdered sugar
Instructions
For the Whoopie Pie Cookies
- Preheat oven to 350℉
- Add the brown sugar and oil to a large mixing bowl and beat with an electric mixer until fully combined
- Mix in the pumpkin puree, vanilla extract, egg, pumpkin pie spice, cinnamon and nutmeg
- Add the flour, baking soda, baking powder and salt and mix until everything is evenly incorporated
- Drop heaping tablespoons of whoopie pie batter 2 inches apart from each other onto a cookie sheet lined with parchment paper, a silicone baking mat or greased foil
- Bake for 10-12 minutes or until edges are slightly golden brown and firm
- Remove from oven and cool completely before frosting
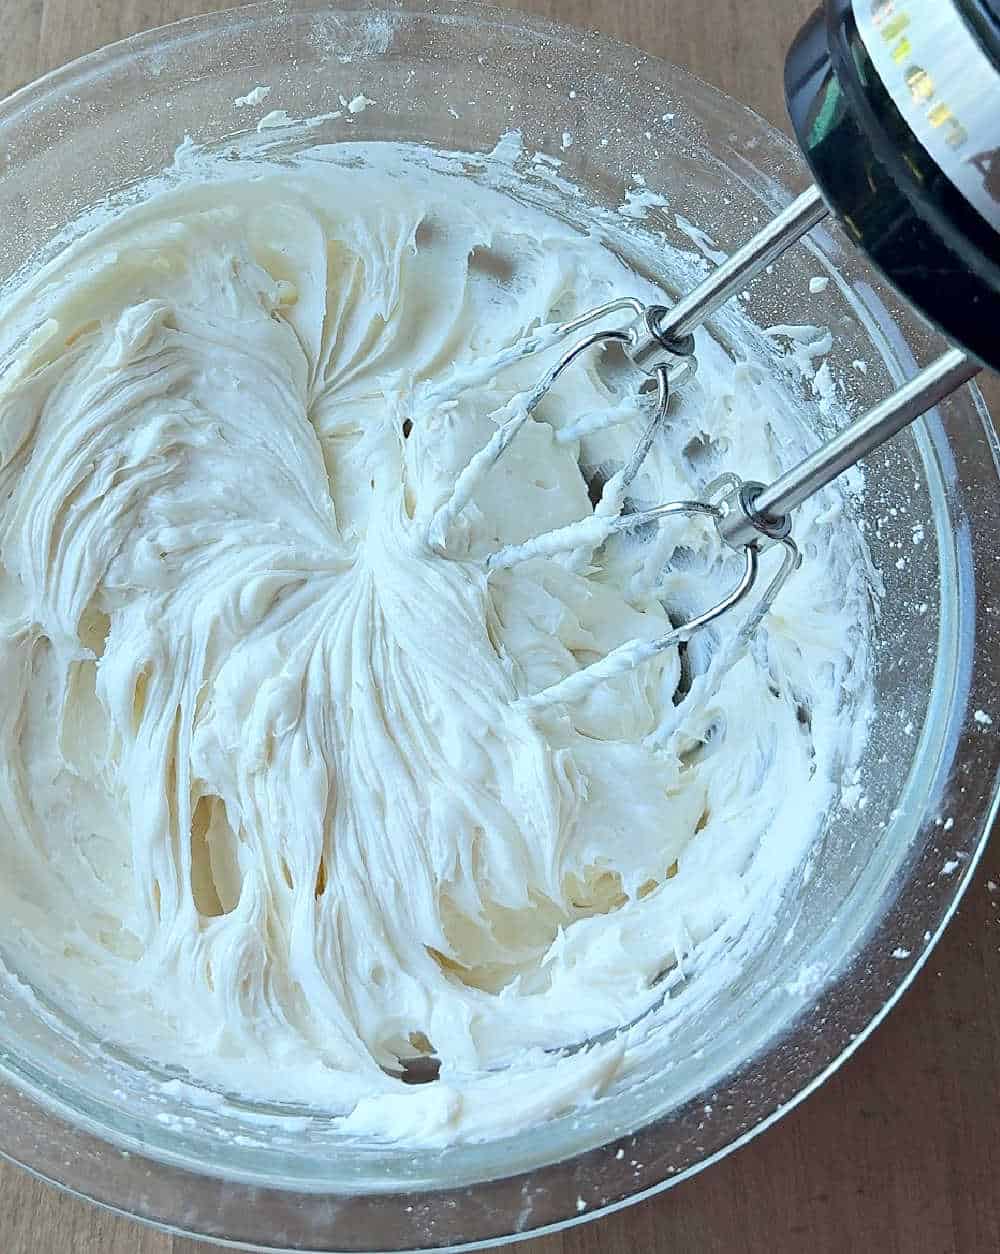
For the Cream Cheese Frosting
- In a medium mixing bowl, beat together cream cheese, butter and vanilla extract with a hand mixer until smooth and all lumps are gone
- Gradually add in the powdered sugar
- Transfer frosting into a piping bag or ziplock baggie cut with a medium sized hole
- Evenly pipe cream cheese frosting on the flat side of half of the cookies
- Gently place an unfrosted cookie on top to form a sandwich
- Store in refrigerator until ready to serve
Video
Notes
Nutrition
Nutrition information is automatically calculated, so should only be used as an approximation.
For more easy recipes, sign up for the free weekly newsletter.


I made these for my Halloween party and they were such a hit! I doubled the recipe and saved dyed some frosting black to pipe on faces so they looked like jack o lanterns. They were so soft and yummy!
That sounds wonderful! Glad everyone liked them!
What a great dessert. The hardest part is waiting for it all to settle up before eating. Love the pumpkin and cream flavors. Kids and I will be making these again.
I LOVE whoopie pies so much, so when I saw your post on instagram, I just had to make these. OMG they were amazing! I’m gonna keep making these the entire fall
Thanks for the great review, Amy. So happy to hear this!
Wow! These are the best whoopie pies I’ve ever had! I love the flavor of the frosting!
Thank you so much, Ann! I’m glad you liked them!