
This post may contain affiliate links. Please see disclosure form more information.
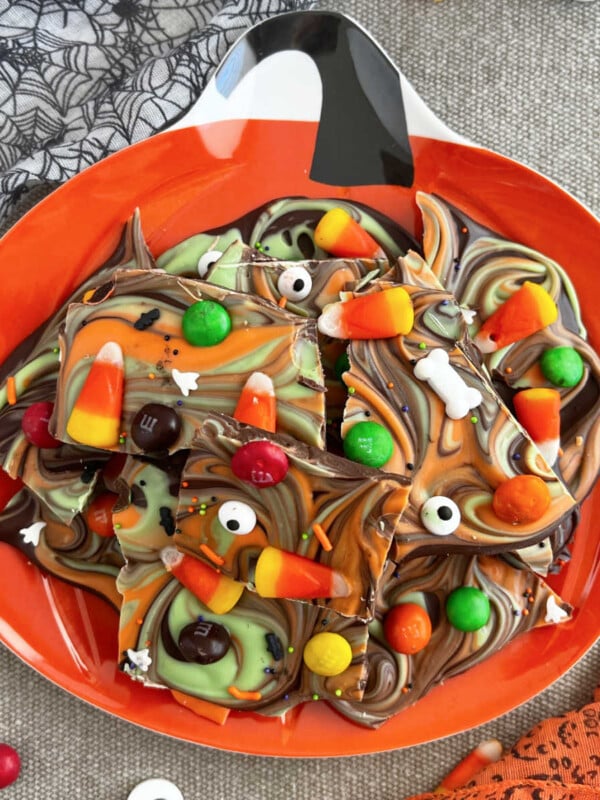
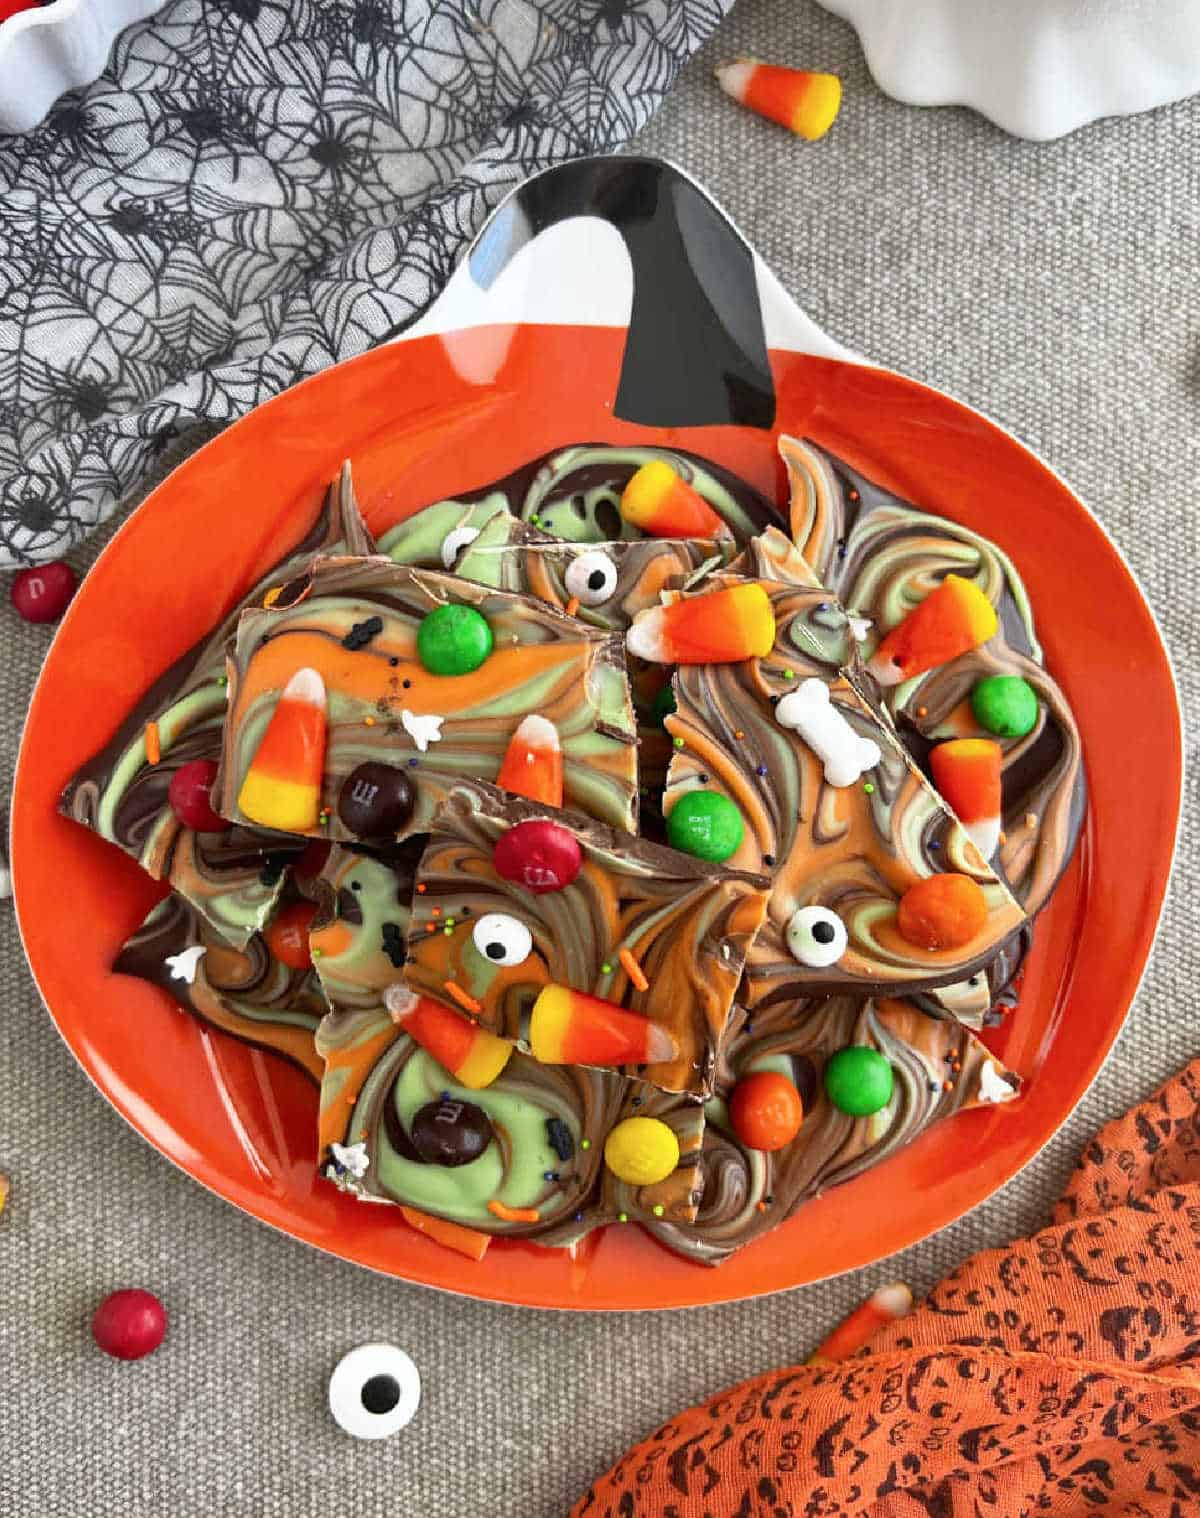
The best Halloween Candy Bark! Just melt chocolate, swirl layers, sprinkle candy corn and toppings, and cool. This easy no-bake Halloween treat is ready in 46 minutes and is perfect for a Halloween party!
Easy Halloween Bark Recipe
Looking for a fun treat for Spooky Season? You will love this easy Halloween candy bark recipe. It’s sure to satisfy your sweet tooth!
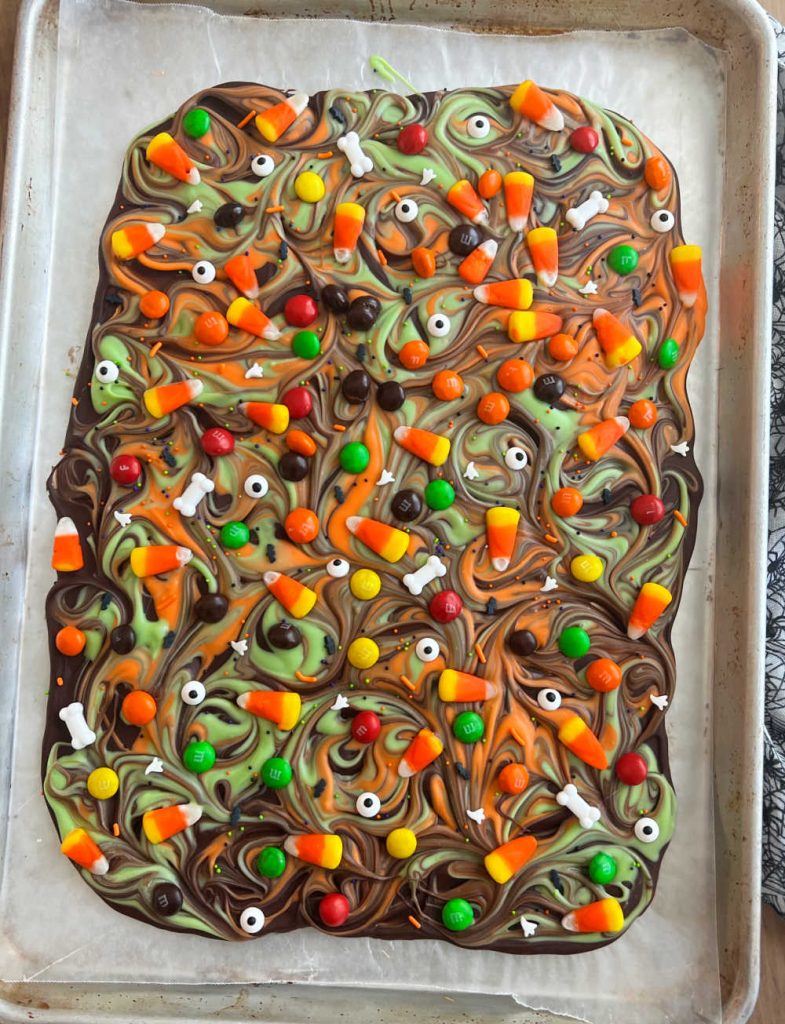
For this bark, we used semi sweet chocolate chips and two different colors of candy coating. The kids voted on using bright green and orange candy coating, so those are the colors we went with. I also bought some Halloween-themed candies and sprinkles to add to the top, plus some candy eyeballs.
Why you’ll love this Halloween Treat!

- Super easy and kids can help
- Swirling the layers means they won’t separate
- Homemade candy ready in less than an hour
- A delicious way to use up leftover Halloween candy!
Table of Contents
Halloween Chocolate Bark Ingredients
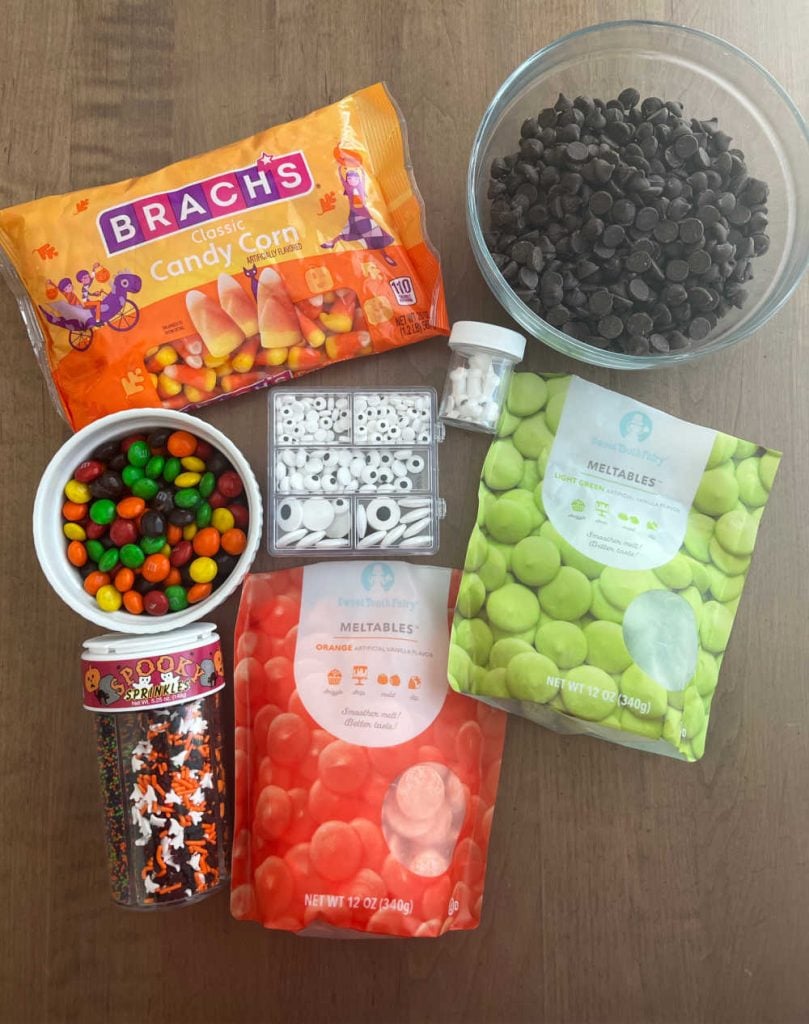
Here are the basic ingredients. Full amounts are listed in the printable recipe card below.
- Semi-sweet chocolate chips — for the base of the bark. Candy coating by itself is a little too sweet. You can sub almond bark or baker’s chocolate or milk chocolate chips, instead.
- Candy melts — Use different colors for Halloween.
- Halloween-themed candy — candy eyes, candy corn, Halloween sprinkles, candy bones, M&M candies or Reese’s Pieces
You will also need microwave-safe bowls or a double boiler, a baking sheet, wax paper or parchment paper for lining the baking sheet and a sharp knife or toothpick for decorating.
How to Make Halloween Candy Bark
Basically, all you have to do is melt different types of chocolate and swirl them together to form layers and patterns.
First, melt the chocolate chips in a microwave-safe bowl in 30 second increments, stirring after each interval. This usually takes a little more than a minute.
Then, pour melted chocolate on a prepared baking sheet. Smooth into a thin layer with a spoon, spatula or offset spatula.
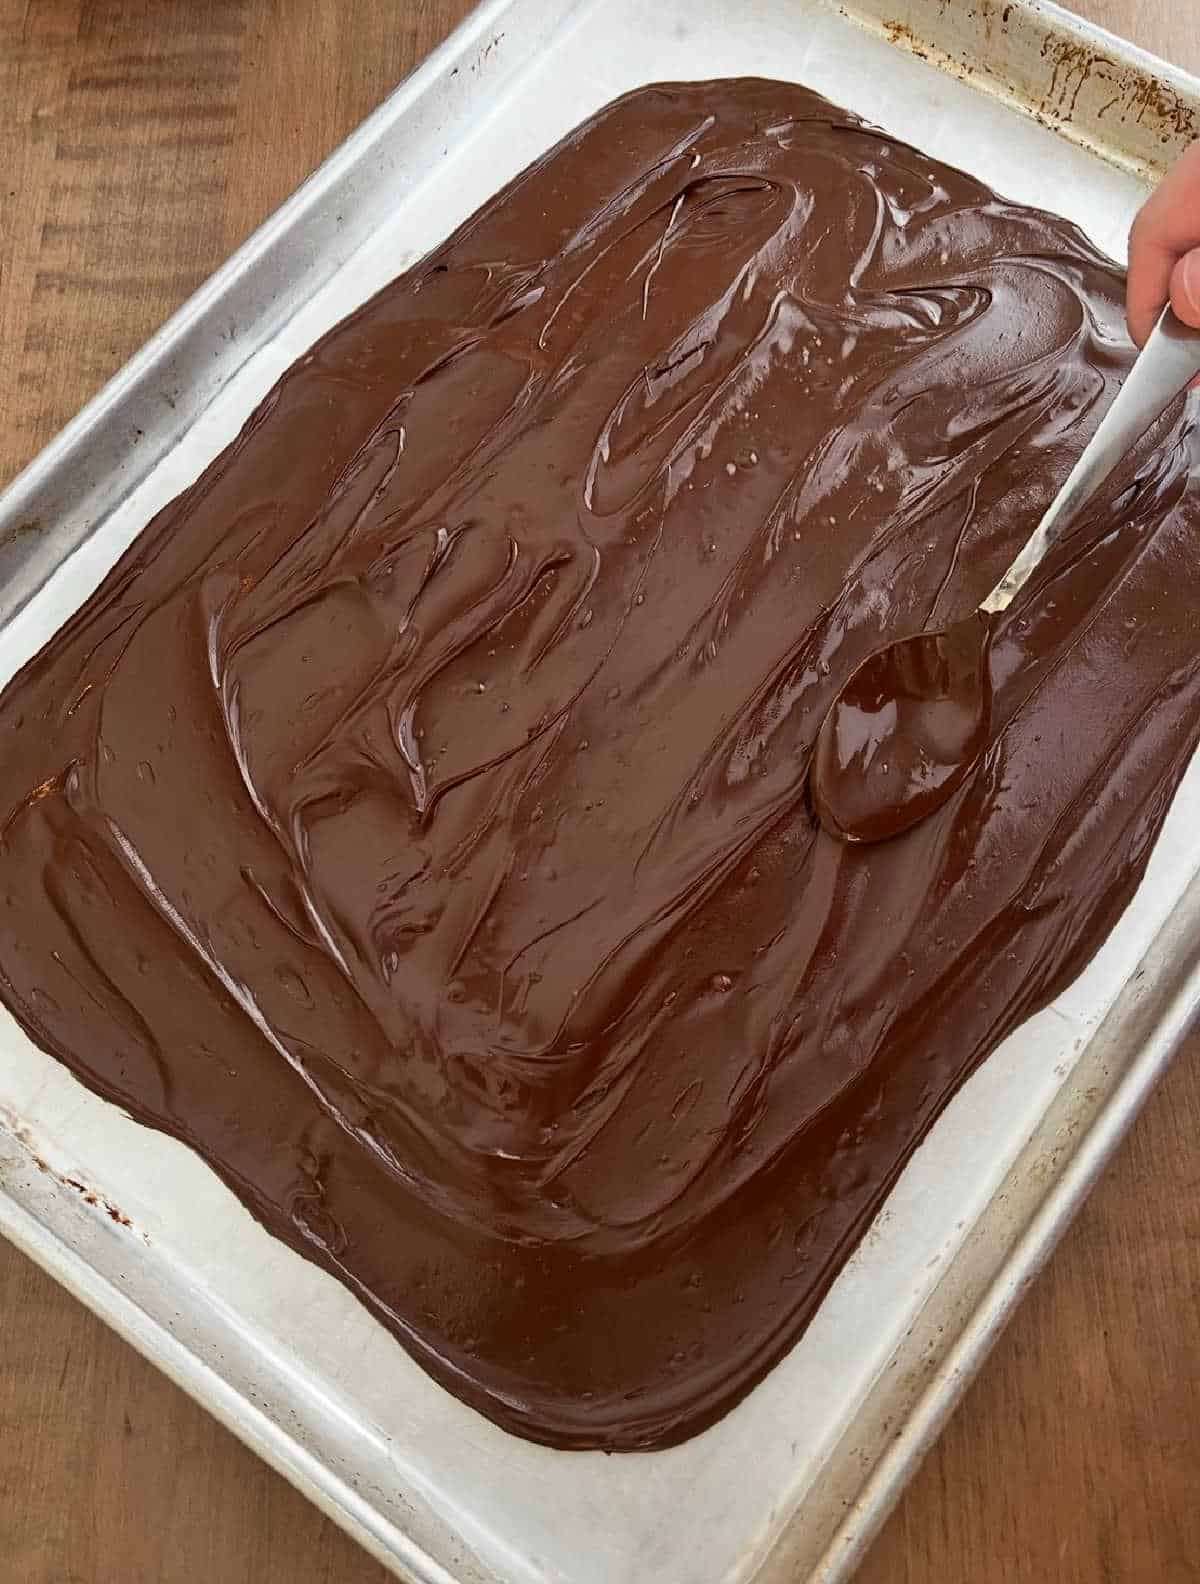
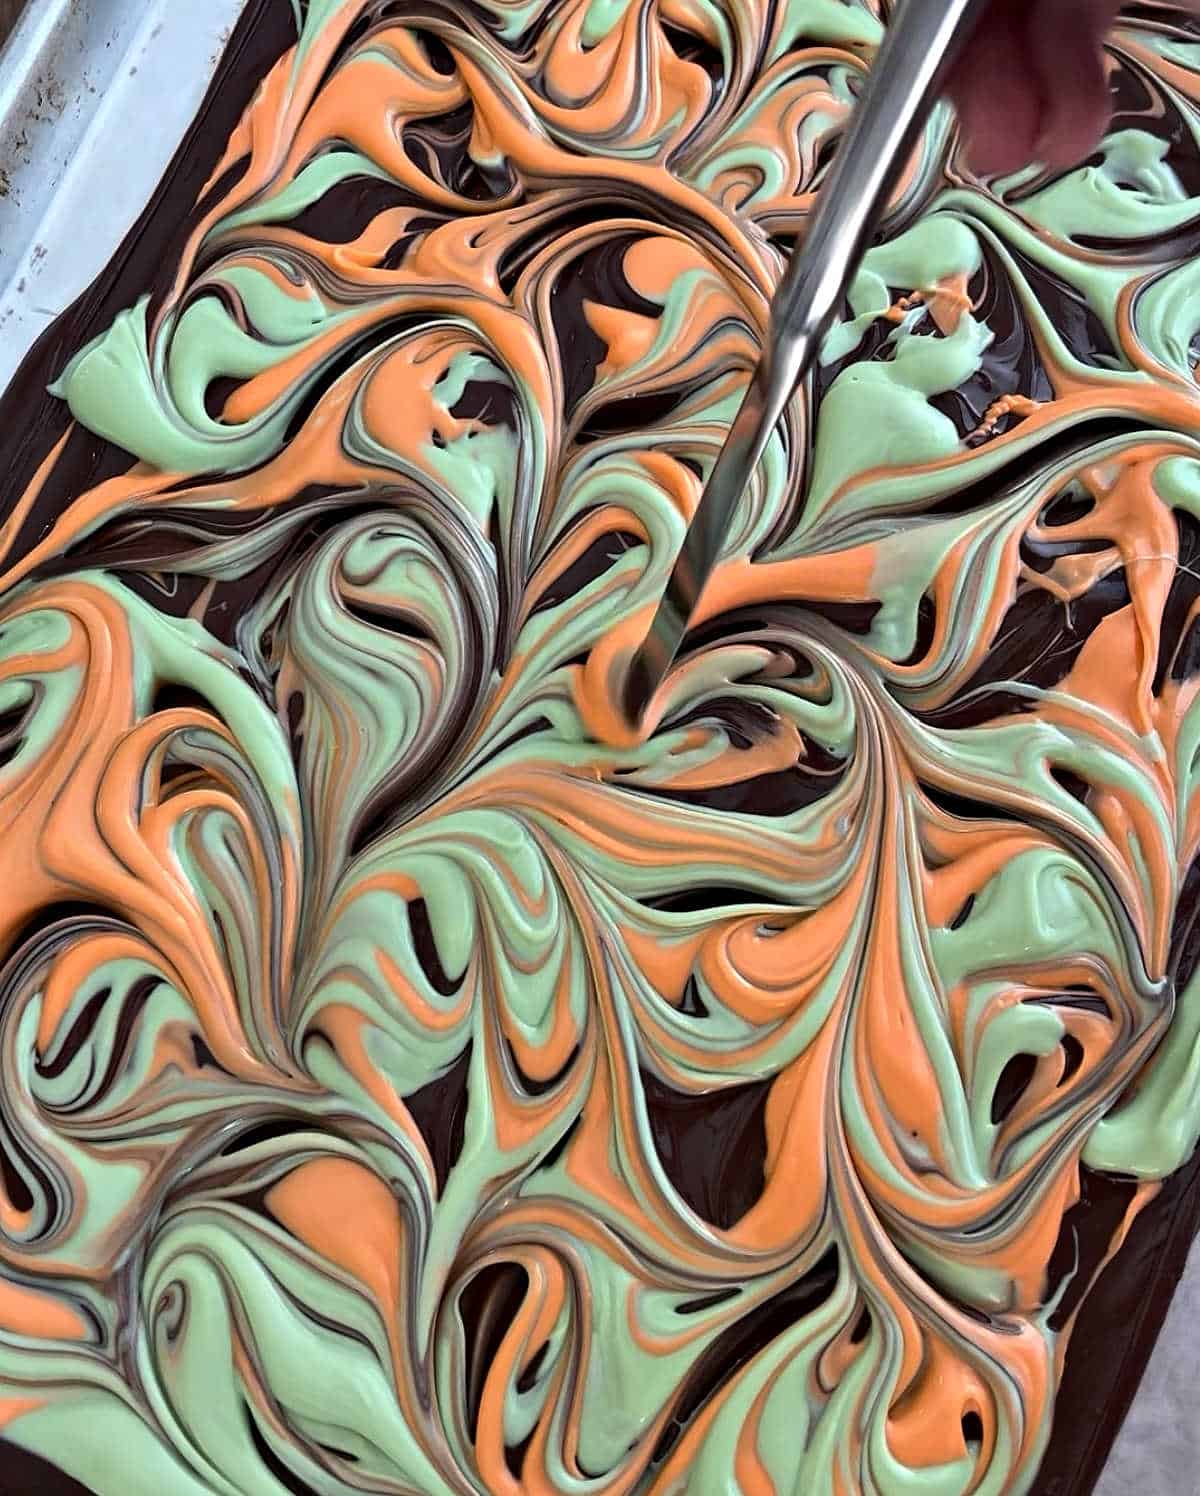
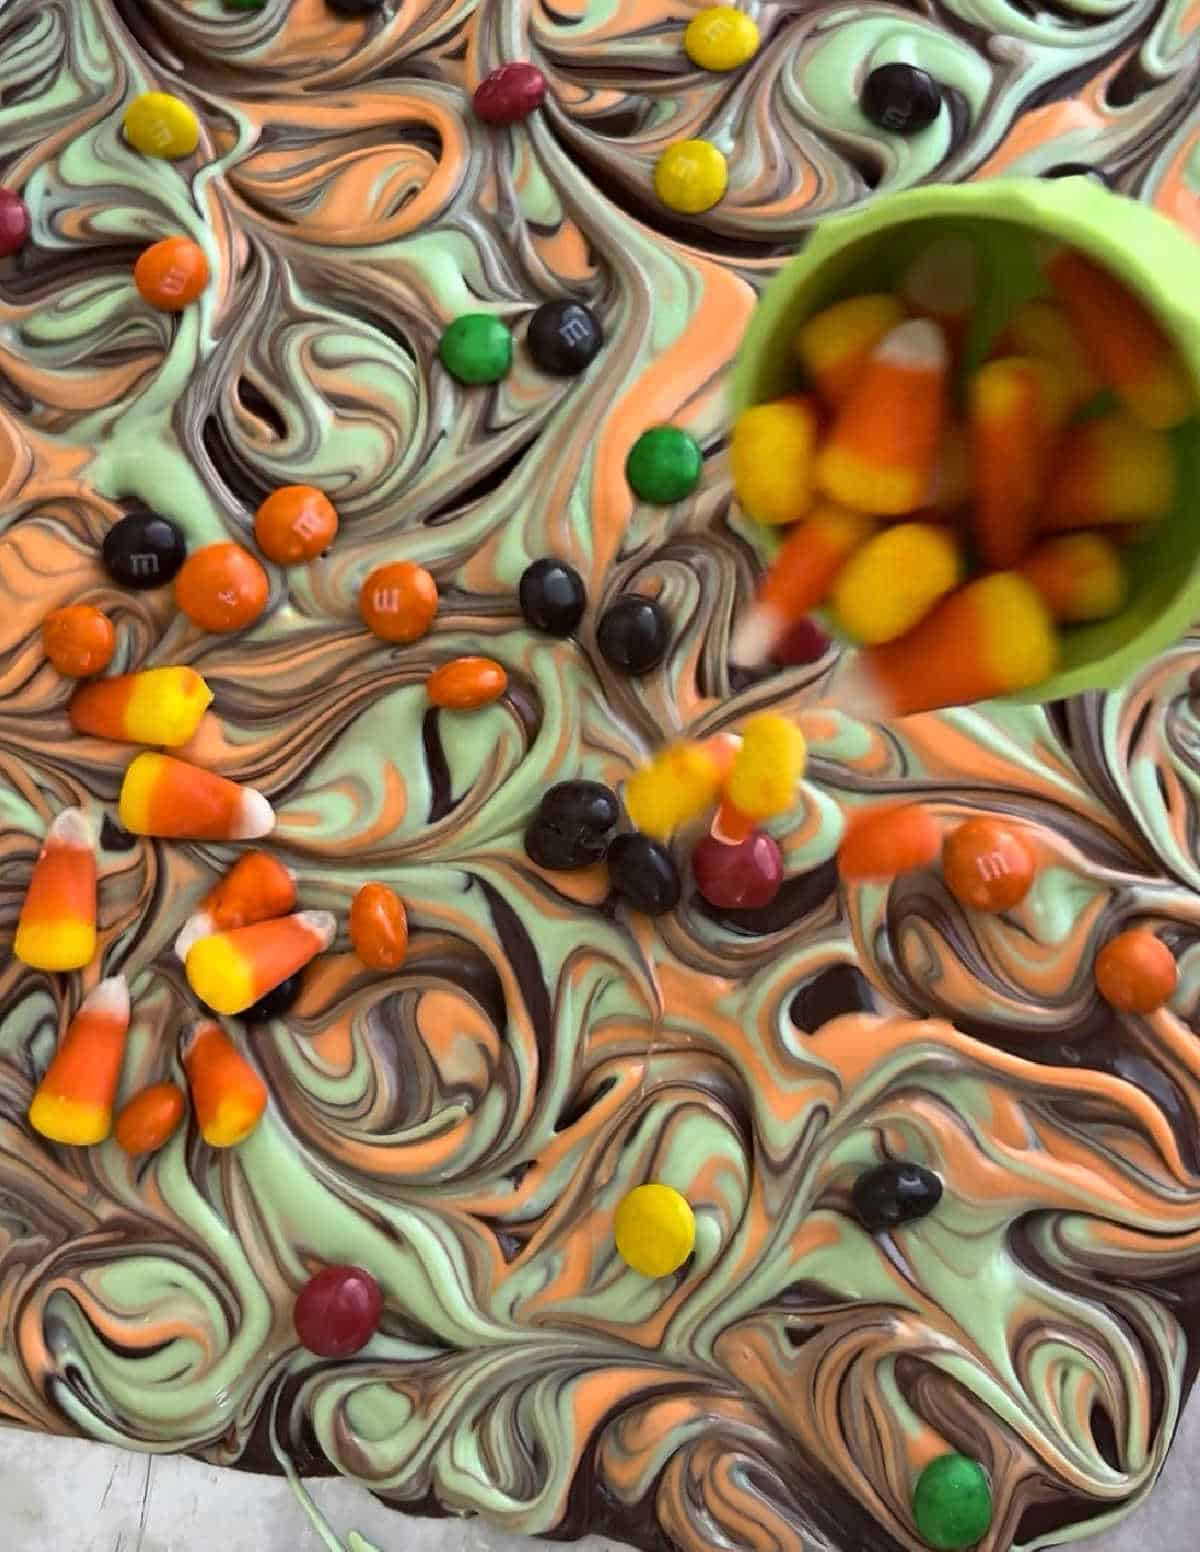
Next, melt the orange and green candy coating in separate bowls. Pour melted candy coating on top of the chocolate layer. Use a toothpick or knife to swirl the other two colors in with the chocolate.
Now you can add sprinkles, candy or pretty much whatever you want. I like to pop the bark into the refrigerator until it’s firm enough to cut. When the bark firms up, it’s ready to cut into smaller pieces and eat. How easy is that?!
How Long Does Chocolate Bark Take to Harden?
It can take about and hour or two to harden at room temperature. You can speed up the process by placing the melted chocolate in the fridge or freezer until firm. This should take about 15-20 minutes.
How to Store Homemade Bark
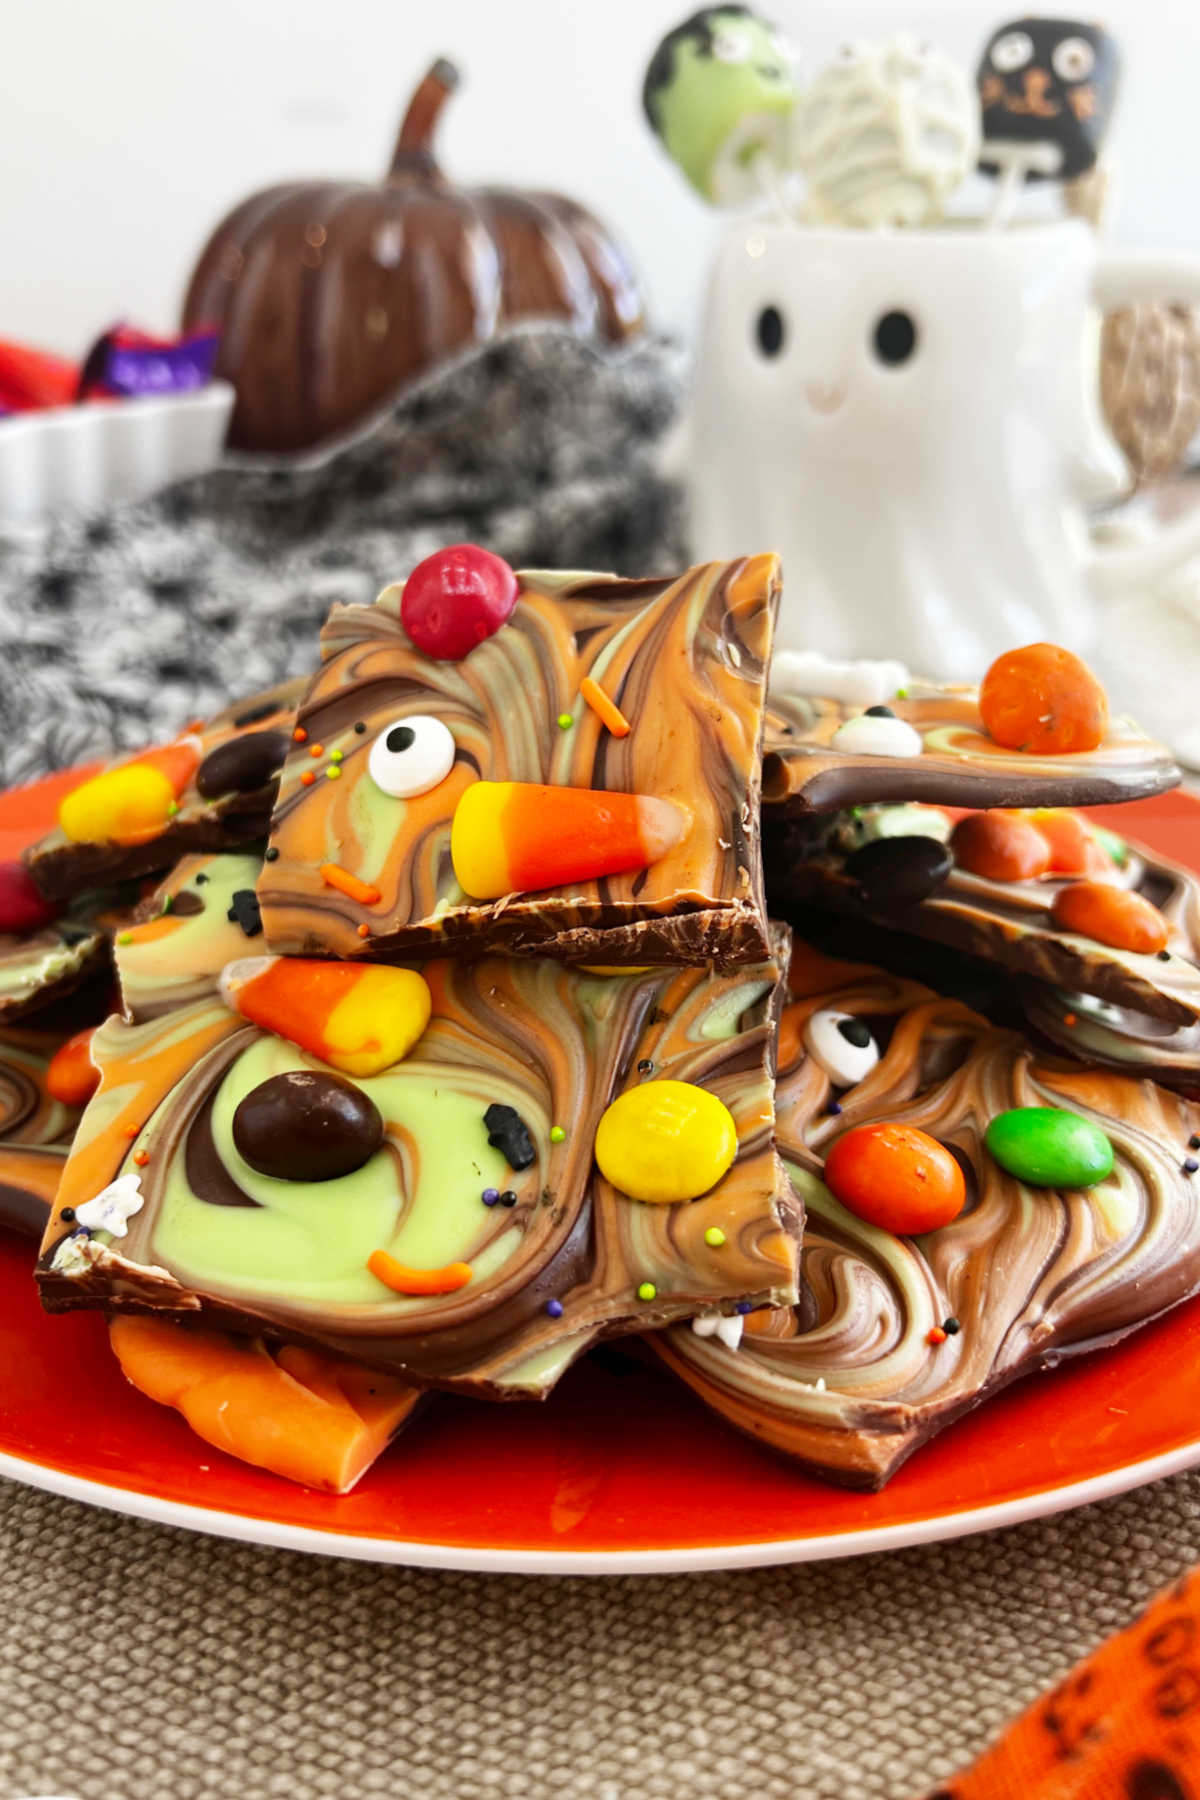
Store Halloween bark in an airtight container at room temperature. If your house is very warm, you can keep it in the fridge. It should last for about a week or 2 — if it lasts that long! You can also freeze chocolate bark for up to 3 months.
Tips for Homemade Halloween Bark
Always microwave chocolate and candy melts in intervals, stirring in between. Otherwise, it will seize up and won’t spread. You can use white chocolate chips or white chocolate bark instead of dark chocolate if you prefer.
Have all ingredients out and ready to go to help the process go quickly.
To speed up the setting process, you can freeze the bark for a few minutes.
Use a knife or a pizza cutter for clean slices.
Variations
For a sweet and salty bark, you can add pretzel sticks, peanuts or other chopped nuts.
We’ve made peppermint bark for Christmas, a Valentine version and red, white and blue bark for the Fourth of July and super cute Easter Bunny Bark! It’s fun, festive and it’s so simple.
More Simple Halloween Treats
Looking for more fun Halloween food?
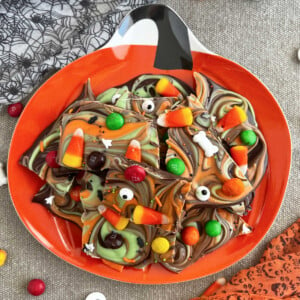
Easy Halloween Candy Bark
Ingredients
- 2 cups semi sweet chocolate chips
- 2 cups green candy melts
- 2 cups orange candy melts
- assorted fall or Halloween candies
Instructions
- Place semi sweet chocolate chips, green candy melts and orange candy melts in separate microwaveable bowls, and melt according to package directions or in 30 second increments, stirring after each interval
- Pour melted chocolate onto a wax-paper lined baking sheet, and carefully spread with knife or spatula
- Pour orange and green melted candy coating on top and around chocolate, and swirl together with a toothpick or sharp knife
- Top with your favorite Halloween candies, and refrigerate or freeze until firm
- Cut into pieces, serve and enjoy
Notes
Nutrition
Nutrition information is automatically calculated, so should only be used as an approximation.
For more easy recipes, sign up for the weekly newsletter and follow me on social media.

Recipe published in 2016 and updated in 2026.











What fun! Rushed out to get the ingredients. Made them and now waiting to share, if there is any left!
I love this! I love the colors!
I’ve thought so many times about making candy bark, it always looks so delicious!! Thanks for sharing at Merry Monday!
You weren’t kidding when you said easy!
Kate | TheOrganizedDream.com
GAH! This is SO easy! I can’t wait to make this!
So pretty and fun! I am absolutely going to make this. Such a fun activity with the kids too.
Thanks, Ginny. My kids love making treats!
Seems like a great activity to do with the kids and gives them a delicious treat for their efforts. I like the little candy skulls thrown in there.
Thanks, Candace! They’re Halloween Sweet Tarts. 🙂
Ahh! This looks like so much fun!
It really is a lot of fun — and so easy too!
I love treats like this — sooooo adorable! How easy to have the kids help, too! So fun!
Thanks, Patricia. The kids love helping because they know they can taste it right away!
Super quick, easy and festive!
Definitely! The kids can do most of it themselves!