• Skip to primary navigation
  • Skip to main content
  • Skip to primary sidebar
Meatloaf and Melodrama logo
  • Home
  • About
  • Collaborate
  • Recipes
  • Subscribe
  • Nav Social Menu

    • Bloglovin
    • Facebook
    • Instagram
    • Pinterest
    • RSS
    • Twitter
menu icon
go to homepage
  • Home
  • About
    • Collaborate
  • Recipes
  • Subscribe
    • Facebook
    • Instagram
    • Pinterest
    • Twitter
  • subscribe
    search icon
    Homepage link
    • Home
    • About
      • Collaborate
    • Recipes
    • Subscribe
    • Facebook
    • Instagram
    • Pinterest
    • Twitter
  • ×

    projects

    DIY Easter Egg Earrings

    This post may contain affiliate links. Please see disclosure for more information. Published: Mar 16, 2015 · Modified: Mar 25, 2021 by Dee

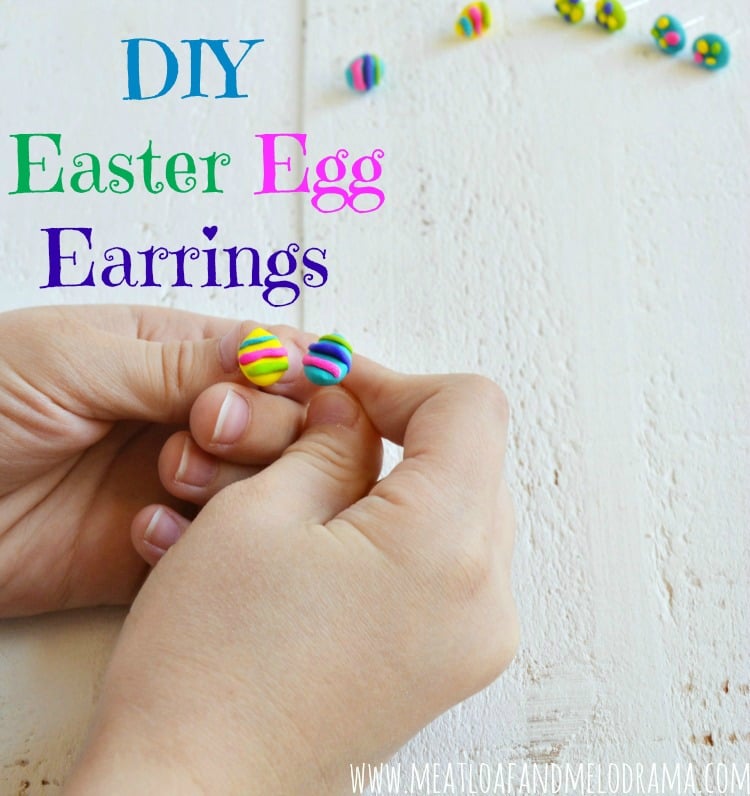
    Hi Friends! I know many of you are still waiting for warmer weather, but it's already Spring Break here. As luck would have it, the kids are all on different schedules, and actually, we have three different weeks of break going on.  So of course, we've been busy making lots of spring crafts, and the girls decided to make some DIY Easter egg earrings, out of polymer clay.

    easter egg earrings made from polymer clay


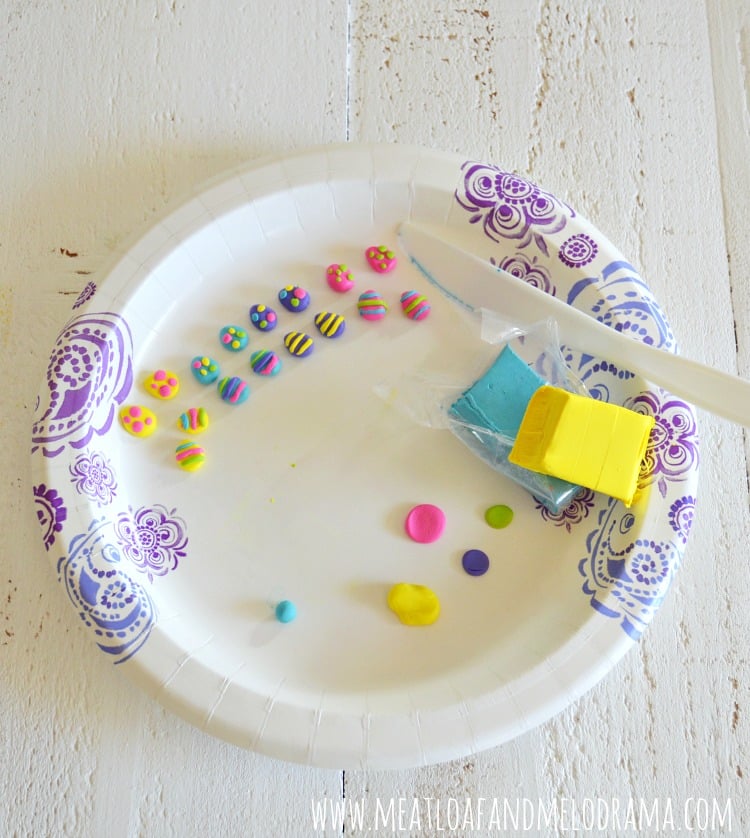
    My oldest loves working with polymer clay, and she's made all kinds of goodies with it, such as miniature food for the doll house, beads and different kinds of earrings. Since it's close to Easter, she thought it would be fun to add some Easter egg earrings to her collection. The earrings are super easy to make, and all you really have to do is form egg shapes from the clay and then make clay dots and stripes to decorate the eggs.

    Here is what you need to make the clay earrings:

    • Polymer clay in spring colors
    • Plastic knife for cutting the clay
    • paper plate or wax paper to hold the shapes
    • Baking sheet and aluminum foil to line it
    • Earring posts and backs
    • Glue

    polymer clay egg earrings on a plate

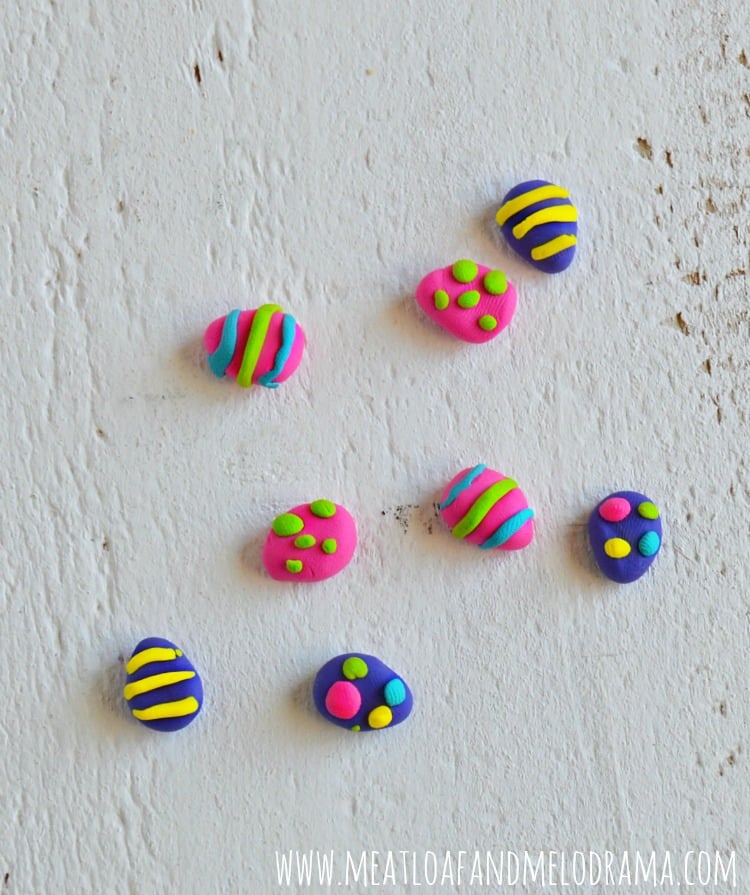
    When you're done making the eggs, place the clay pieces on a baking sheet lined with aluminum foil, and bake at 275 degrees for about 15 minutes or until the shapes are hard. The baking time will depend on the thickness of the eggs. You can also refer to the directions on the package of clay.

    pink and purple polymer clay easter egg earrings


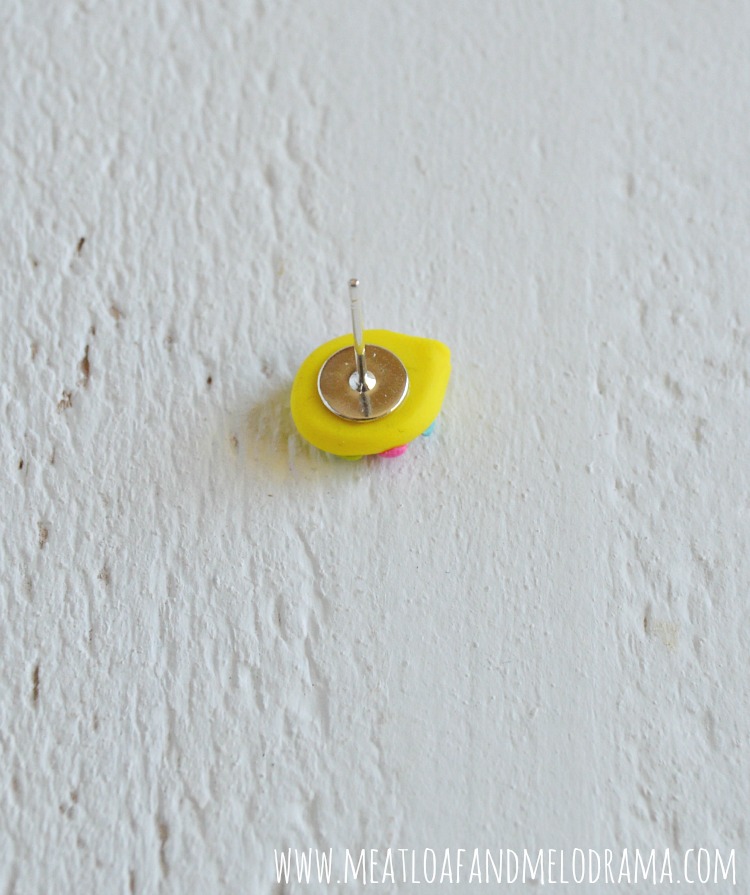
    When the eggs are cool, attach the earring posts to the backs with glue. We used Tacky Glue, but you could also use E6000 or whatever glue you prefer.

    glue earring post to back of polymer clay earring


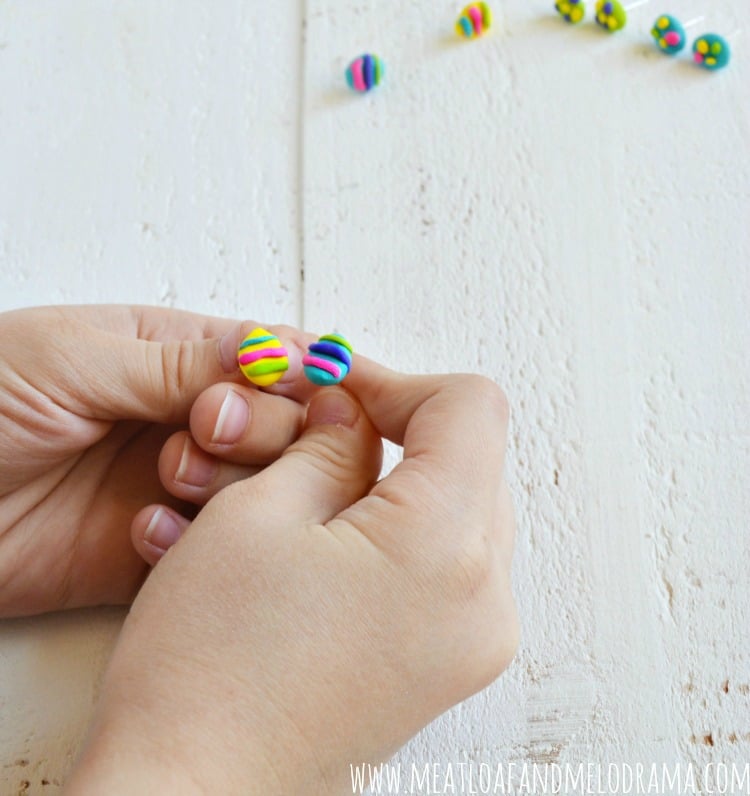
    The girls made quite a few different eggs, so they can have several to use or even give some to their friends.

    girl holding polymer clay easter earrings


    Once the posts are attached and the glue is dry, the earrings are ready to wear! 

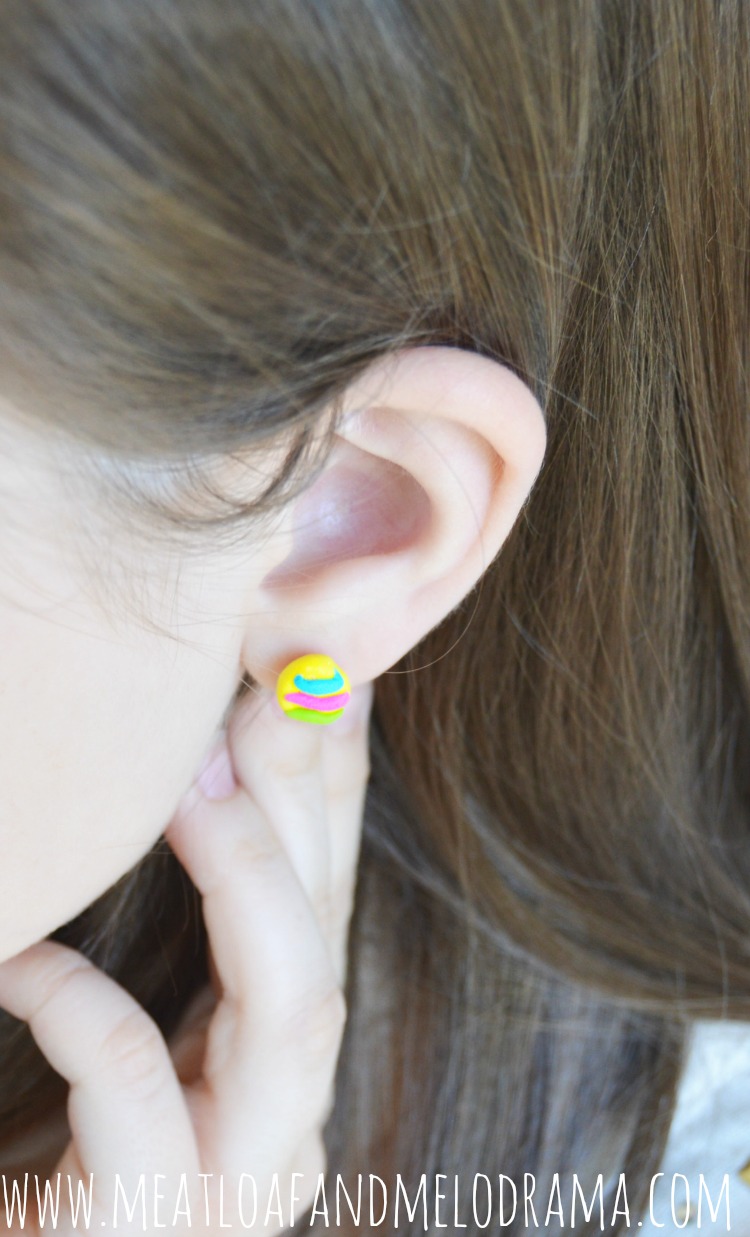
    girl wearing yellow diy easter egg earrings


    These little Easter egg earrings are big enough that you can definitely see them, but they're not heavy at all. Even my little Diva has no trouble wearing them. And they're super cute too!

    Have you ever worked with polymer clay? The kids have a lot of fun with it, and I think the possibilities are endless.

    Thanks so much for dropping by!

    You may also like
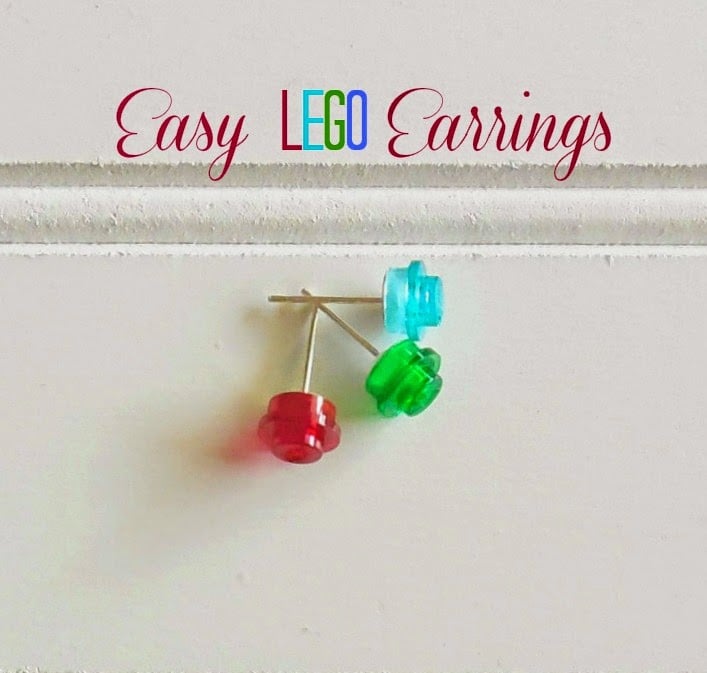
    lego earrings
    Lego Earrings
    Sharing at
    Tip Me Tuesday, Thrifty Thursday, I Heart Naptime, Inspiration Monday, Monday Funday
    Pin
    Share
    Tweet
    Pin
    Share
    Tweet

    More projects

    • Chocolate Peppermint Sugar Scrub
    • Easy Dorm Desk Organizer
    • DIY Summer Cork Coasters
    • Easy Sharpie Tie Dye T-Shirt

    You May Also Like

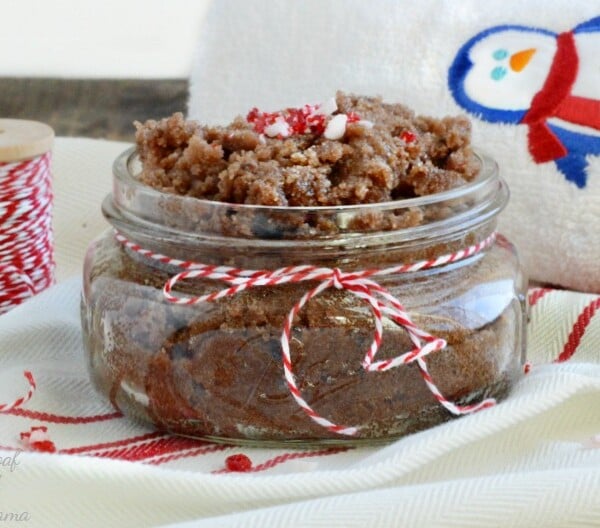
    chocolate-peppermint-sugar-scrub-recipe
    Chocolate Peppermint Sugar Scrub
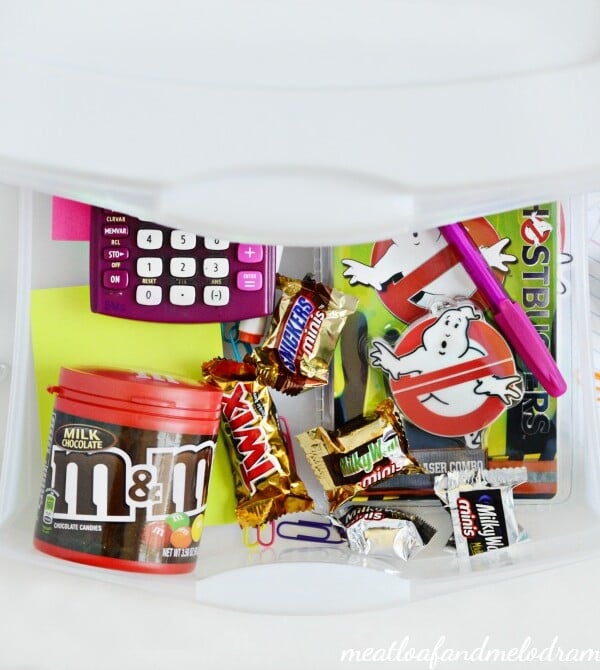
    easy-student-dorm-desk-organizer
    Easy Dorm Desk Organizer
    diy-summer-cork-coasters
    DIY Summer Cork Coasters

    Reader Interactions

    Comments

      Leave a Review Cancel reply

      Your email address will not be published. Required fields are marked *

      Recipe Rating


    1. Steph @ Three Loud Kids! says

      March 23, 2015 at 12:00 am

      Oh my goodness these are too cute!

      Reply
    2. Dee M says

      March 17, 2015 at 8:59 pm

      They did a good job. 🙂 Thank you SO much for taking the time to visit!

      Reply
    3. Dee M says

      March 17, 2015 at 8:57 pm

      Thanks so much, Laurie -- they really are cute. 🙂

      Reply
    4. Laurie says

      March 17, 2015 at 8:29 pm

      Oh my goodness ~ these are so adorable! The girls did such a great job! Pinning!

      Reply
    5. Family and the Lake House says

      March 17, 2015 at 8:29 pm

      Love these! Adorable! 🙂

      Reply
    6. Dee M says

      March 17, 2015 at 12:30 am

      Thanks, Diana! I may have to grab a pair for myself. 🙂

      Reply
    7. Diana Hansen says

      March 17, 2015 at 12:12 am

      Those are so adorable Dee! Pinned for when my daughter gets her ears pierced.

      Reply

    Primary Sidebar

    I’m the blogger, chief cook, recipe developer and photographer behind Meatloaf and Melodrama. I absolutely love to create easy, budget-friendly, homemade meals and treats for my family. I also love to think of new ways to repurpose leftovers so that my family will actually eat them!

    More about me →

    Trending Recipes

    • Baked Breaded Pork Chops
    • Best Dutch Oven Beef Stew Recipe
    • Air Fryer Breakfast Sausage
    • Instant Pot Jasmine Rice
    • Grandma's Kielbasa and Sauerkraut Recipe
    • Maple Brown Sugar Overnight Oats
    • How to Cook Ramen Noodles in the Microwave
    • Easy Chicken Stuffing Bake

    Footer

    ↑ back to top

    About

    • All About Dee
    • Privacy Policy
    • Terms & Conditions

    Newsletter

    • Sign up for emails and updates

    Contact

    • Contact

    As Seen On

    as seen on buzzfeed delish country living forbes southern living

    Copyright © 2023 Meatloaf and Melodrama