• Skip to primary navigation
  • Skip to main content
  • Skip to primary sidebar
Meatloaf and Melodrama logo
  • Home
  • About
  • Collaborate
  • Recipes
  • Subscribe
  • Nav Social Menu

    • Bloglovin
    • Facebook
    • Instagram
    • Pinterest
    • RSS
    • Twitter
menu icon
go to homepage
  • Home
  • About
    • Collaborate
  • Recipes
  • Subscribe
    • Facebook
    • Instagram
    • Pinterest
    • Twitter
  • subscribe
    search icon
    Homepage link
    • Home
    • About
      • Collaborate
    • Recipes
    • Subscribe
    • Facebook
    • Instagram
    • Pinterest
    • Twitter
  • ×

    projects

    Make a Rustic Valentine Sign

    This post may contain affiliate links. Please see disclosure for more information. Published: Jan 12, 2015 · Modified: Mar 26, 2021 by Dee

    Hi Friends!

    How was your weekend? We were busy, but I did manage to cross some things off of my to-do list -- yay! We made progress on the kitchen island, and I even finished making a rustic Valentine sign for the family room. I don't do a lot of decorating for Valentine's Day, but I wanted something to replace the Believe sign I that I made for Christmas. And, since I like how it turned out, I wanted to share it with you!

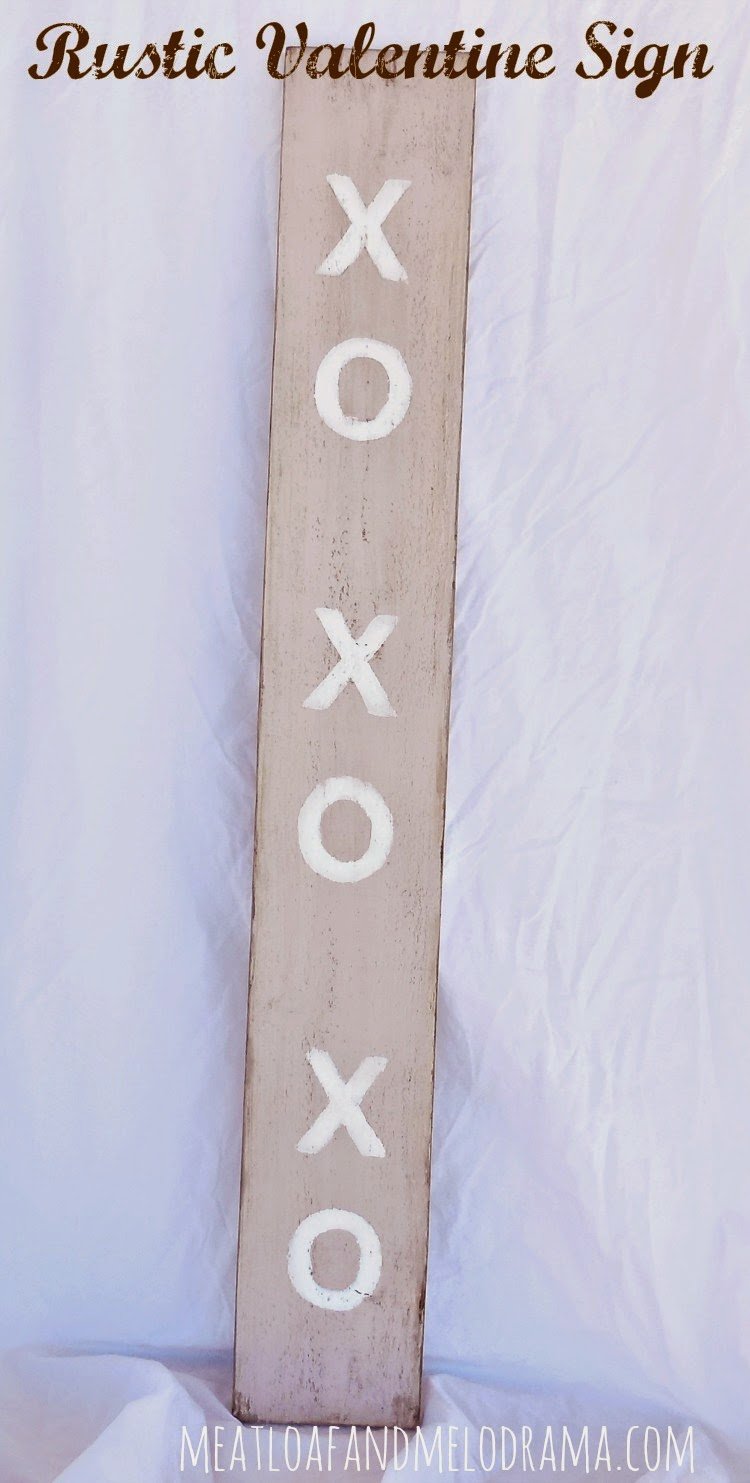
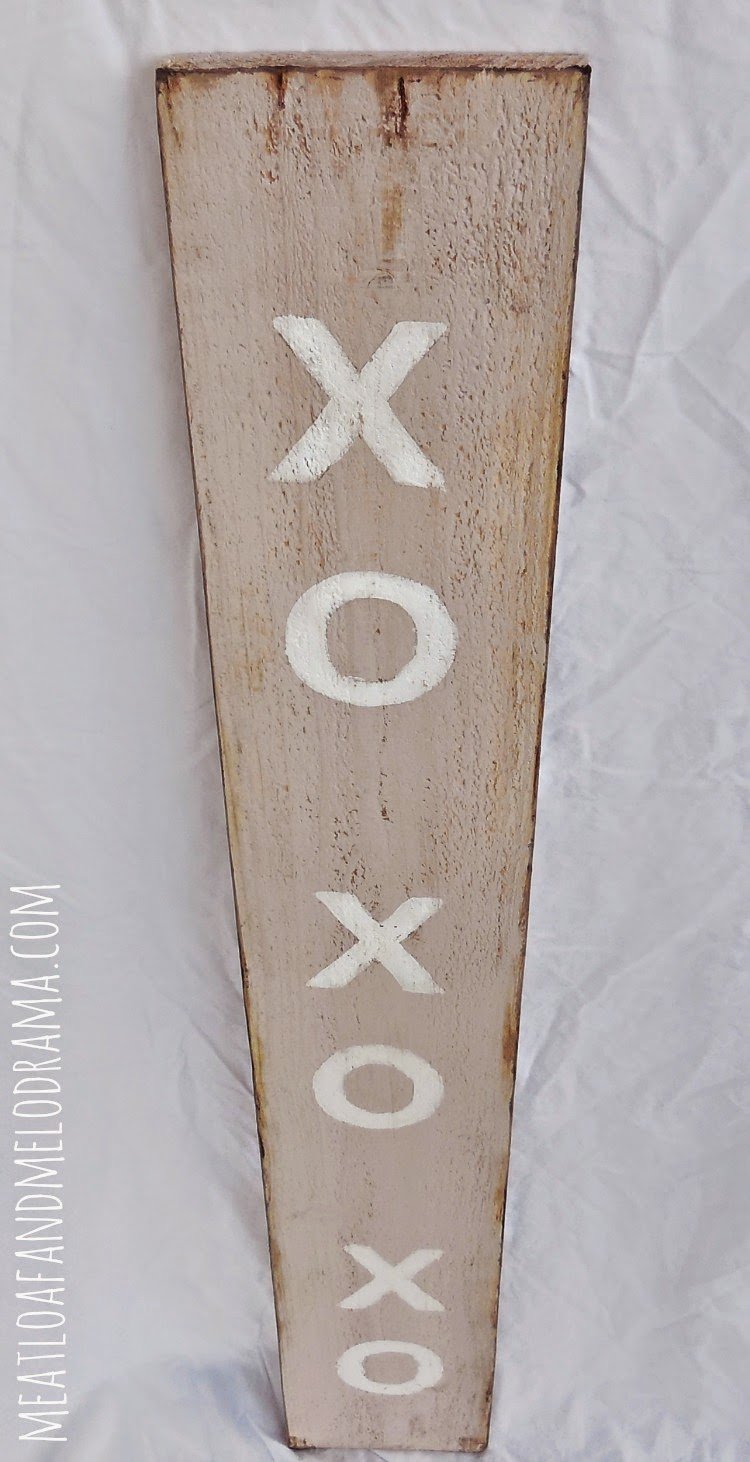
    rustic wooden xo xo valentines day sign with chalk paint


    When I think of Valentine's Day, I envision soft pastels rather than dark reds. So, I decided to use a very soft pink shade as the base color. I also love the shabby chic look, but since it's kind of hard to maintain with a house full of kids, I tend to decorate with more of a rustic vibe, but I like to think that this sign is a combination of the two styles.

    I started out with an old 1 x 6 wood board from my stash and gave it a very quick sanding to make sure there weren't any splinters. Then, I gave it a rough coat of Annie Sloan Chalk Paint in Antoinette. I bought a small jar a couple of months ago, and I couldn't wait to try it out. I'm planning to use the color on a table I'm redoing, but I thought it would be perfect for this sign.

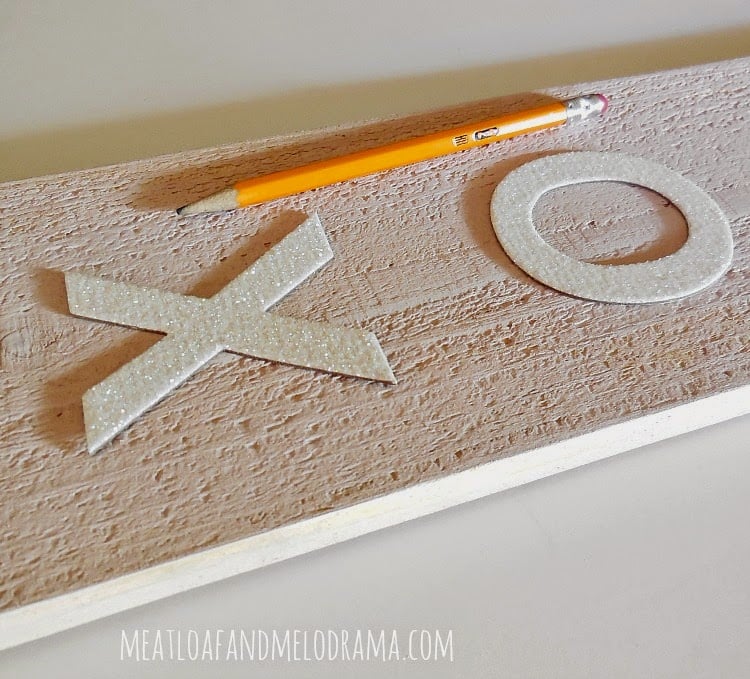
    My little Diva suggested writing XO XO XO on the front of the sign, so I used some cardboard letters as a guide and traced around them with a pencil -- easy, peasy!  

    trace around cardboard letters with a pencil


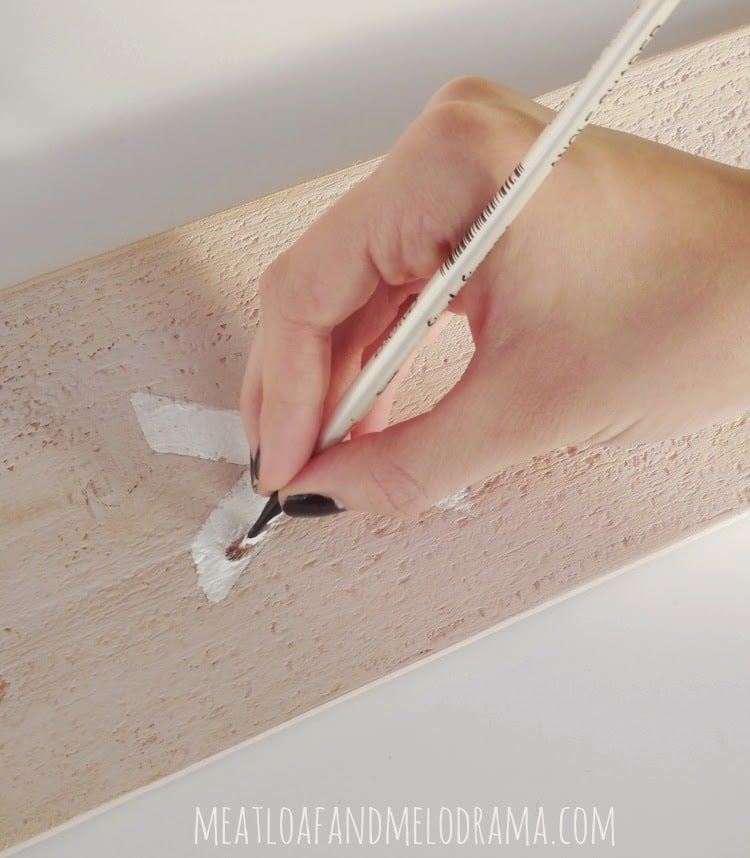
    Then, all I had to do was fill in the outlines with some white paint. The kids wanted to help paint, and I was more than happy to let them! I figured that since I would be distressing the sign anyway, it would be easy to sand off any mistakes.

    paint letters on sign with white paint


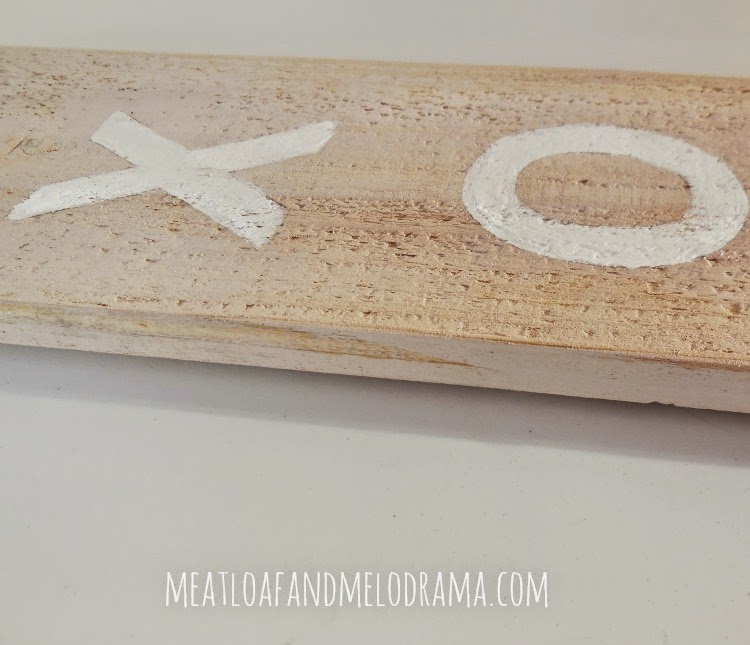
    Actually, they did an awesome job, and all I had to do was erase the pencil marks.

    xo painted on valentine sign


    Next, I lightly distressed the paint with sand paper -- mostly around the edges, but I thought that the sign needed just a little more definition to make the letters pop. So, I used a dry brush to add some burnt umber craft paint around the edges and in some of the crevices.

    rustic shabby chic wood xo xo sign for valentine's day painted with annie sloan chalk paint


    That's all there was to it! Technically, the shade is pink, but it doesn't really look pink at all in the house. It's more of a peachy-tan shade, which goes perfectly with the tan walls.

    pink and white valentines day sign with xo xo and annie sloan paint


    I added some picture wire on the back so that I could hang the sign up, but it would also look nice on the porch.

    I'm working on the mantel decor now, and I can't wait to show it off. Do you decorate for Valentine's Day, or are you all about chocolate and flowers?

    Thanks for stopping by -- Enjoy your day!

    You might also like these similar signs:


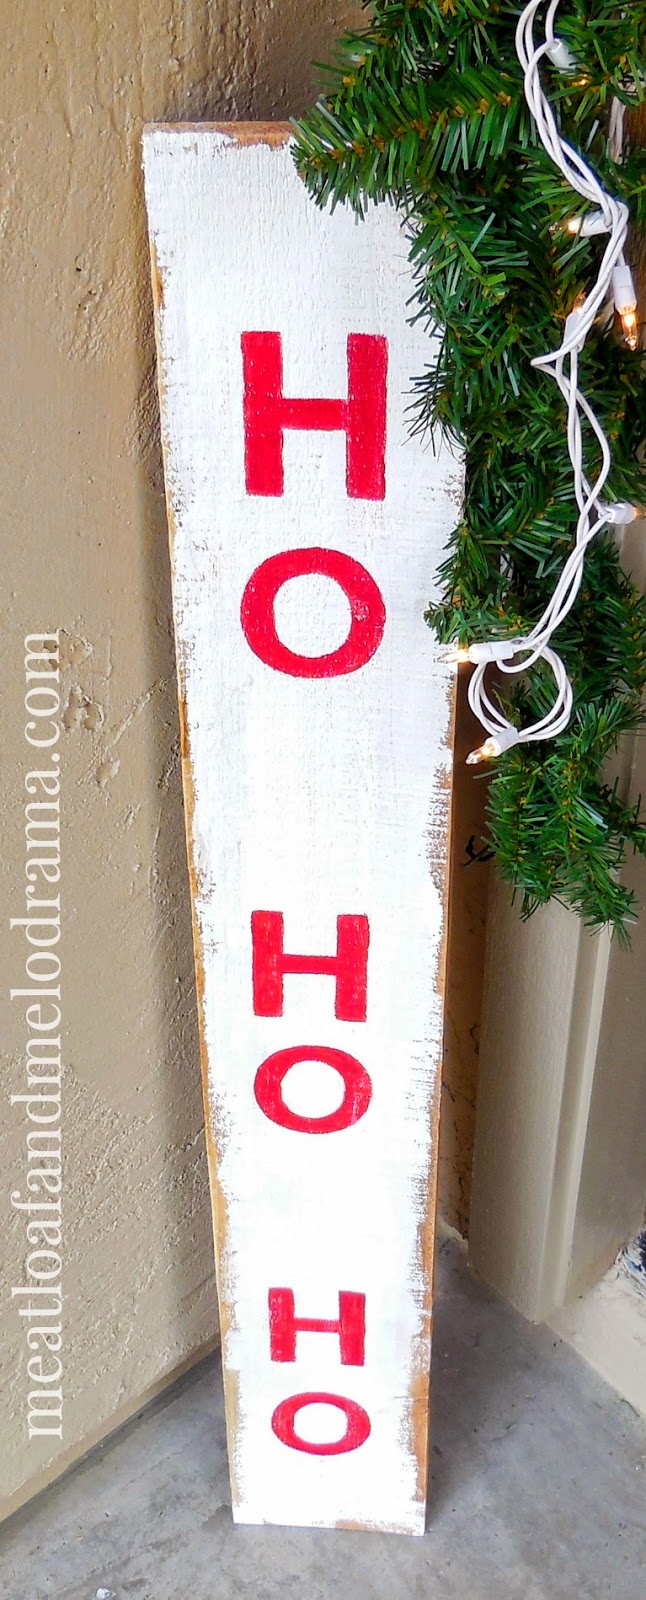
    ho ho ho Christmas sign for porch
    Rustic Christmas Porch Sign
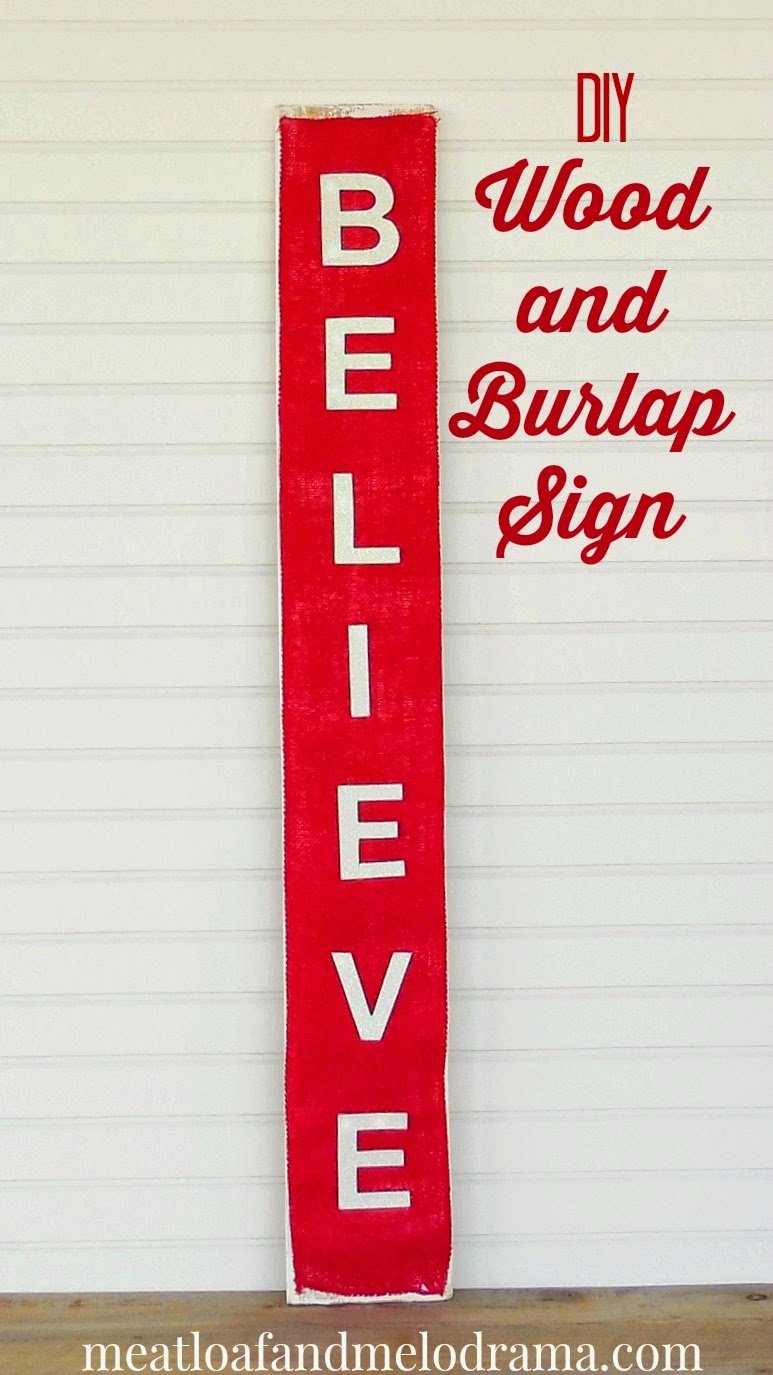
    Christmas believe sign made from wood and burlap
    DIY Wood and Burlap Believe Sign
    Pin
    Share
    Tweet
    Pin
    Share
    Tweet

    More projects

    • Chocolate Peppermint Sugar Scrub
    • Easy Dorm Desk Organizer
    • DIY Summer Cork Coasters
    • Easy Sharpie Tie Dye T-Shirt

    You May Also Like

    chocolate-peppermint-sugar-scrub-recipe
    Chocolate Peppermint Sugar Scrub
    easy-student-dorm-desk-organizer
    Easy Dorm Desk Organizer
    diy-summer-cork-coasters
    DIY Summer Cork Coasters

    Reader Interactions

    Comments

      Leave a Review Cancel reply

      Your email address will not be published. Required fields are marked *

      Recipe Rating


    1. Laurie says

      January 16, 2015 at 8:55 pm

      Love the light pink! I always think of the dark red's but I do like that pink! This really turned out cute.

      Reply

    Primary Sidebar

    I’m the blogger, chief cook, recipe developer and photographer behind Meatloaf and Melodrama. I absolutely love to create easy, budget-friendly, homemade meals and treats for my family. I also love to think of new ways to repurpose leftovers so that my family will actually eat them!

    More about me →

    Trending Recipes

    • Baked Breaded Pork Chops
    • Best Dutch Oven Beef Stew Recipe
    • Air Fryer Breakfast Sausage
    • Instant Pot Jasmine Rice
    • Grandma's Kielbasa and Sauerkraut Recipe
    • Maple Brown Sugar Overnight Oats
    • How to Cook Ramen Noodles in the Microwave
    • Easy Chicken Stuffing Bake

    Footer

    ↑ back to top

    About

    • All About Dee
    • Privacy Policy
    • Terms & Conditions

    Newsletter

    • Sign up for emails and updates

    Contact

    • Contact

    As Seen On

    as seen on buzzfeed delish country living forbes southern living

    Copyright © 2023 Meatloaf and Melodrama