• Skip to primary navigation
  • Skip to main content
  • Skip to primary sidebar
Meatloaf and Melodrama logo
  • Home
  • About
  • Collaborate
  • Recipes
  • Subscribe
  • Nav Social Menu

    • Bloglovin
    • Facebook
    • Instagram
    • Pinterest
    • RSS
    • Twitter
menu icon
go to homepage
  • Home
  • About
    • Collaborate
  • Recipes
  • Subscribe
    • Facebook
    • Instagram
    • Pinterest
    • Twitter
  • subscribe
    search icon
    Homepage link
    • Home
    • About
      • Collaborate
    • Recipes
    • Subscribe
    • Facebook
    • Instagram
    • Pinterest
    • Twitter
  • ×

    projects

    Preserving Crunchy Fall Leaves

    This post may contain affiliate links. Please see disclosure for more information. Published: Oct 30, 2013 · Modified: Mar 25, 2021 by Dee

    Hi!

    It's cloudy and cool today--perfect fall weather! Because I was in a fallish type of mood, I decided it was a great time to preserve some fall leaves. Well, I use the word preserve lightly because these leaves were not in great shape. The kids had collected some leaves when we recently took a trip up north, and my youngest did not want to let go of his new treasures. 

    Needless to say, the leaves were in sorry shape, but the colors were still vivid. Because we all had such a wonderful time that day, I wanted to try to preserve the great memories, even if I couldn't exactly preserve the leaves! I had planned to frame a couple, and since the leaves were now kind of wrinkled and crunchy, I thought a vintage look would work best.

    Here are the two specimens I was working with.


    As you can see, one leaf has a chunk missing from one side, and the other one is pretty wrinkled. The only challenging part of this entire craft was getting the leaves smooth enough in the frame. Other than that, this was a quick and easy craft!  The only supplies I needed were some burlap ribbon, card stock, a picture frame and a pair of scissors.


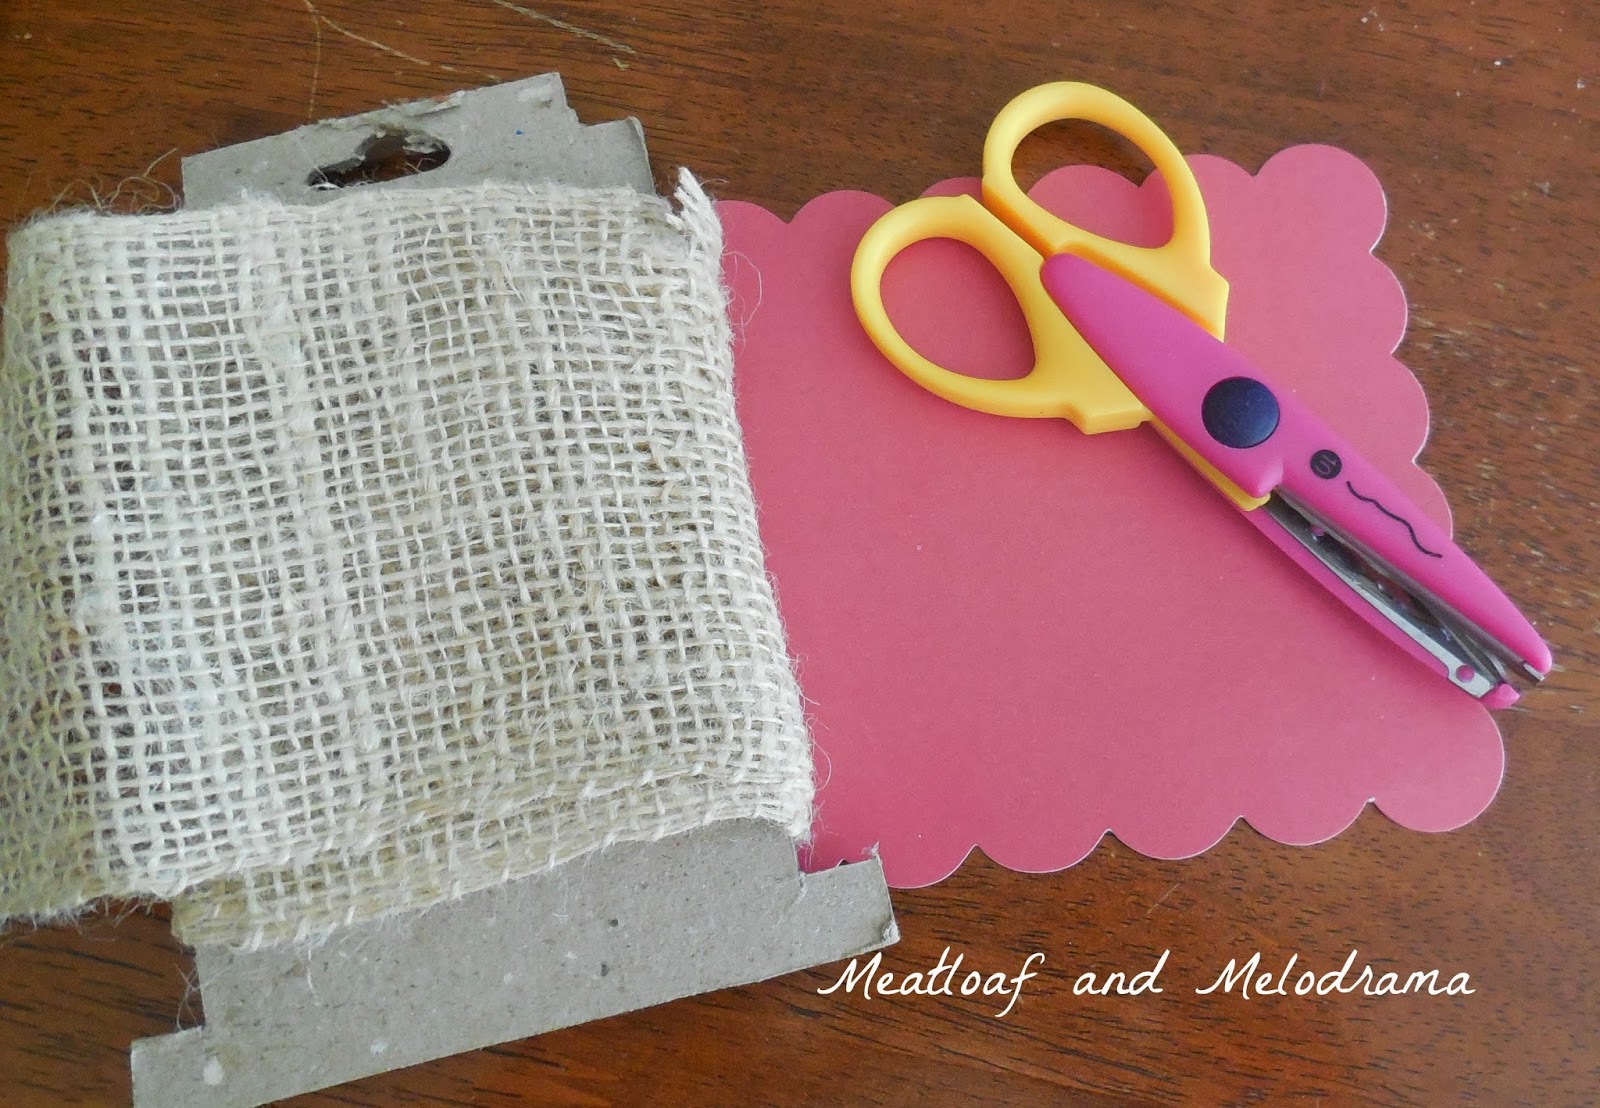
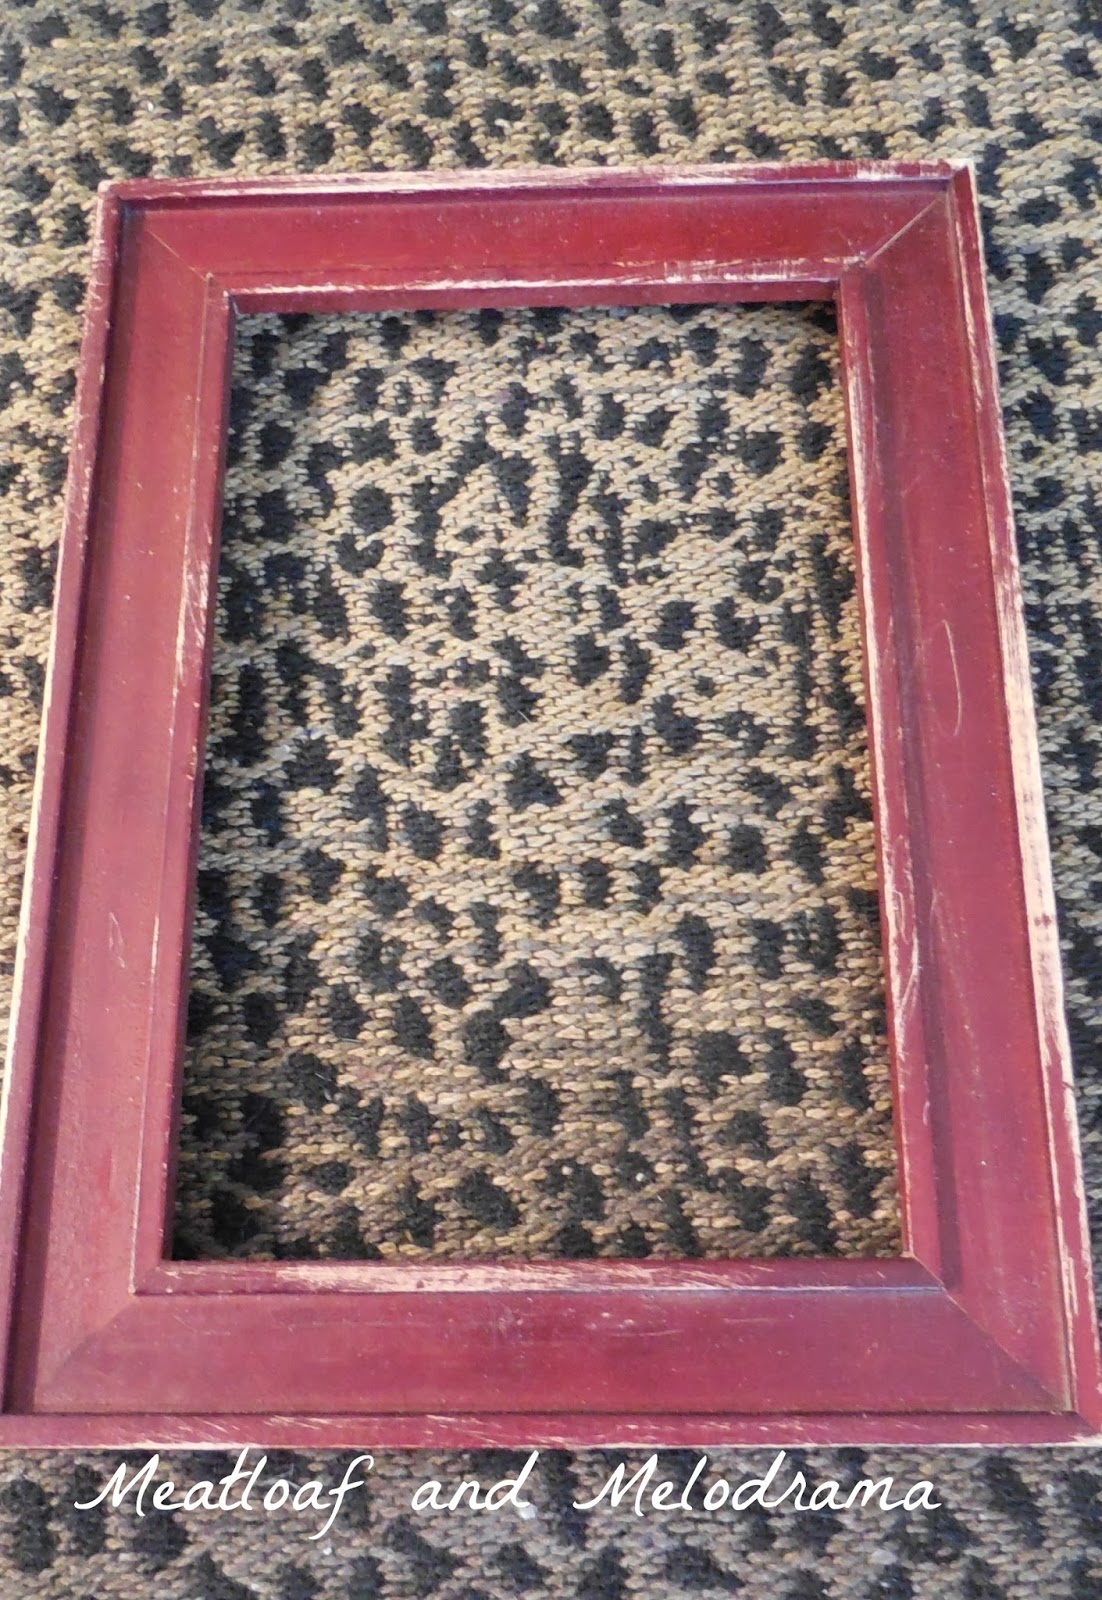
    I trimmed the cardstock with scrapbooking scissors until it fit the frame. The fabric is very rough, and I thought a ragged edge might help the burlap fit better around the paper. I already had a frame, and I distressed it with some sandpaper to make it look old and worn.


    I wrapped the burlap over the card stock and glued the top edges in place.

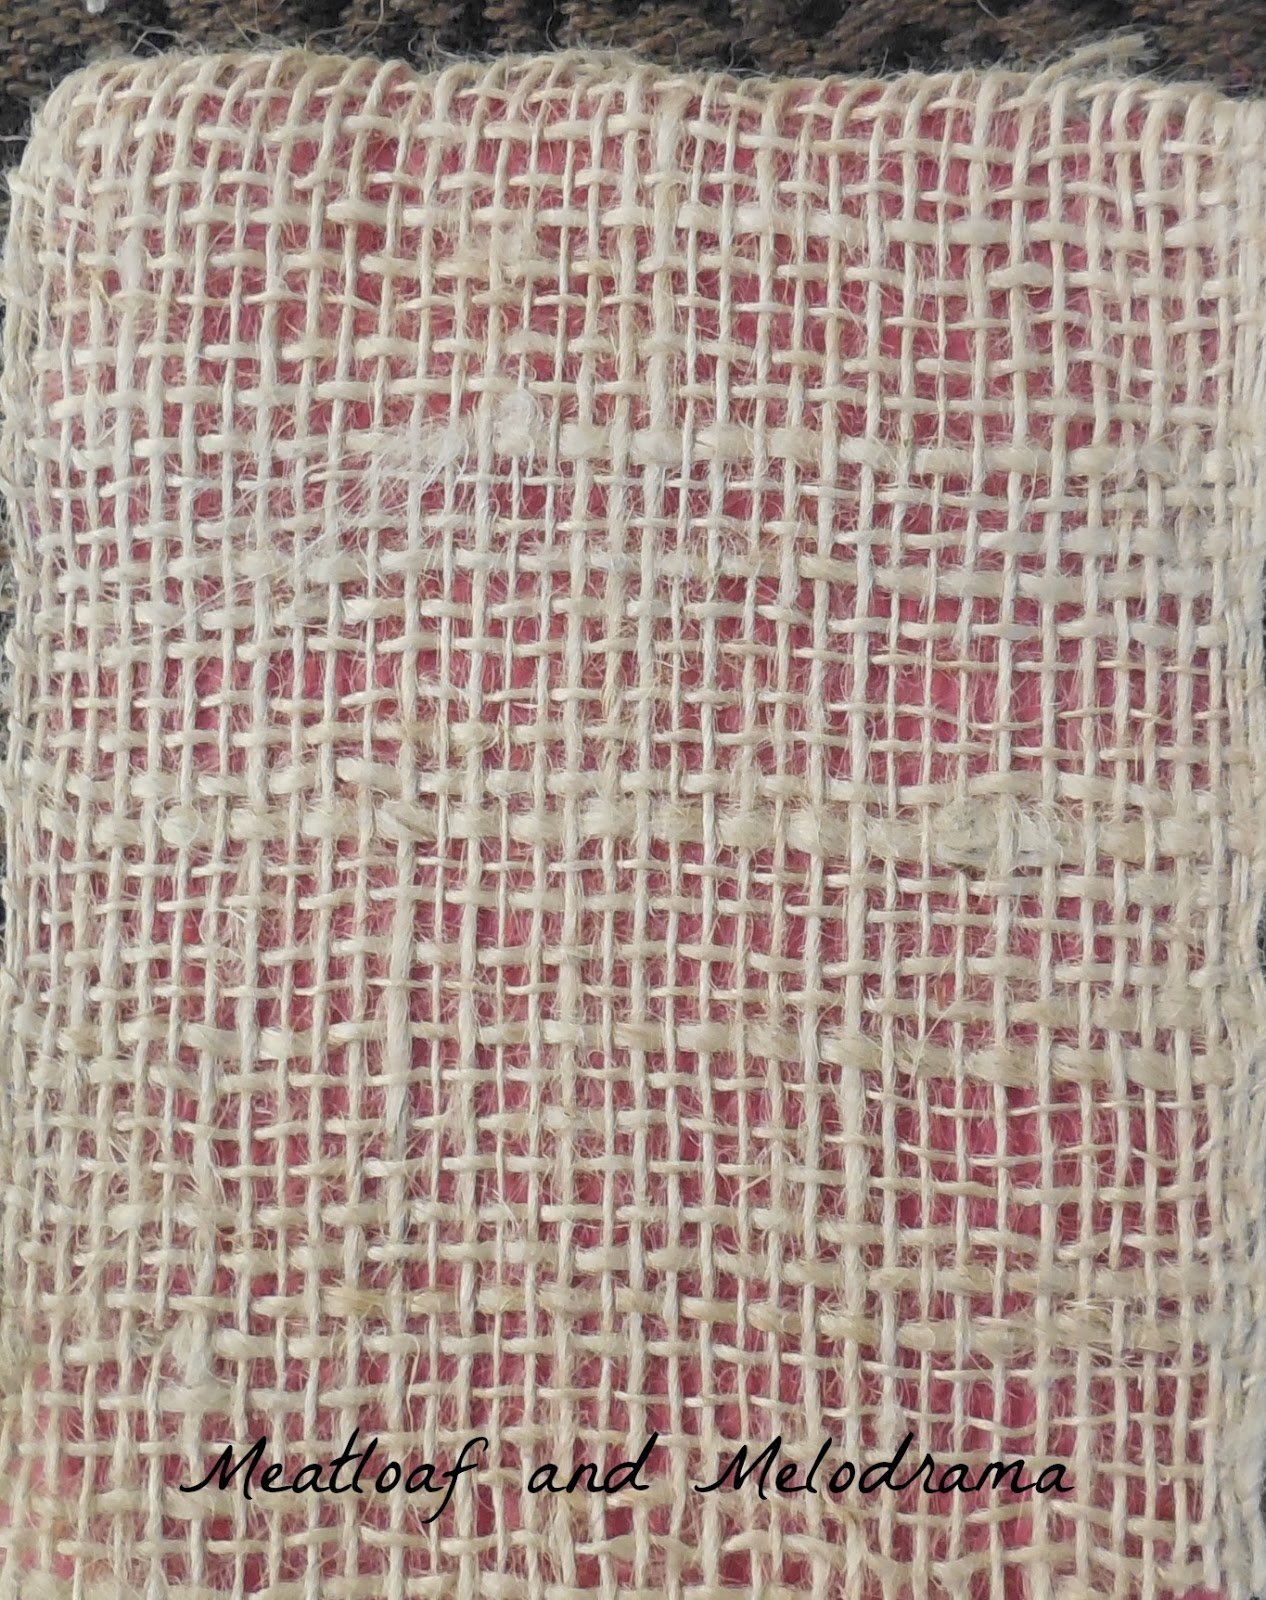
    The paper is still visible under the burlap, so it gives it a nice background color. Then, I arranged the leaves on top of the burlap. I didn't even bother gluing them in place because I figured the glass would be tight enough to hold them down.


    I was able to cover up the missing chunk of leaf by placing part of the larger 
    leaf over the smaller one. I think it looks more natural this way. Then, I just put the glass over the leaves and fit the arrangement into the wooden frame.


    The leaves don't look so bad under the frame, and the distressed frame helps add to the vintage look I was going for. It kind of looks like we've had these old fall leaves forever. The kids didn't mind that I used the leaves this way, and I'm glad I was able to preserve the leaves and some fun family memories!

    Do you keep fall leaves around your home?

    Thanks so much for taking time out of your busy schedule to visit with me today. I love having company!

    Dee 🙂

    Pin
    Share
    Tweet
    Pin
    Share
    Tweet

    More projects

    • chocolate-peppermint-sugar-scrub-recipe
      Chocolate Peppermint Sugar Scrub
    • easy-student-dorm-desk-organizer
      Easy Dorm Desk Organizer
    • diy-summer-cork-coasters
      DIY Summer Cork Coasters
    • sharpie-tie-dye-t-shirt-craft
      Easy Sharpie Tie Dye T-Shirt

    You May Also Like

    chocolate-peppermint-sugar-scrub-recipe
    Chocolate Peppermint Sugar Scrub
    easy-student-dorm-desk-organizer
    Easy Dorm Desk Organizer
    diy-summer-cork-coasters
    DIY Summer Cork Coasters

    Reader Interactions

    Comments

    No Comments

    Leave a Review Cancel reply

    Your email address will not be published. Required fields are marked *

    Recipe Rating


    Primary Sidebar

    I’m the blogger, chief cook, recipe developer and photographer behind Meatloaf and Melodrama. I absolutely love to create easy, budget-friendly, homemade meals and treats for my family. I also love to think of new ways to repurpose leftovers so that my family will actually eat them!

    More about me →

    Trending Recipes

    • baked breaded pork chops with panko bread crumbs and mashed potatoes on plate
      Baked Breaded Pork Chops
    • ground beef pasta, creamy shells and beef, in creamy tomato sauce in dutch oven
      Creamy Shells and Beef
    • no bake pineapple dream dessert for summer
      No Bake Pineapple Dream Dessert
    • easy strawberry jello fruit salad on plate
      Strawberry Jello Fruit Salad
    • baked kielbasa and sauerkraut in casserole dish with parsely
      Grandma's Kielbasa and Sauerkraut Recipe
    • no bake banana pudding with cool whip and nilla wafer cookies and sliced bananas
      Easy No Bake Banana Pudding
    • slice of red white and blue poke cake with strawberries and blueberries on a plate
      Red White and Blue Poke Cake
    • instant pot BBQ chicken in a pulled chicken sandwich on a plate
      Instant Pot BBQ Chicken

    Footer

    ↑ back to top

    About

    • All About Dee
    • Privacy Policy
    • Terms & Conditions

    Newsletter

    • Sign up for emails and updates

    Contact

    • Contact

    As Seen On

    as seen on buzzfeed delish country living forbes southern living

    Copyright © 2023 Meatloaf and Melodrama